
It's been a tough year. I know I'm not alone in feeling this. Maybe that's why I decided this year to saturate myself in Christmas cheer--a holiday I usually feel pretty neutral about.
Last year at this time my Mom and I were in Iceland, and there was something so much more special about holiday decorations in Iceland, especially the power of lights in the otherwise gloomy long nights there, and especially the power of a Christmas tree.

I'm not sure what city we were in when we found this tree, but I remember the moment walking up to this city square and seeing it glowing, and I am pretty sure I cried. I'm certain I hugged mom. To me, it's not the tree itself, not the details of its decoration or the lights, but the feeling it represents, the effort to will kindness, warmth, and generosity into a world that is dark and cold. A reminder to be your best self, even in the hardest times.
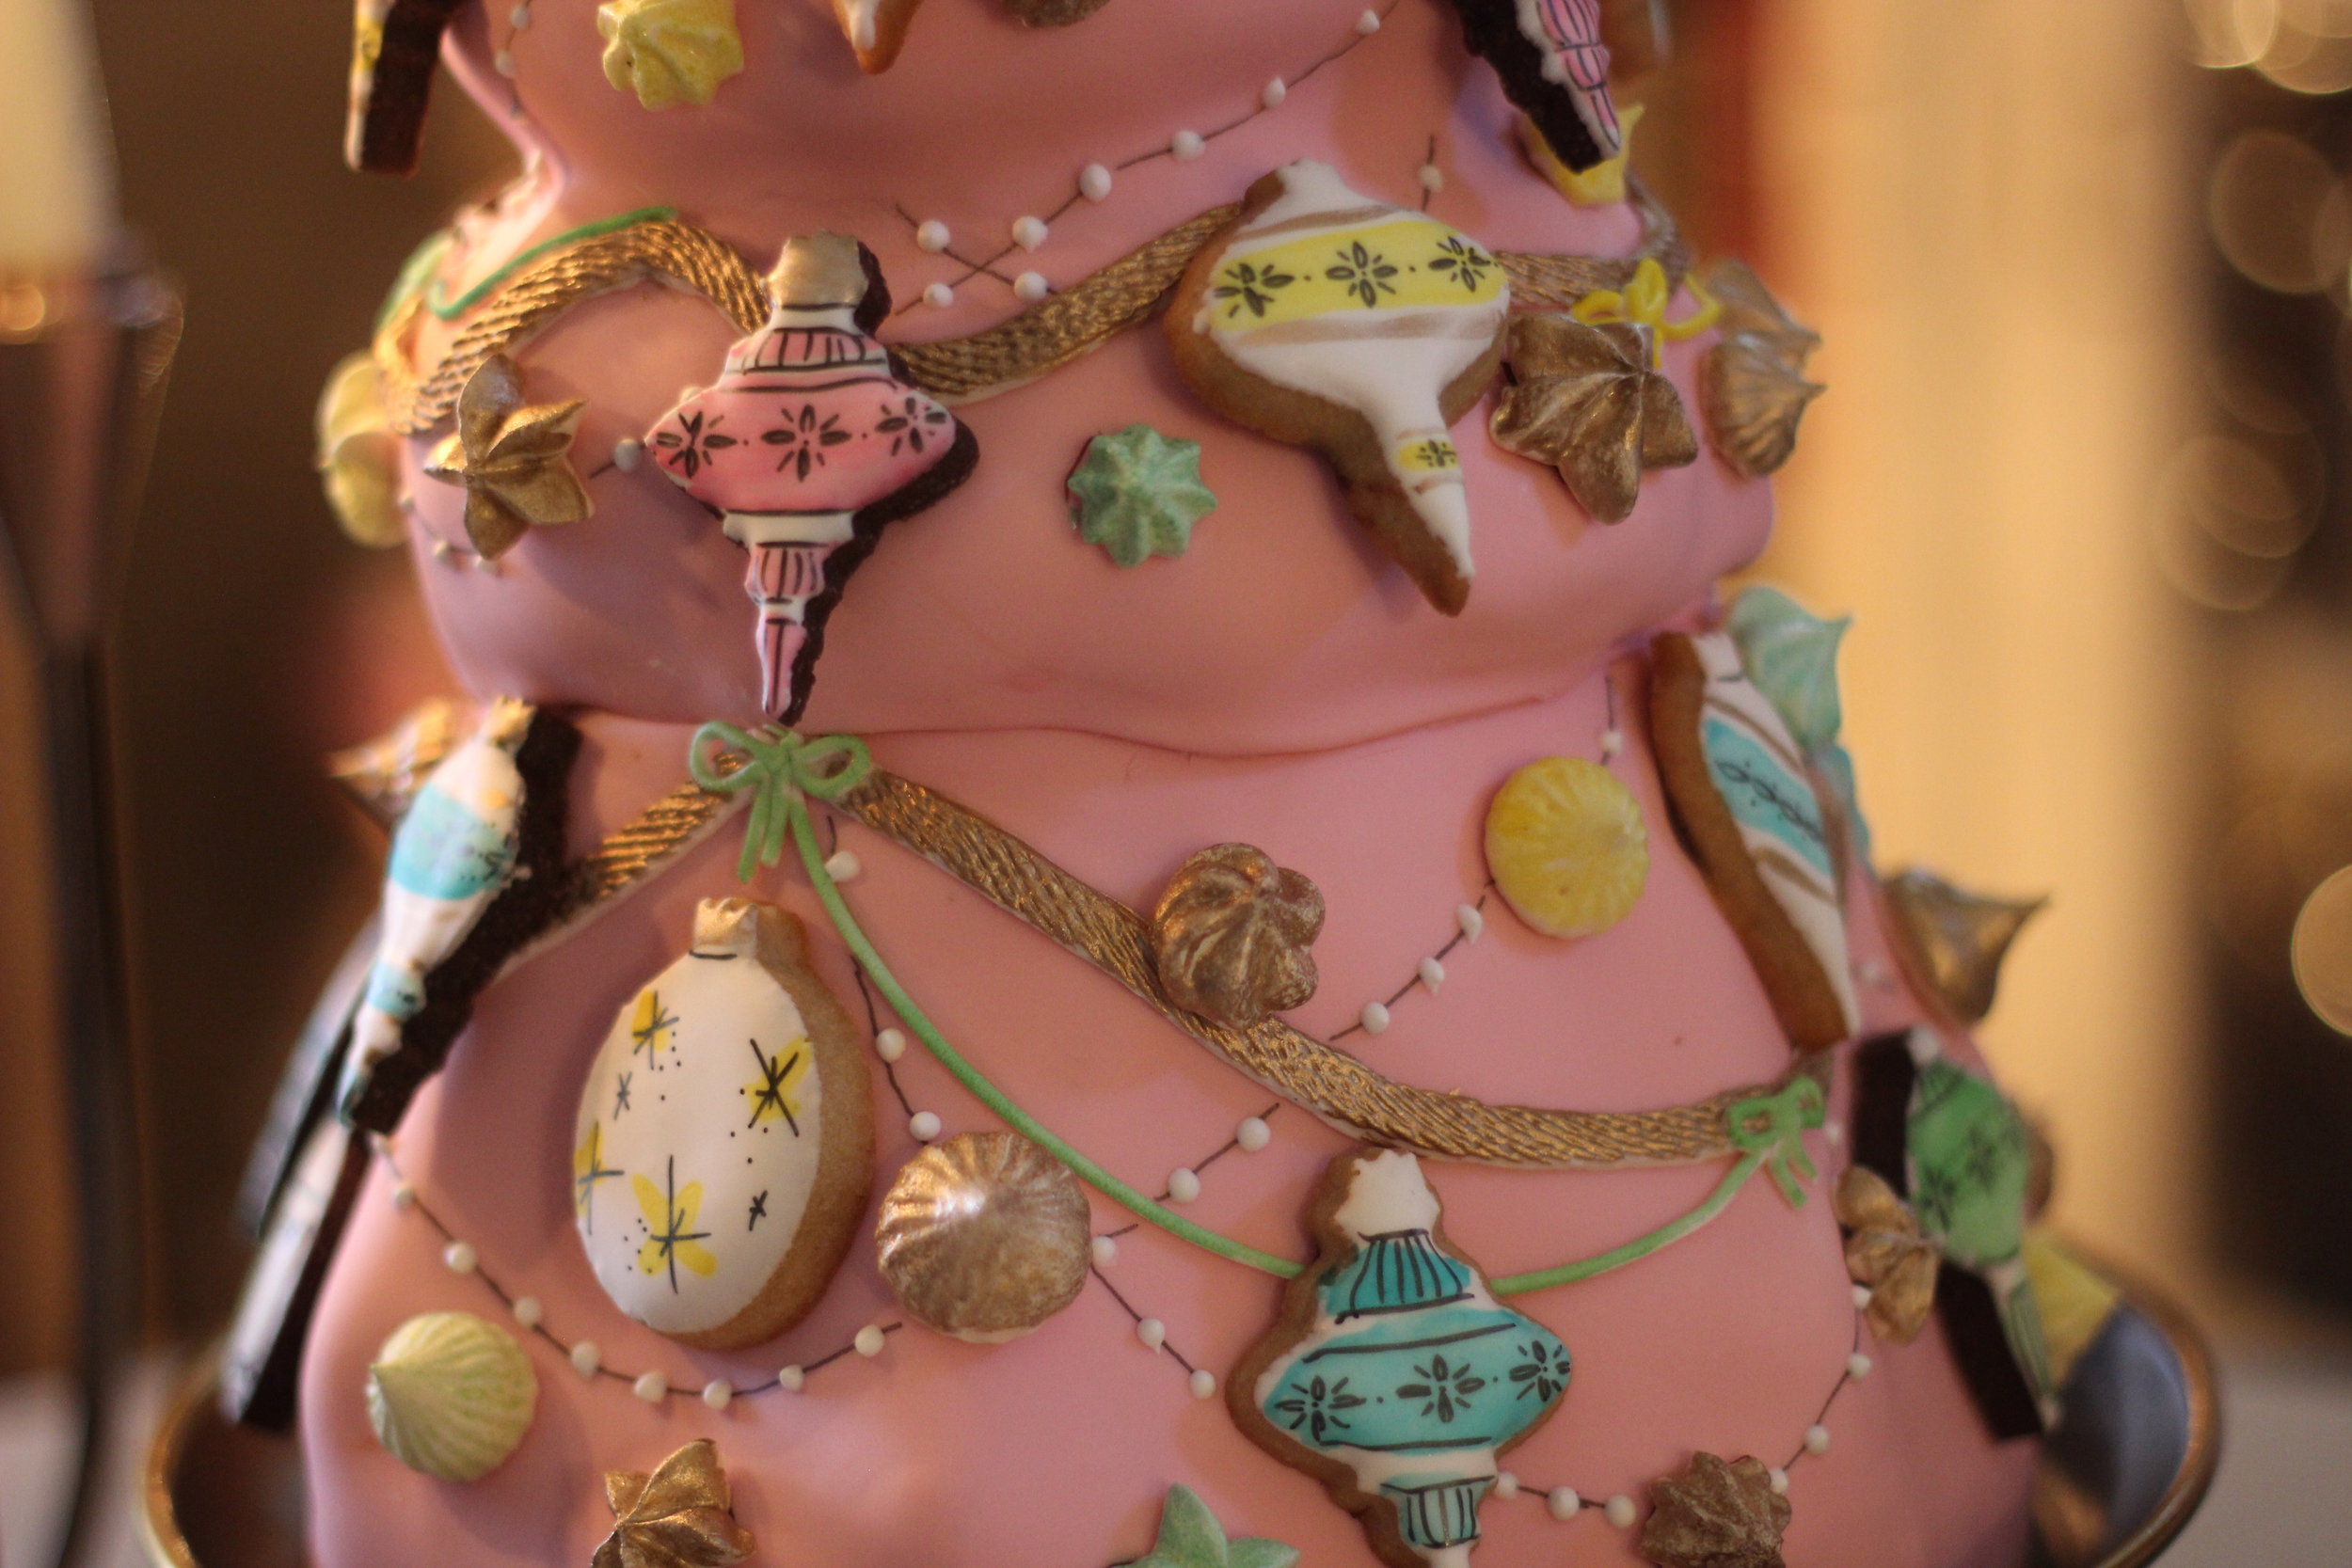
I wanted to end this year on that note, so my christmas cake takes the shape of a warm, cheery, nostalgic Christmas tree. I decorated it with cookie ornaments, sets of which are currently on sale at Young Blood Boutique here in Atlanta.


I use an edible FoodWriter marker to draw on the cookies after using a food coloring "watercolor" wash
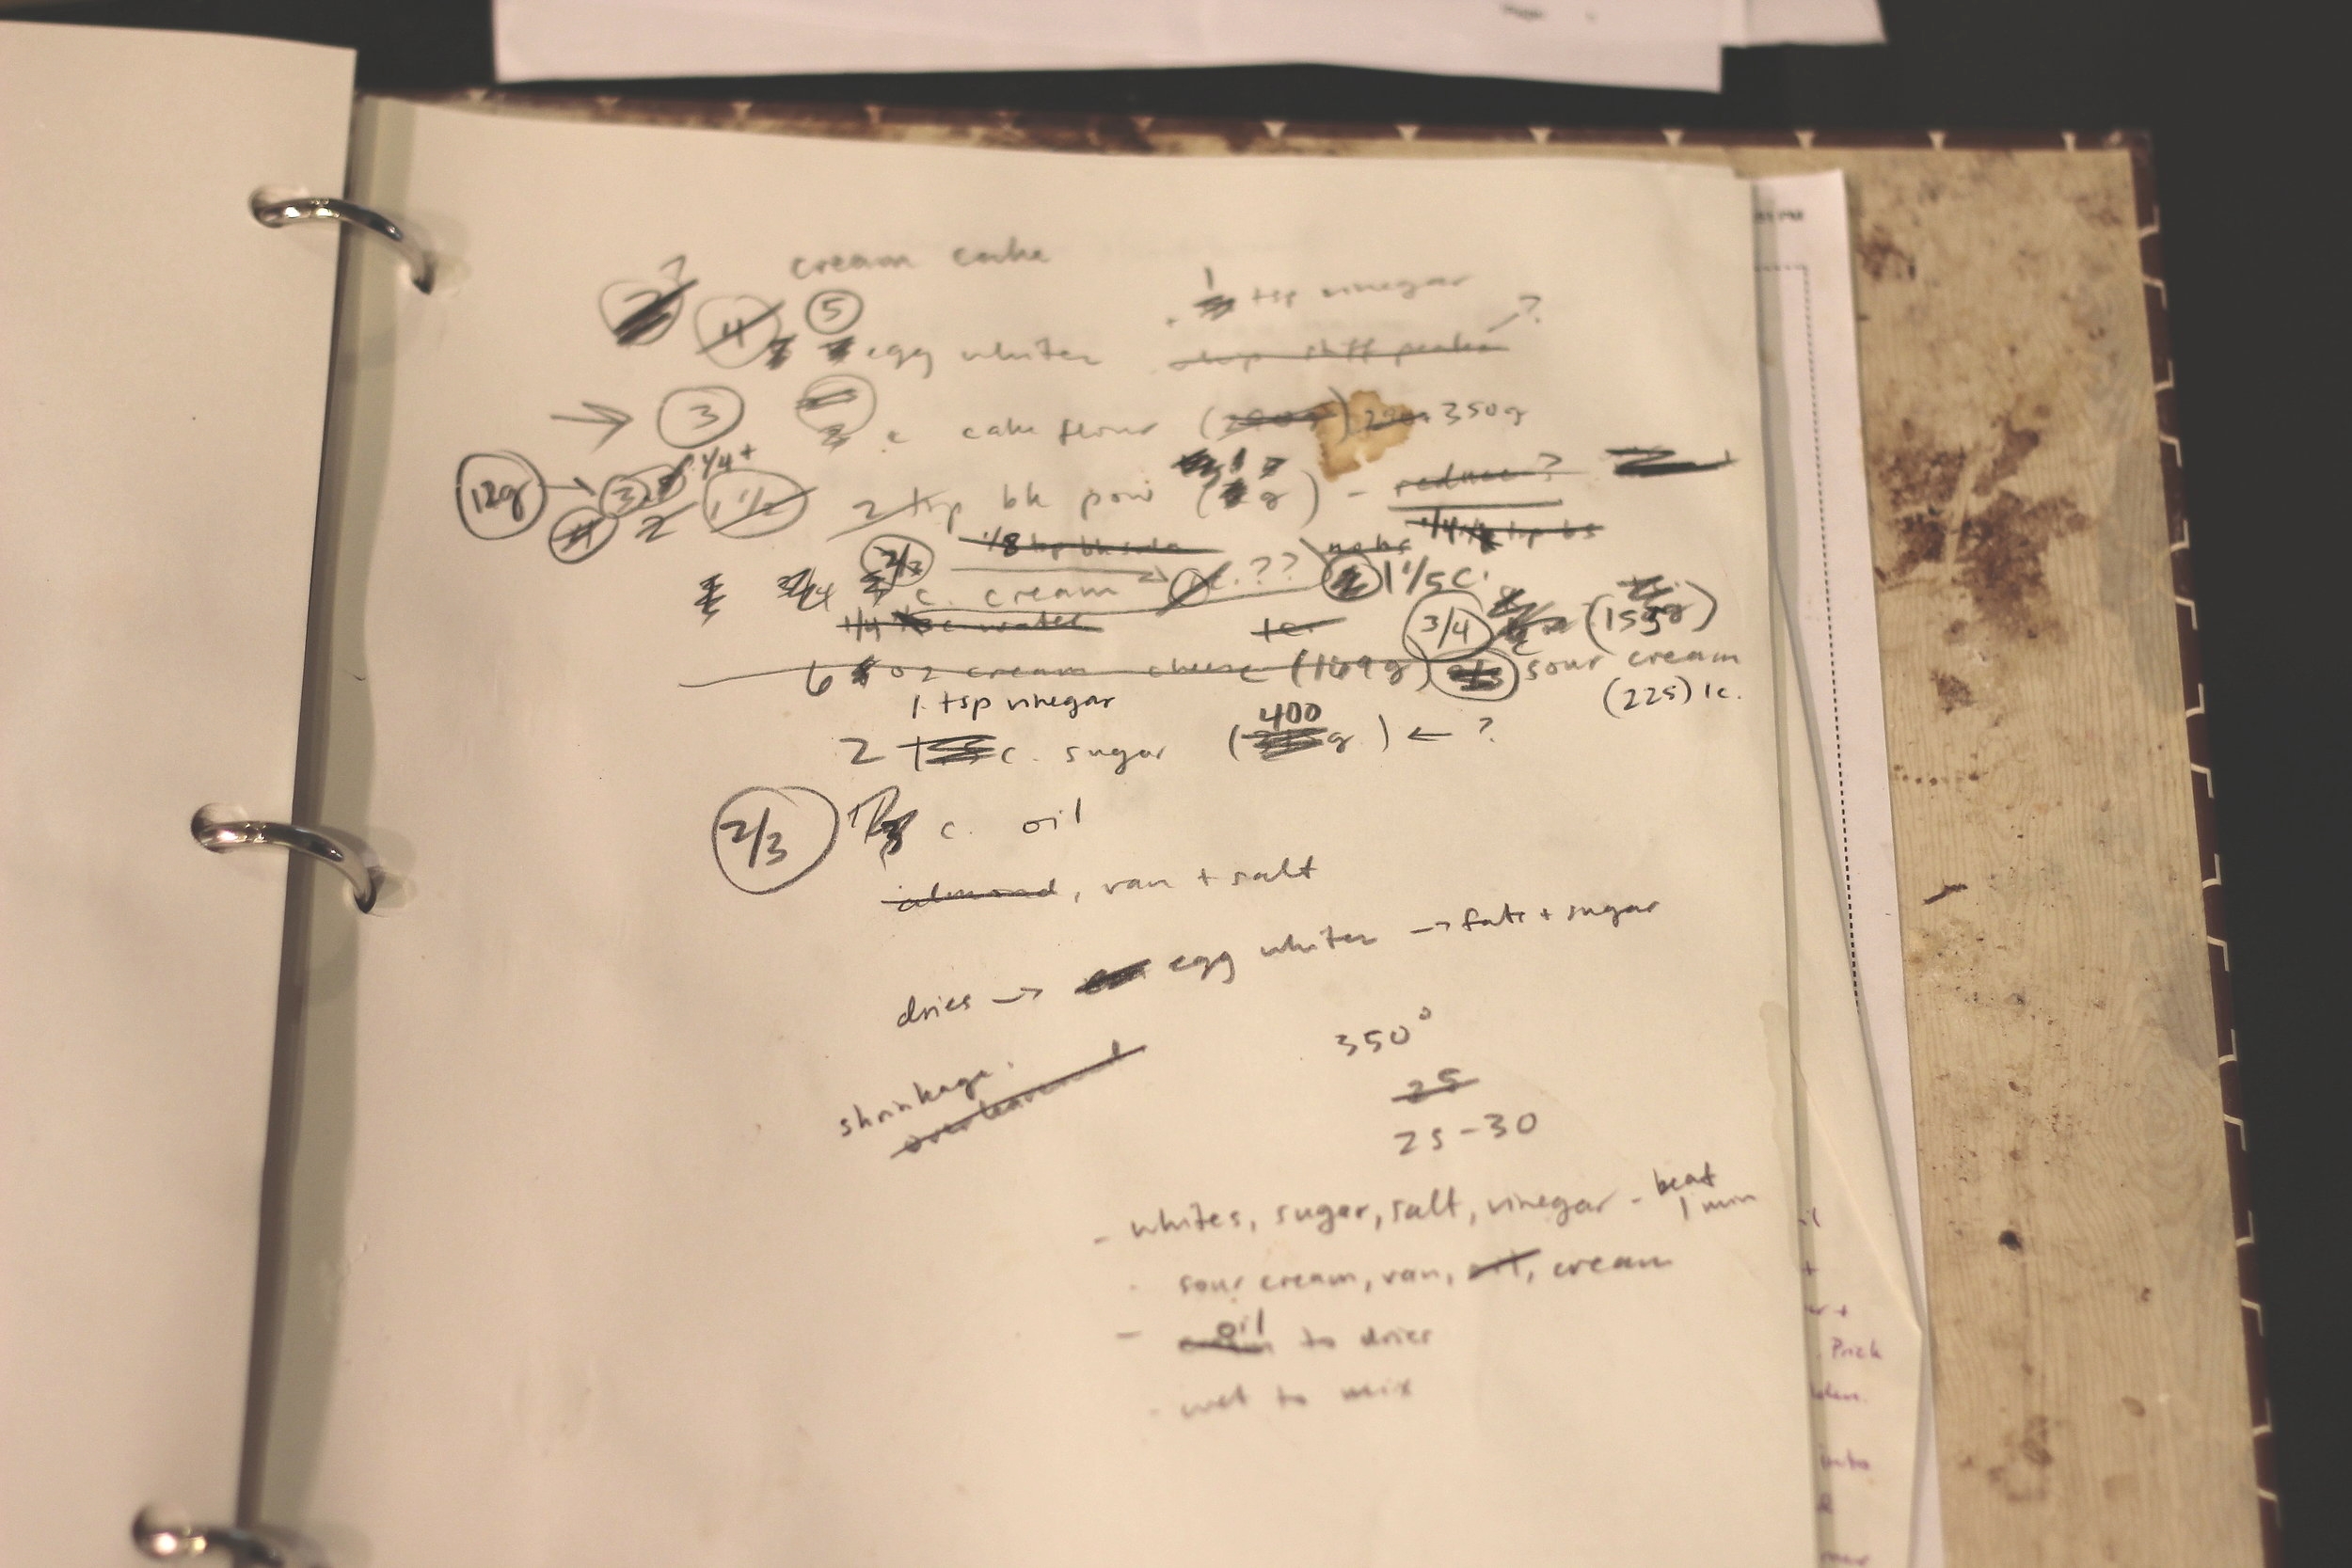
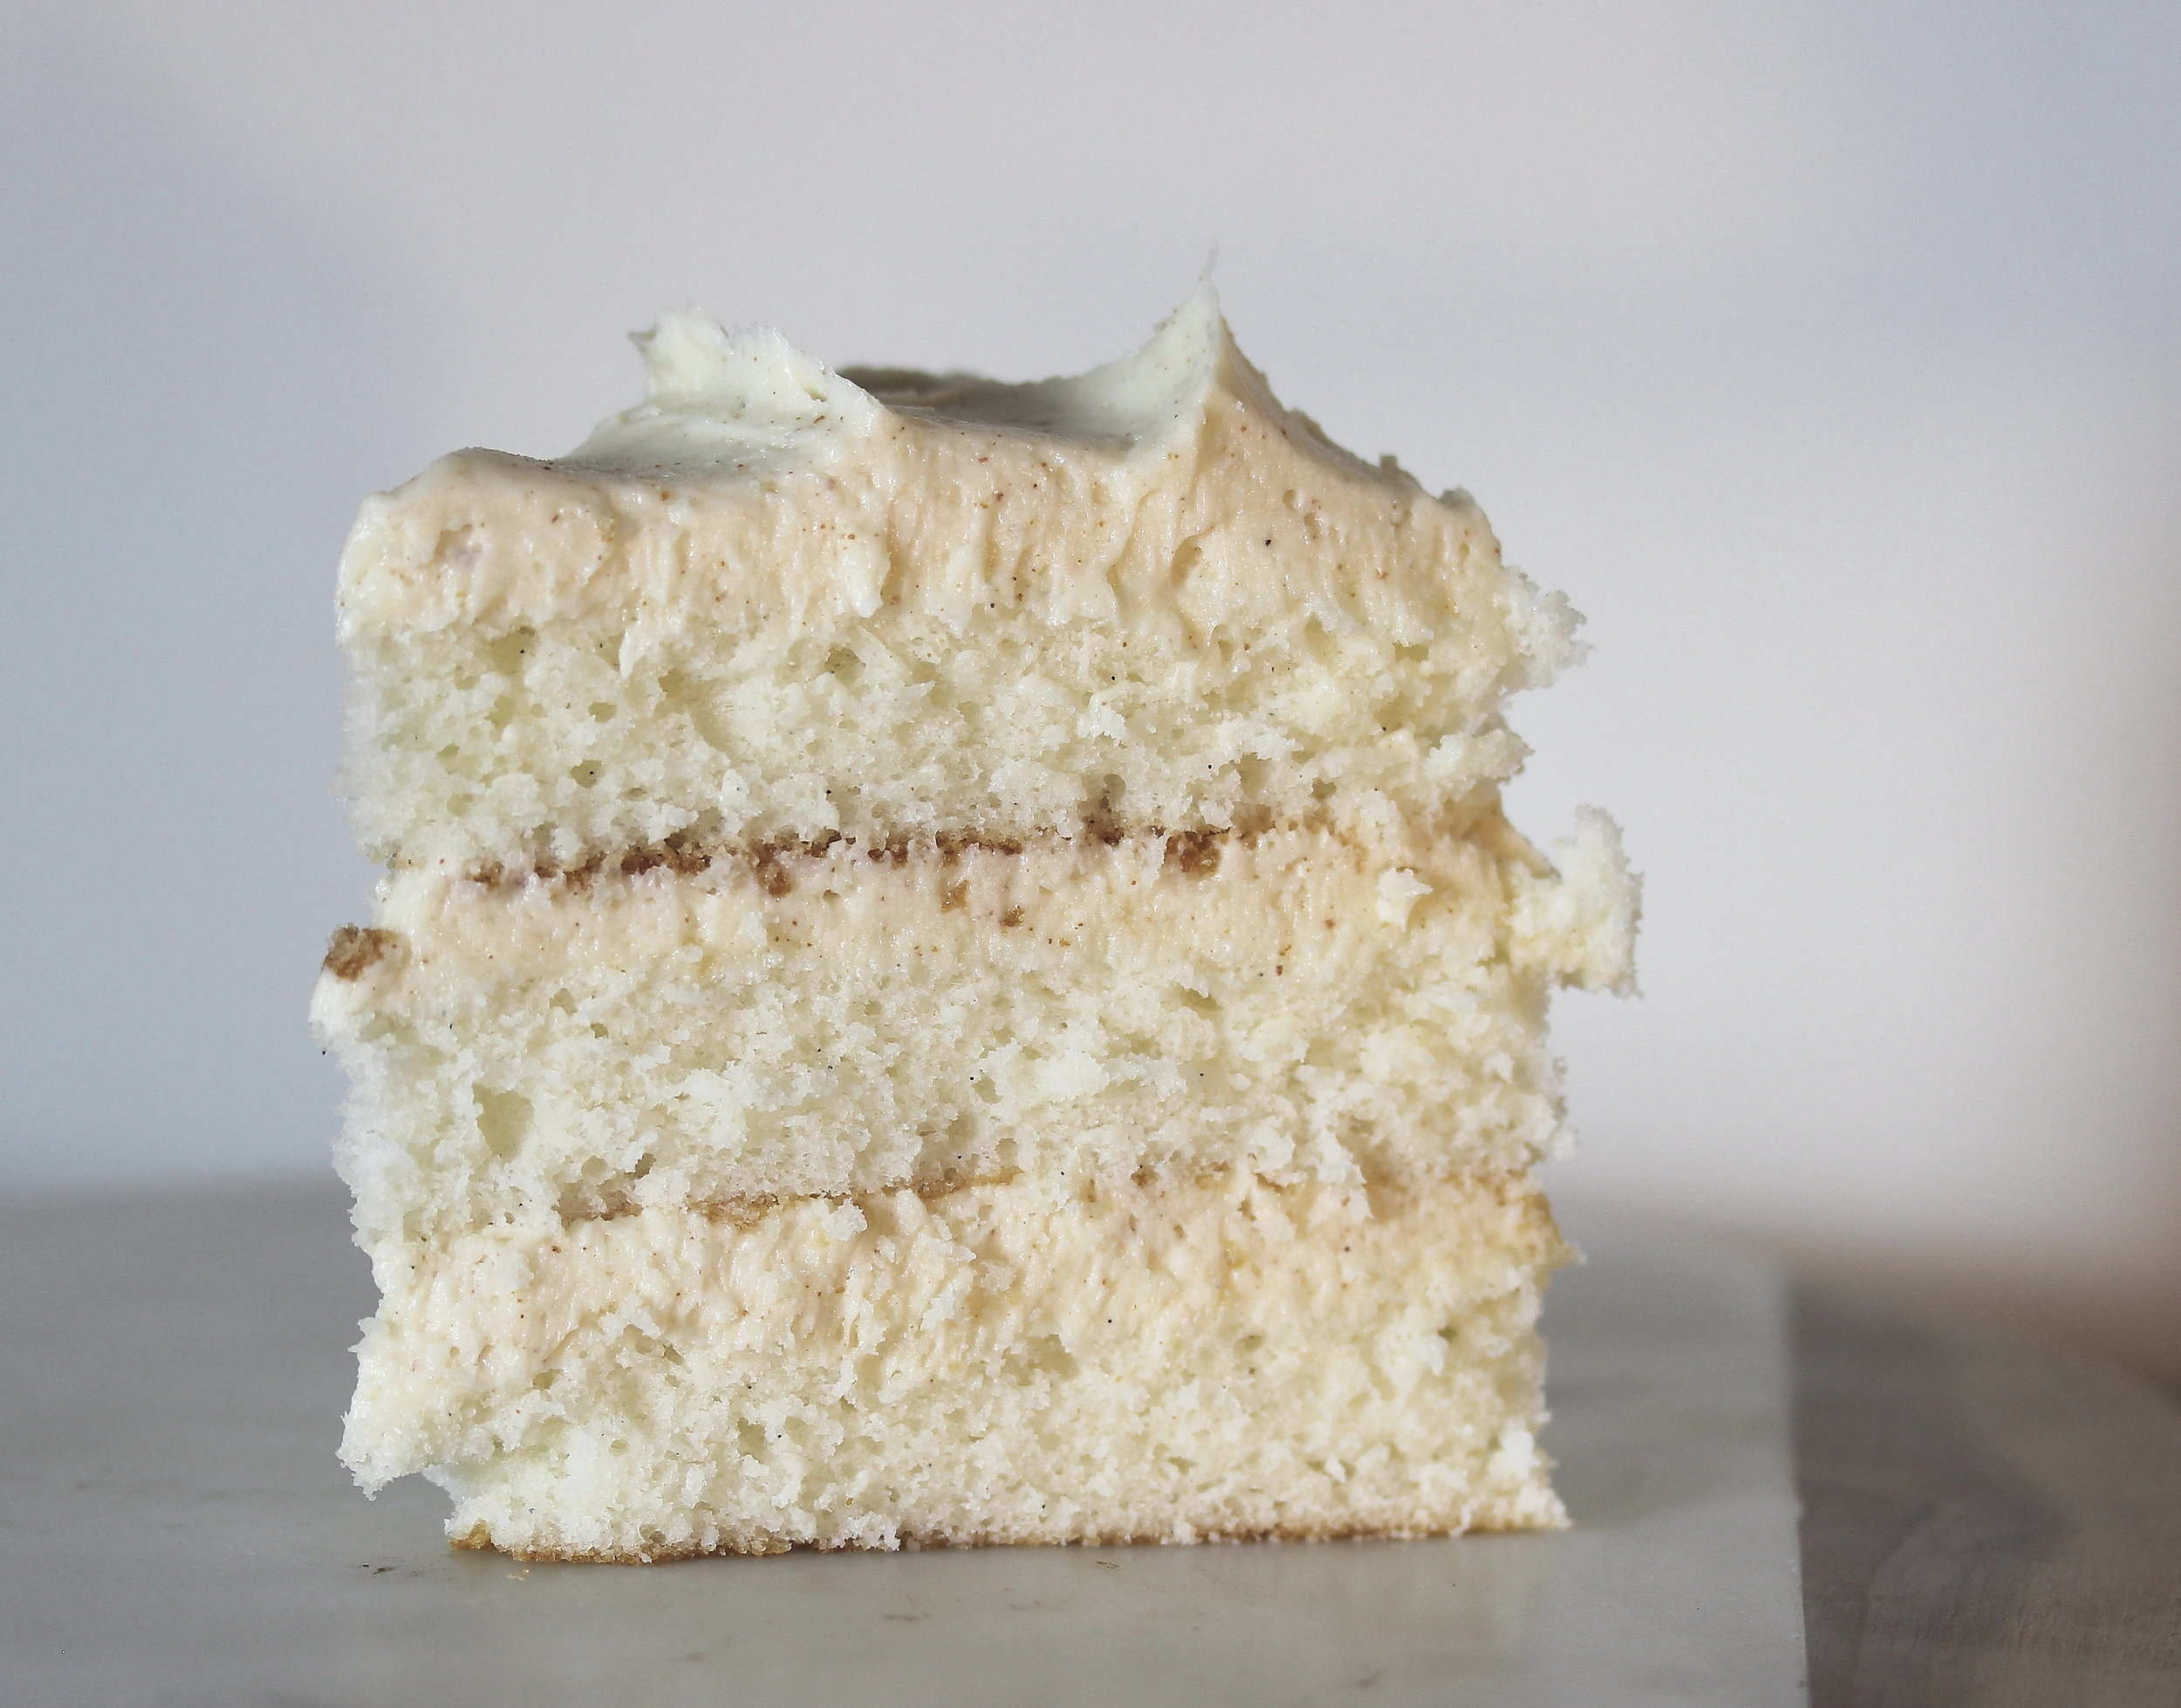
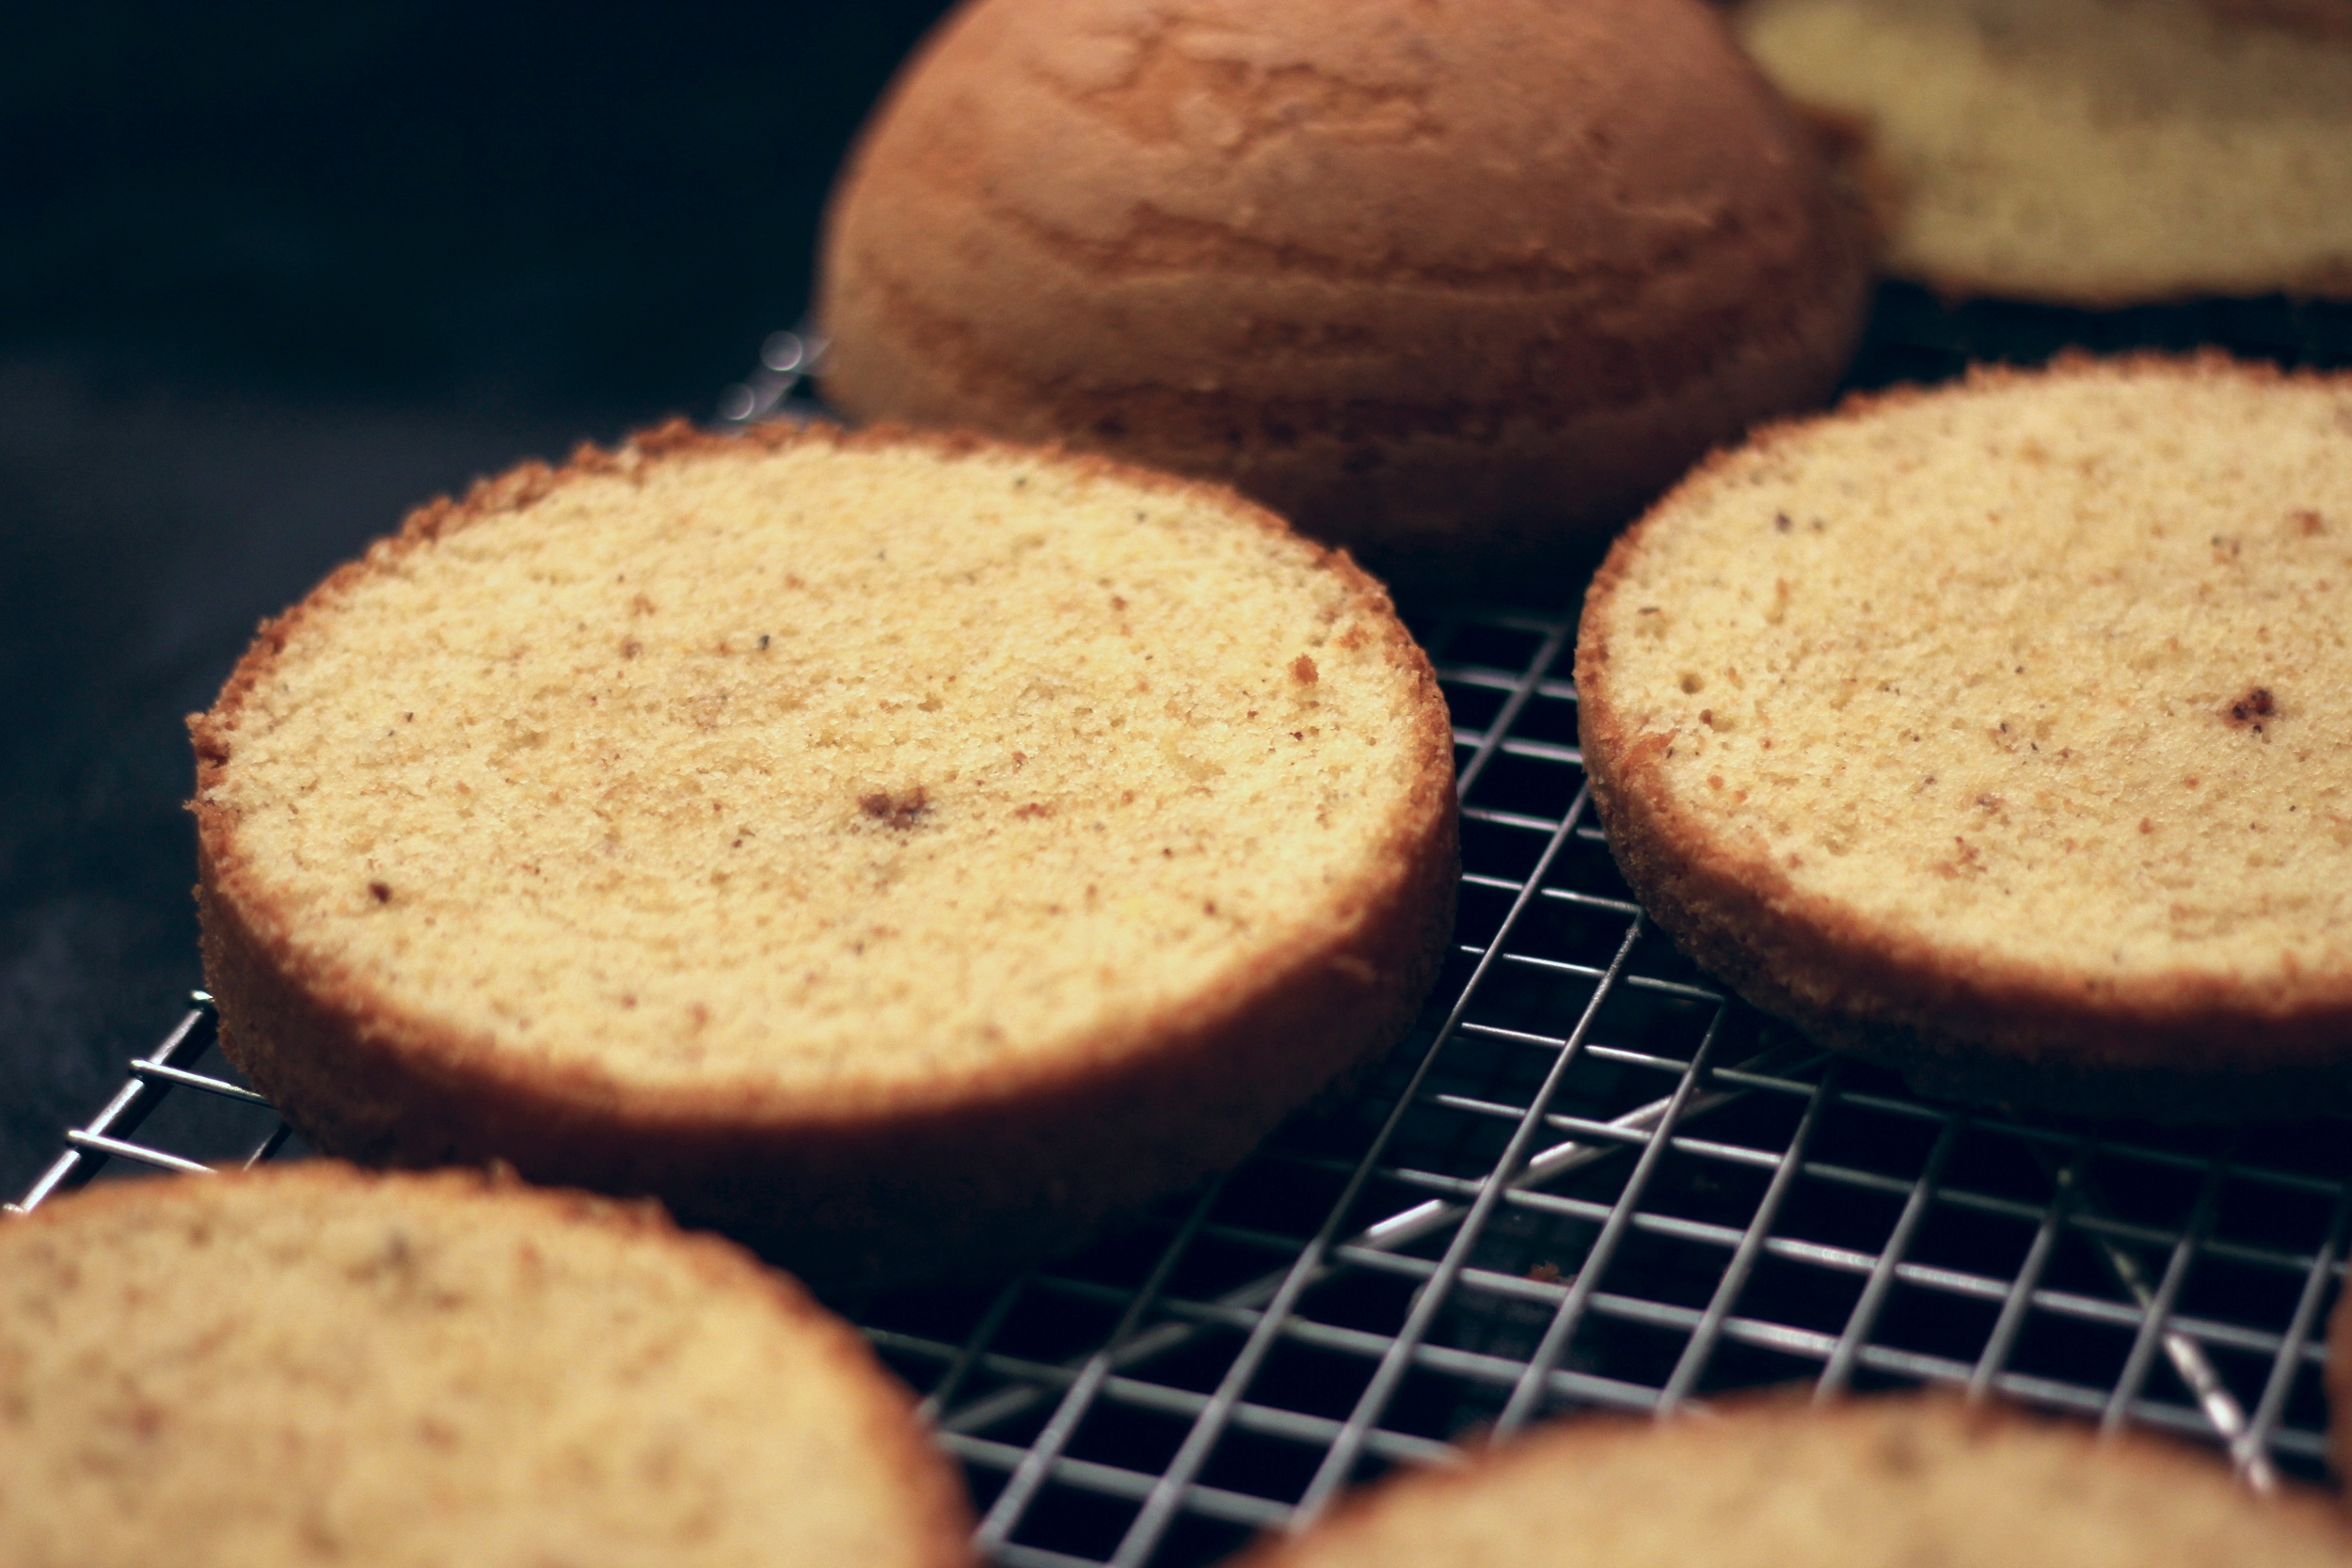
Improving upon classic gingerbread cake meant adding some lightness to it and some extra fat to counteract its typical dryness. I tried to switch to cake flour for a more refined texture but the cake flour just could not handle the muscle of the molasses, and ended up gummy and collapsed. So the texture of this cake is somewhat coarse but fitting for the nostalgic, old-fashioned vibe I wanted. Thinking back to my cream cake lesson, I turned to sour cream to both lighten the texture and add some fat for moisture. Still, gingerbread is going to be a heavy cake no matter what due to the molasses, but this is by far the lightest and moistest gingerbread cake I have ever had.
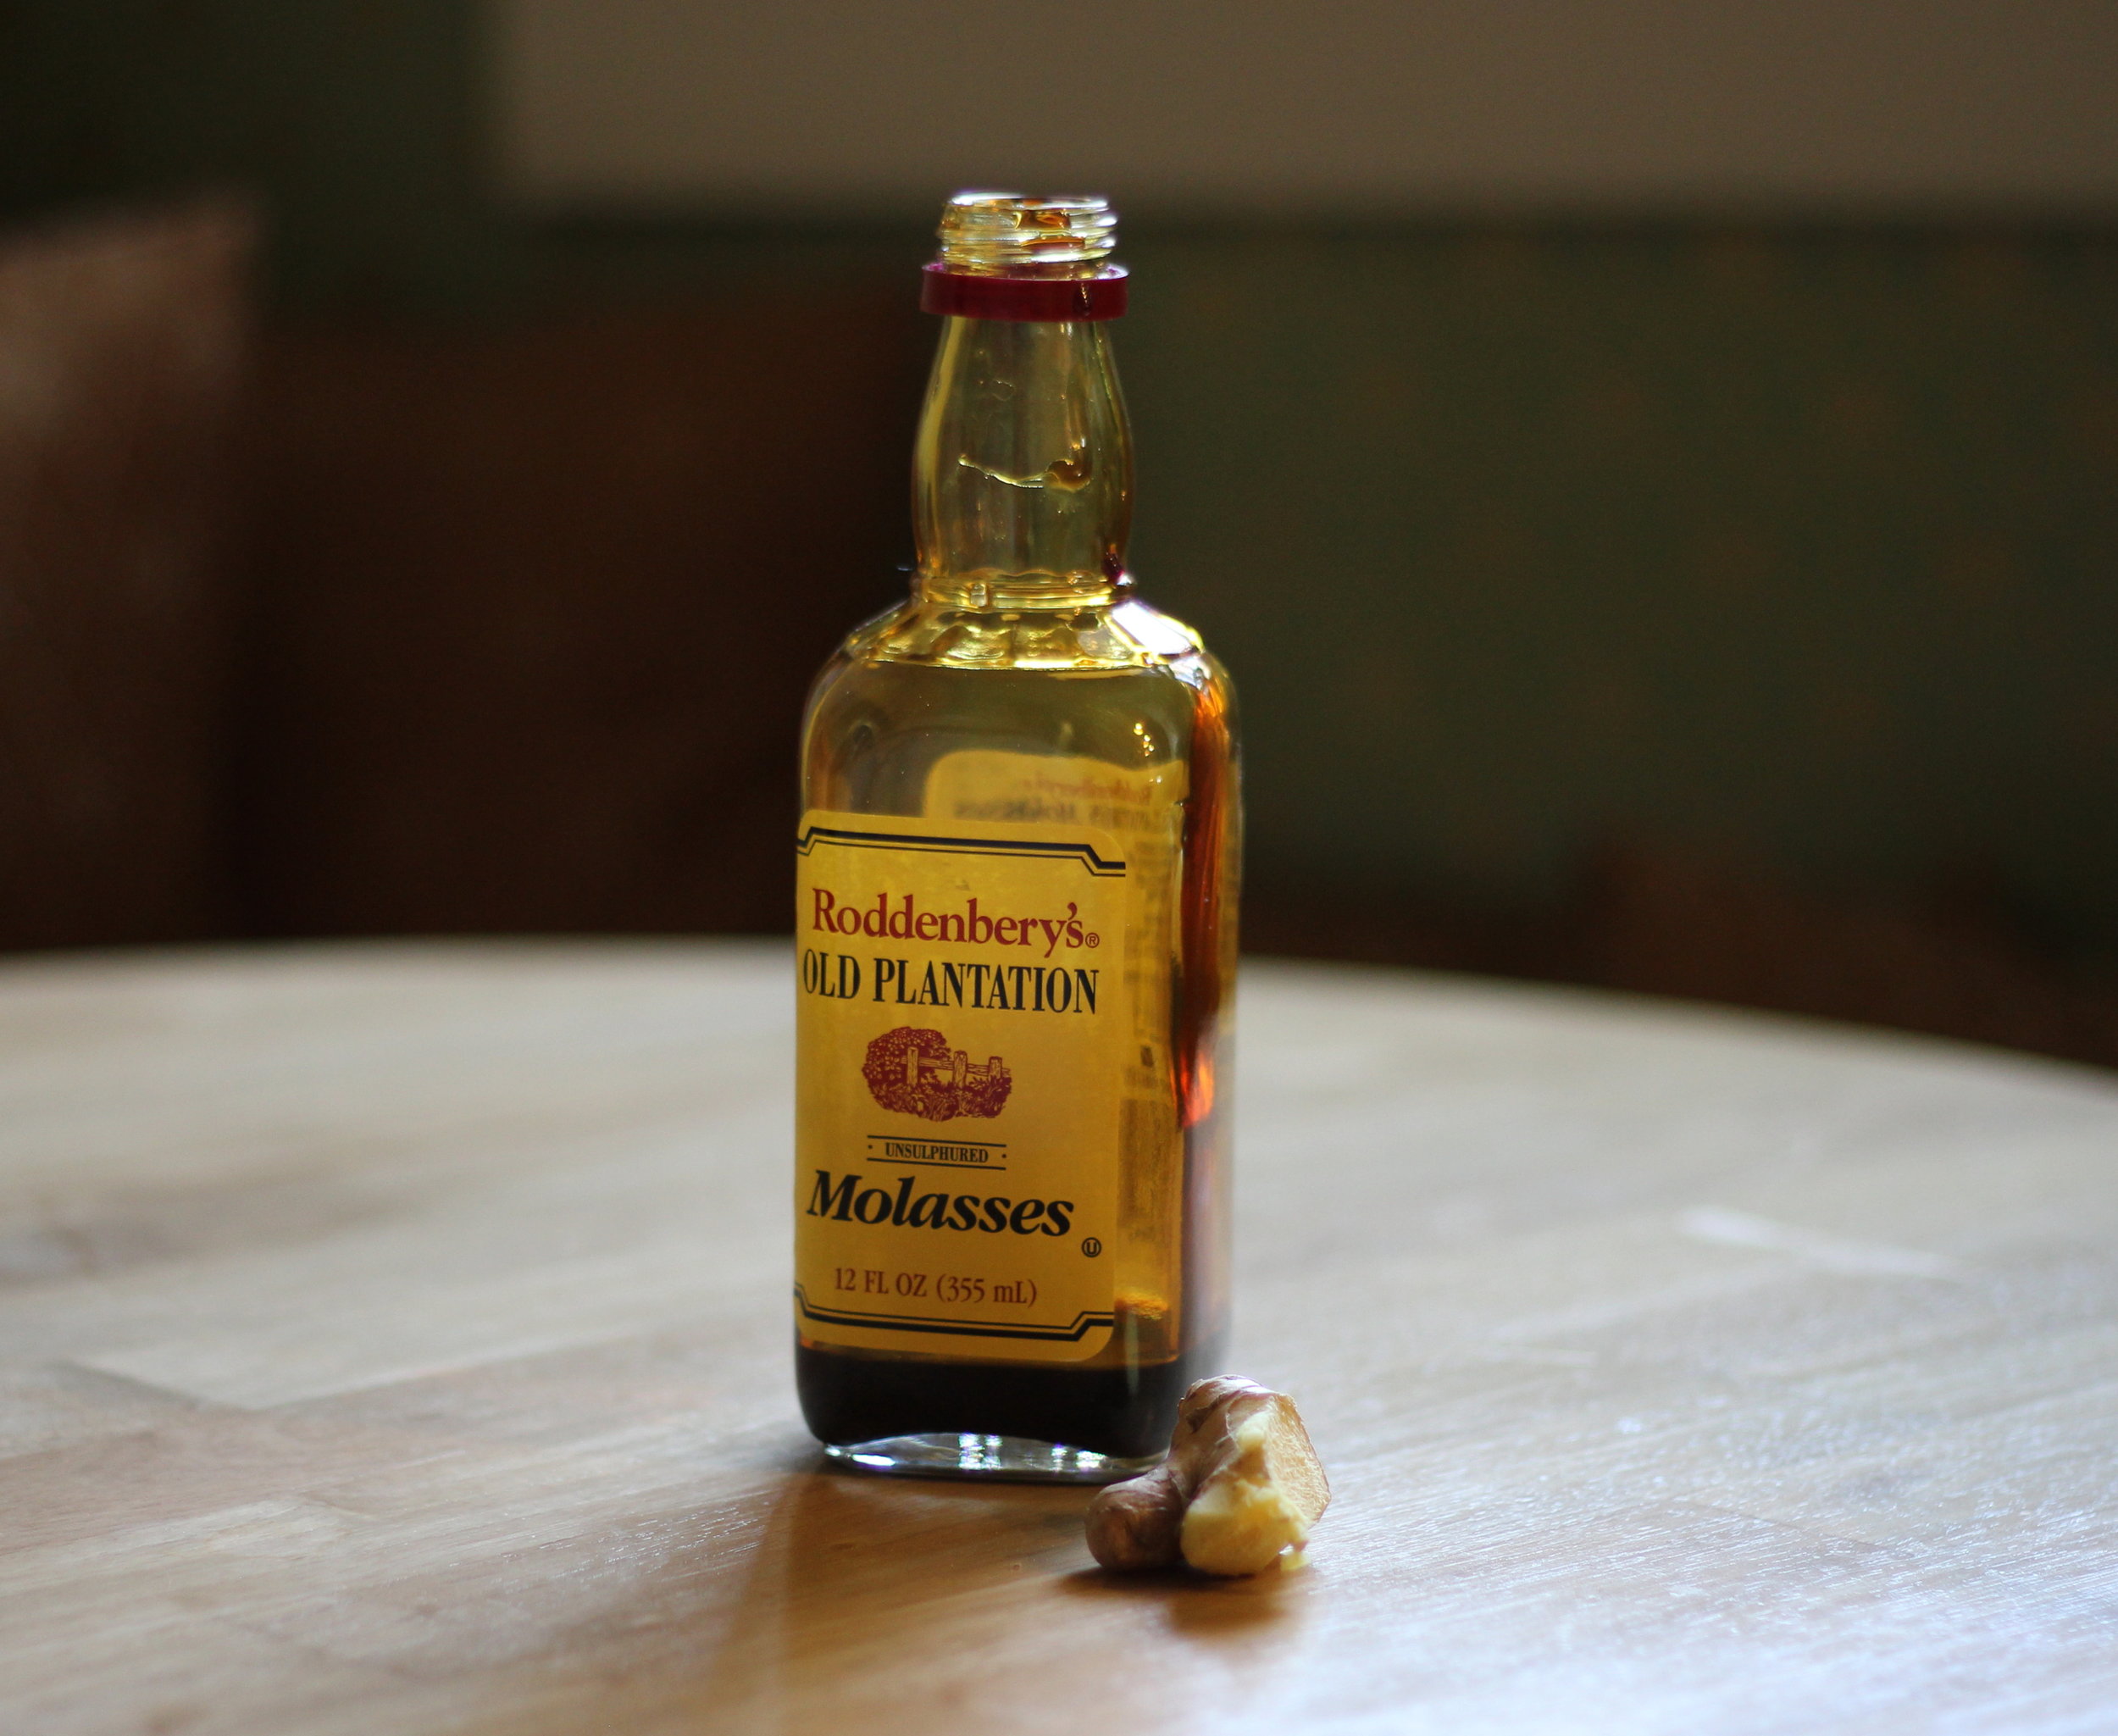
did I buy this brand of molasses because it looks like a tiny liquor bottle? Yes. That is accurate.

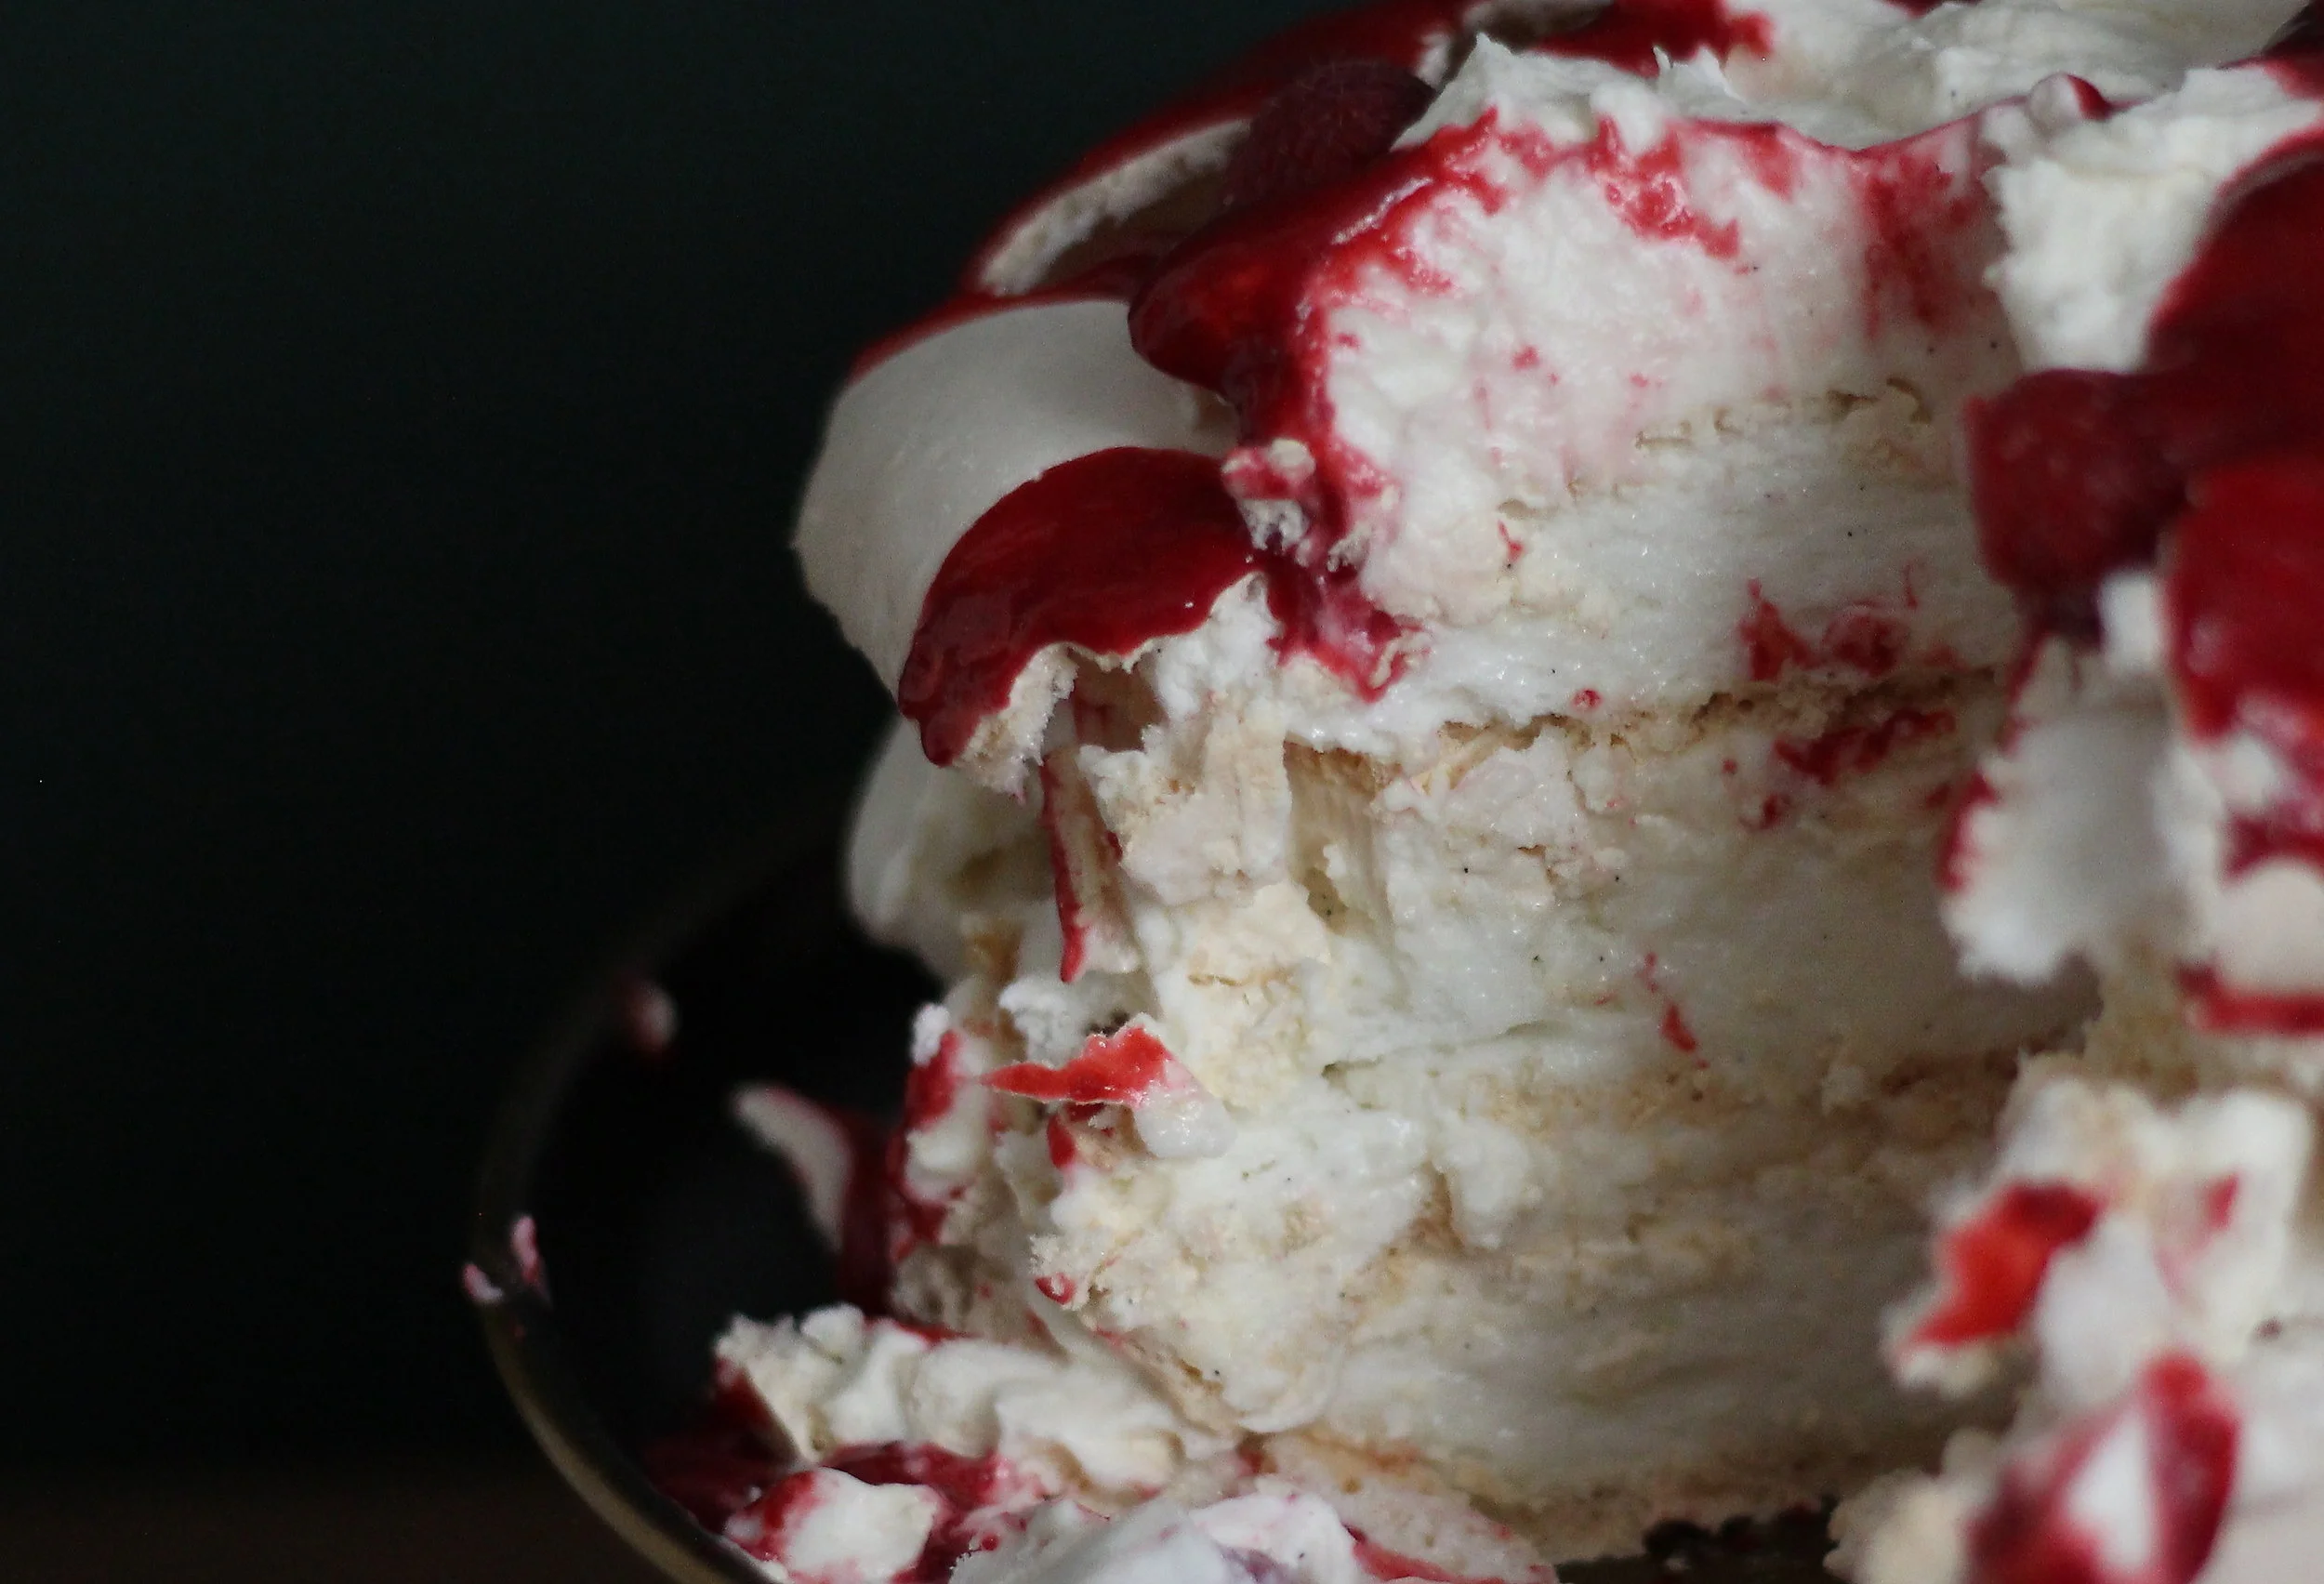
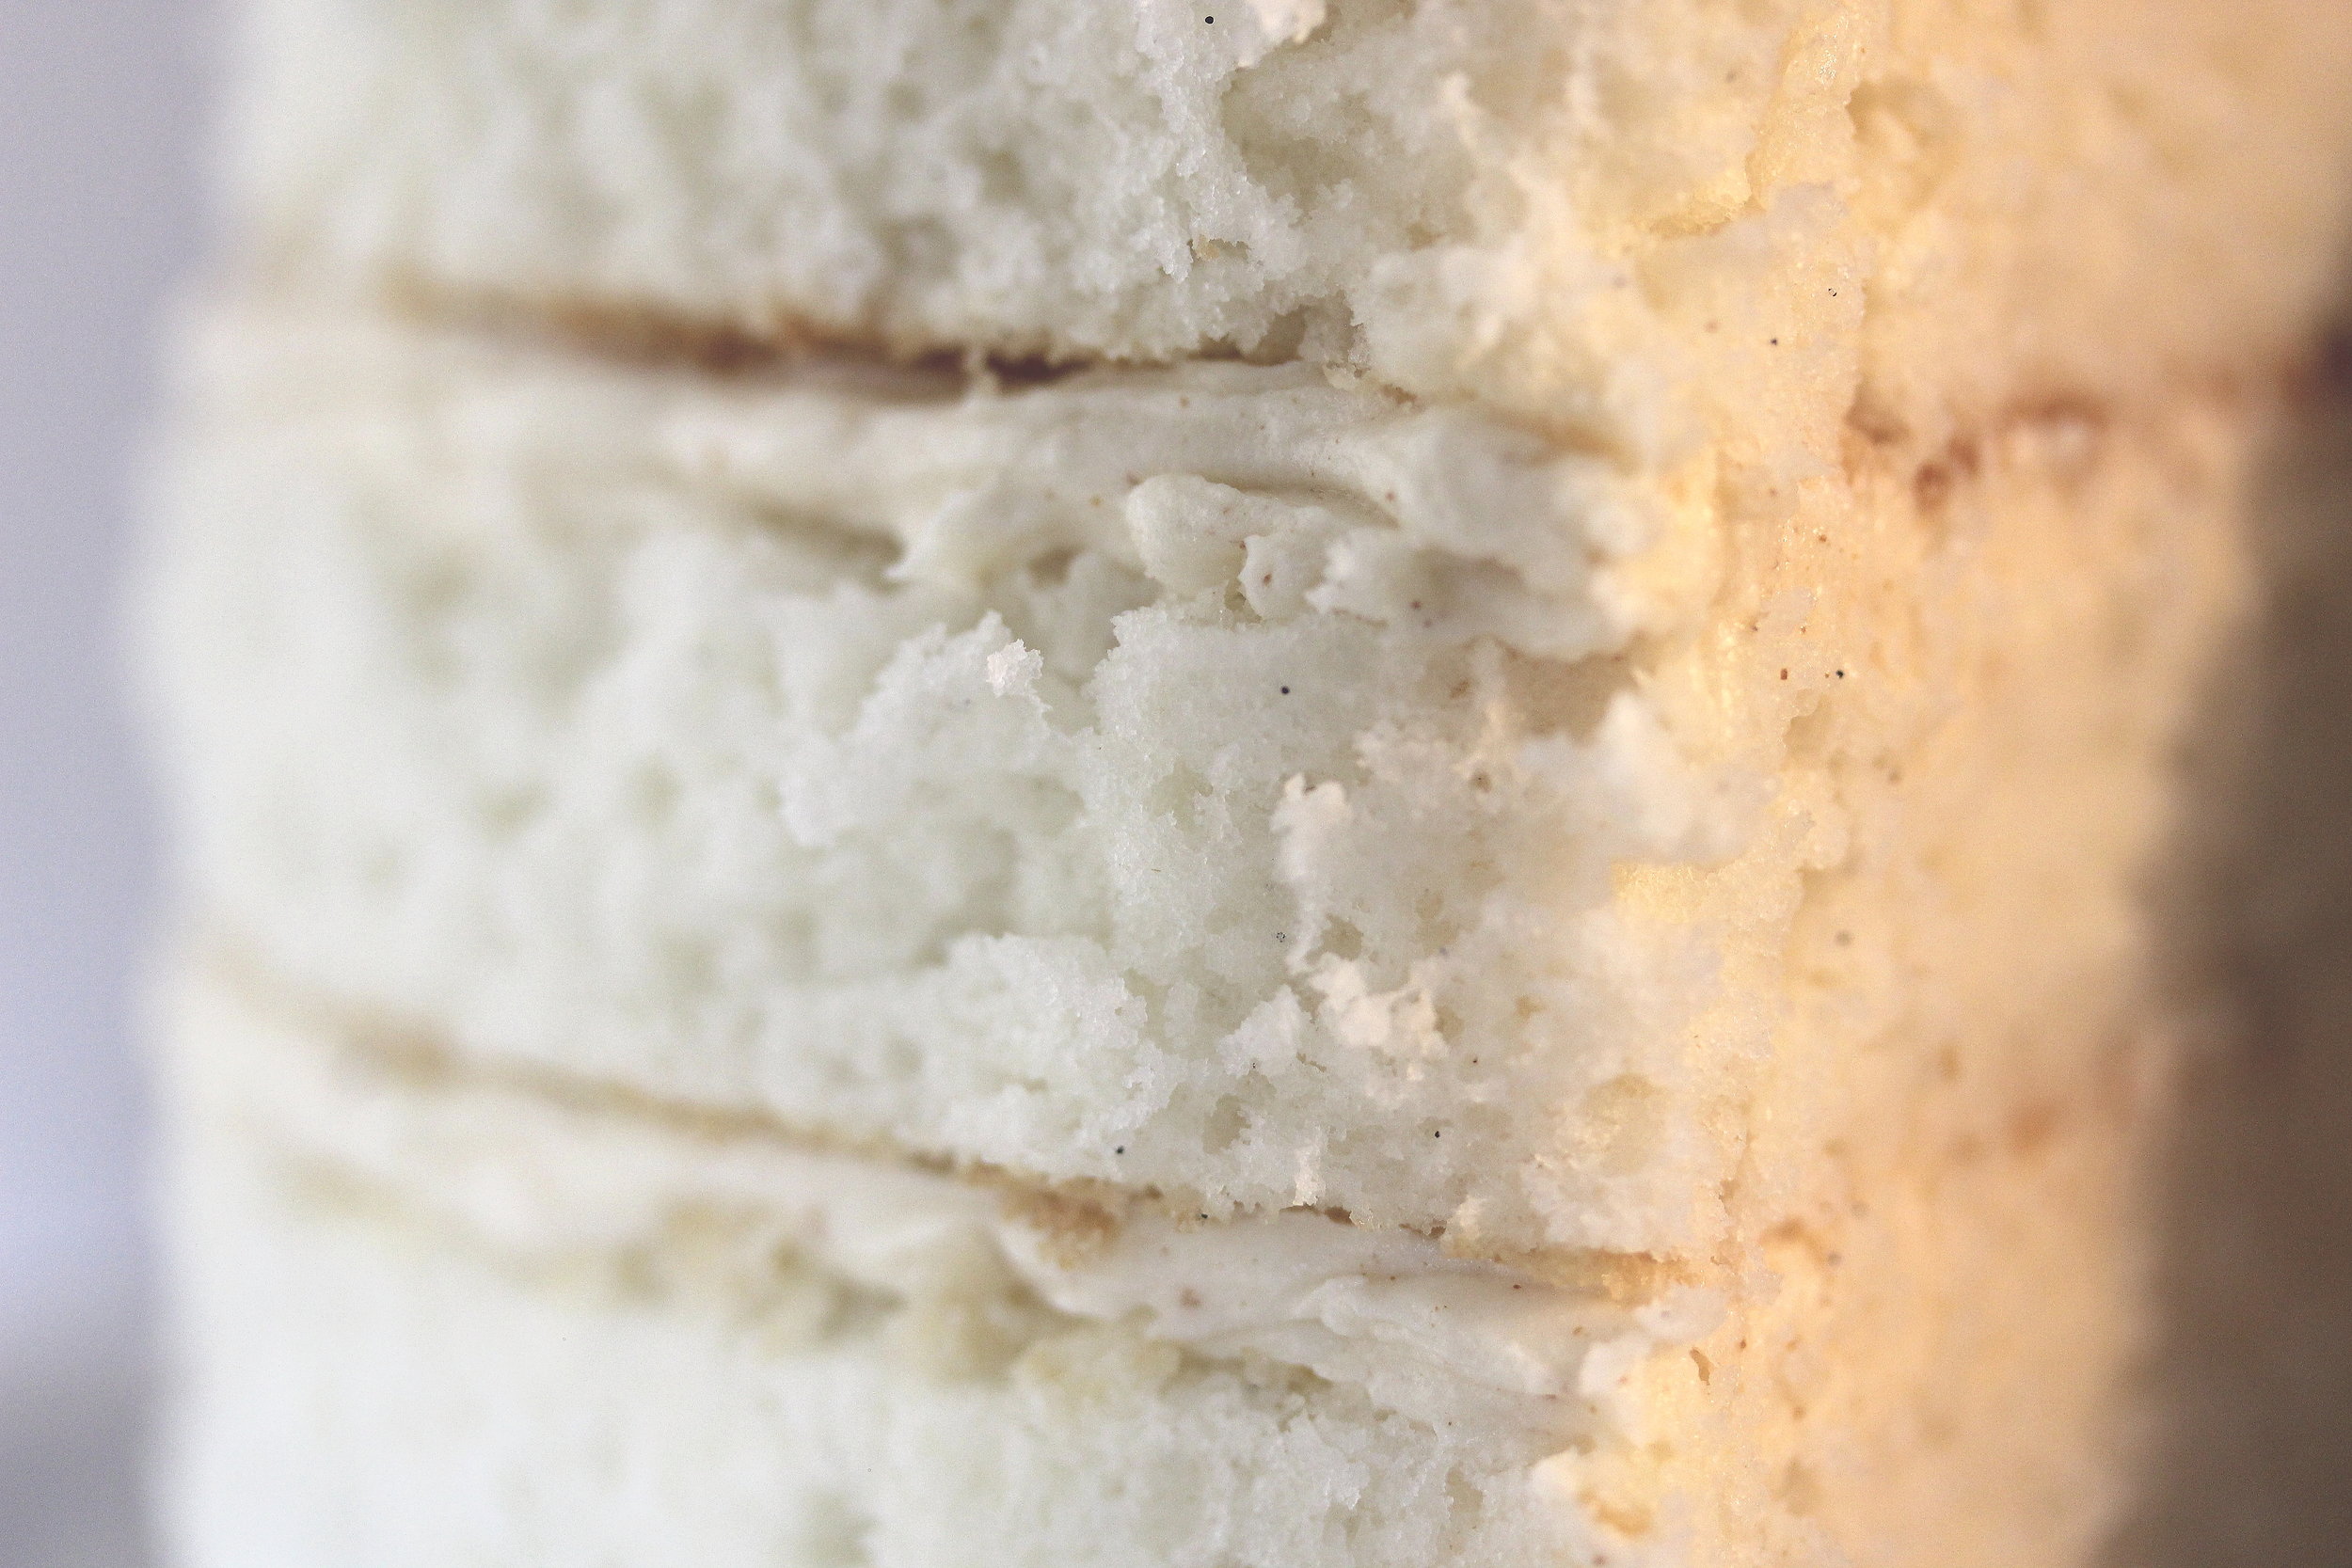
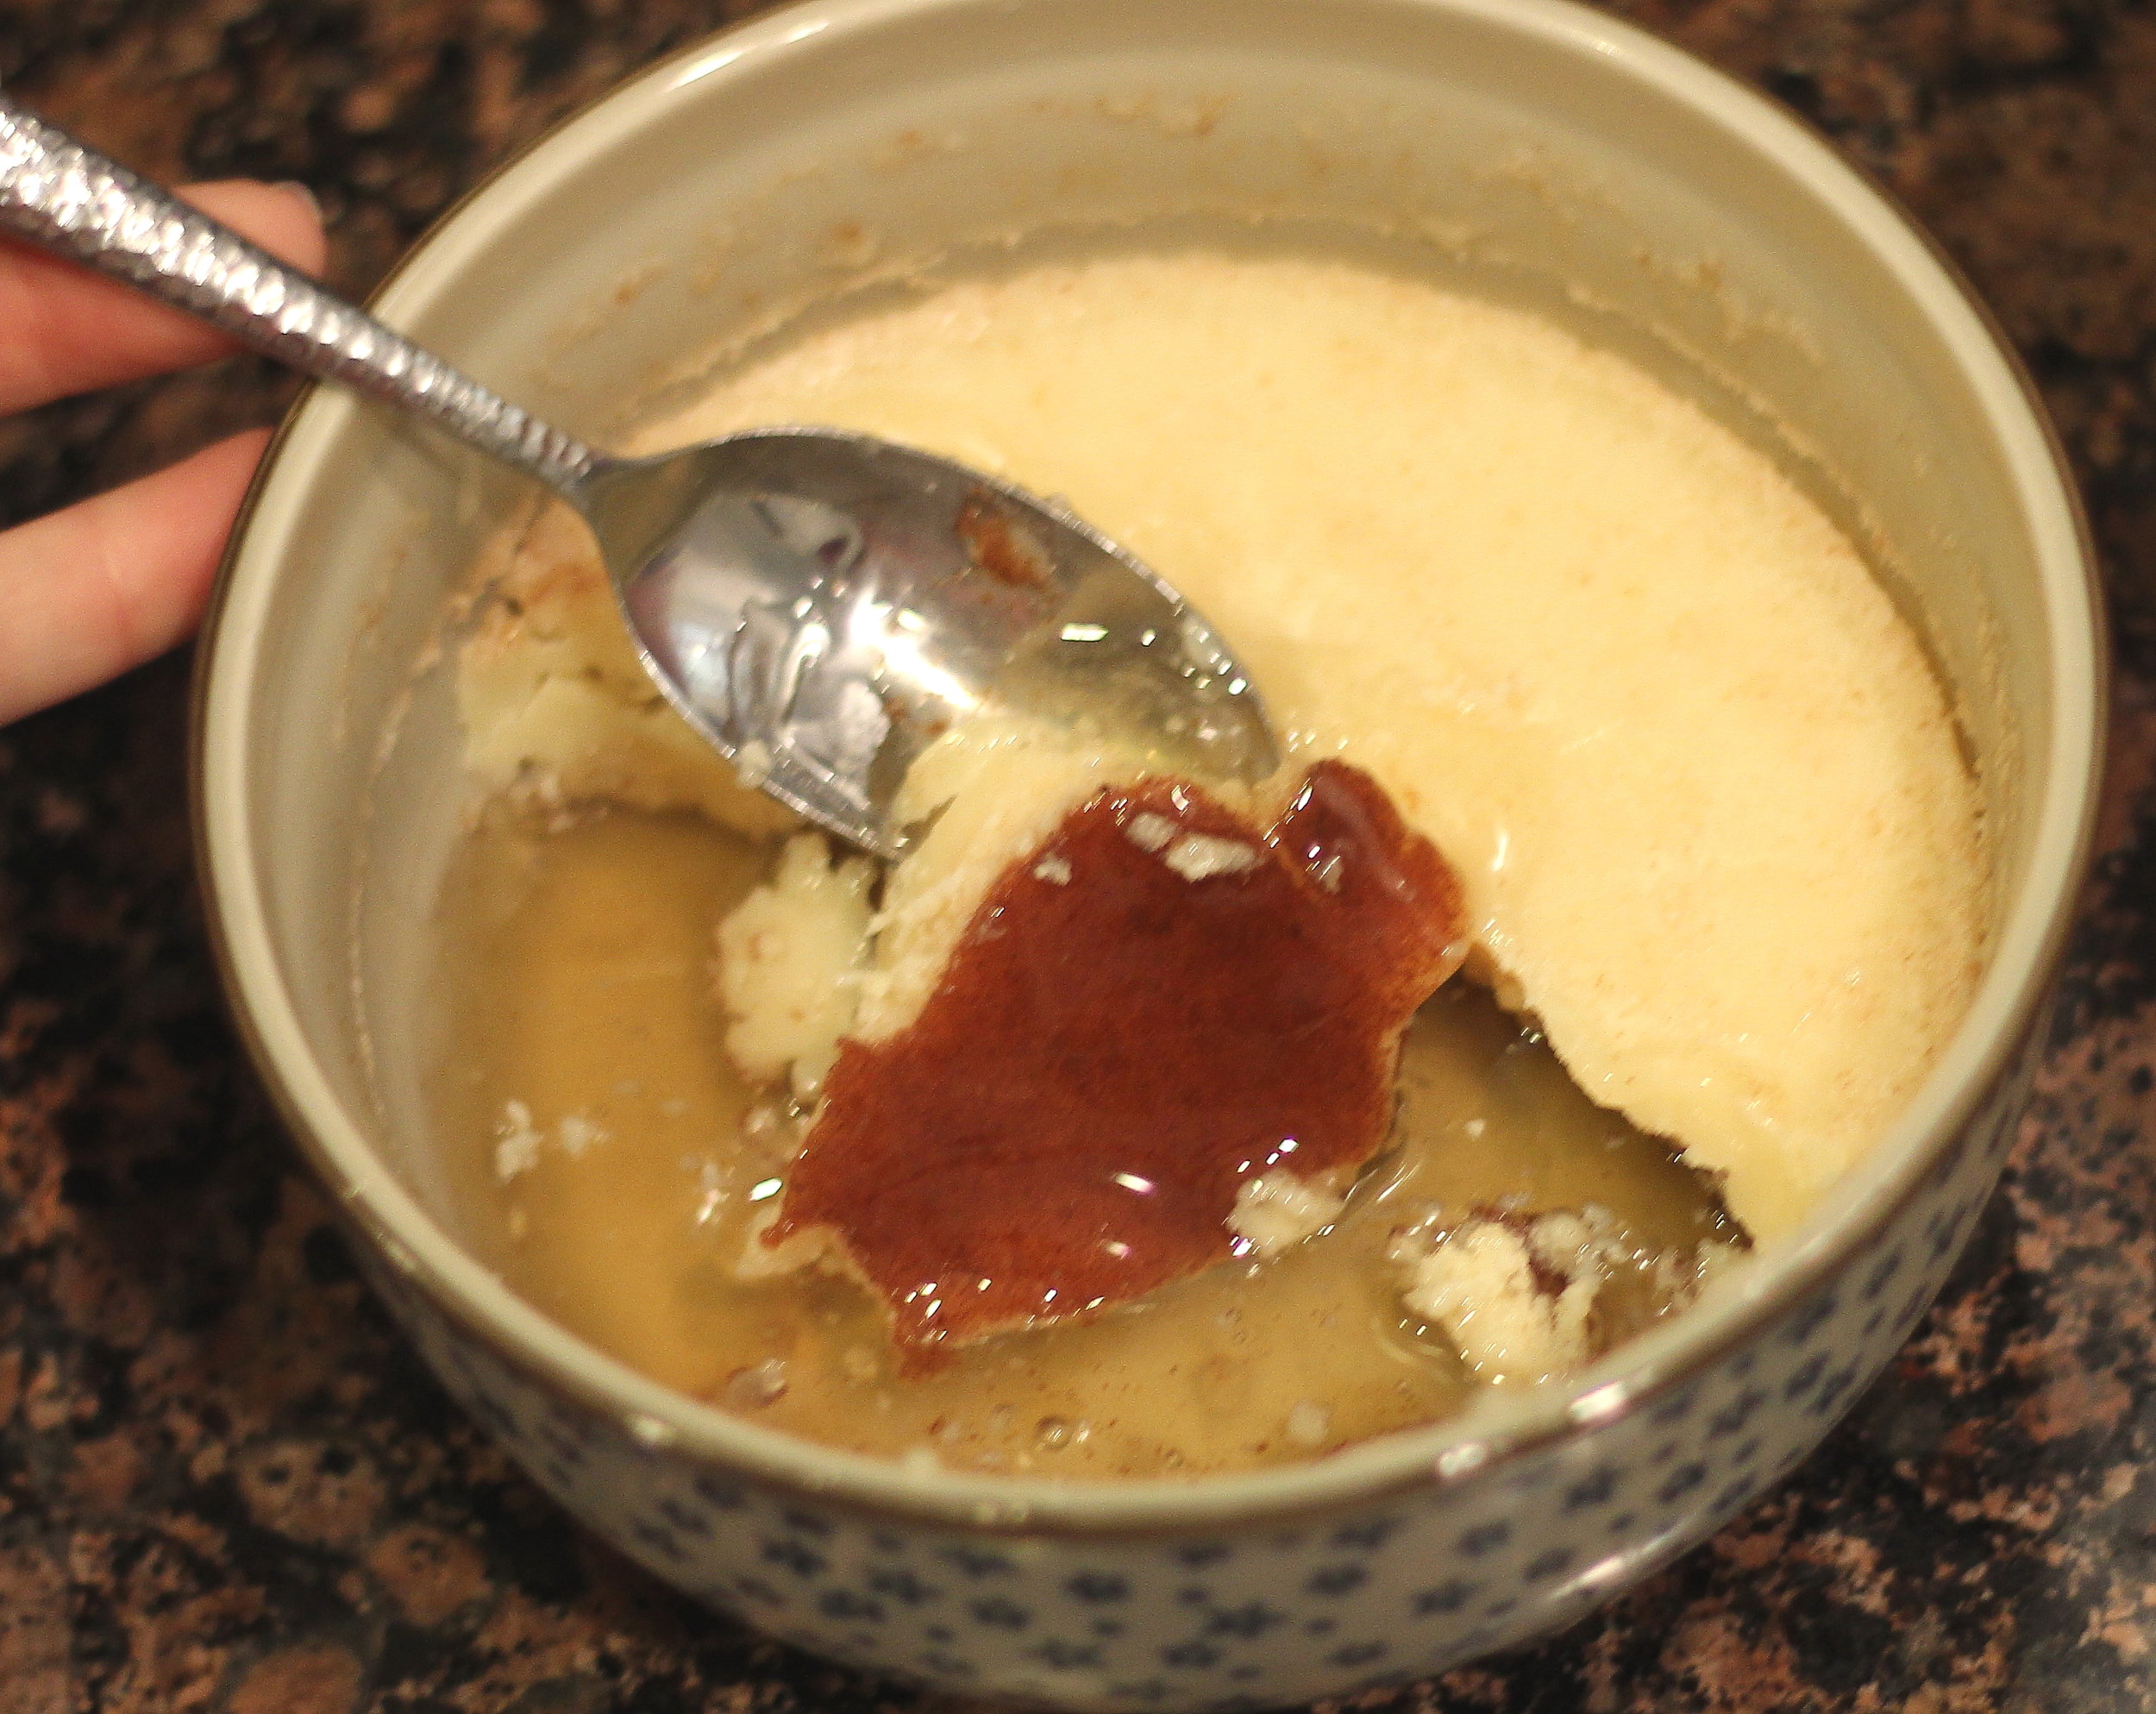
incredibly moist!
Flavorwise, something had to be done to balance the overwhelming flavor of molasses. It's just so powerful. The little scoop of ground ginger most recipes call for just will not do. I swapped out that weak mess for some real, freshly grated ginger, along with a pinch of pepper and a shot of rum. Finally some flavor comrades who can step to molasses.
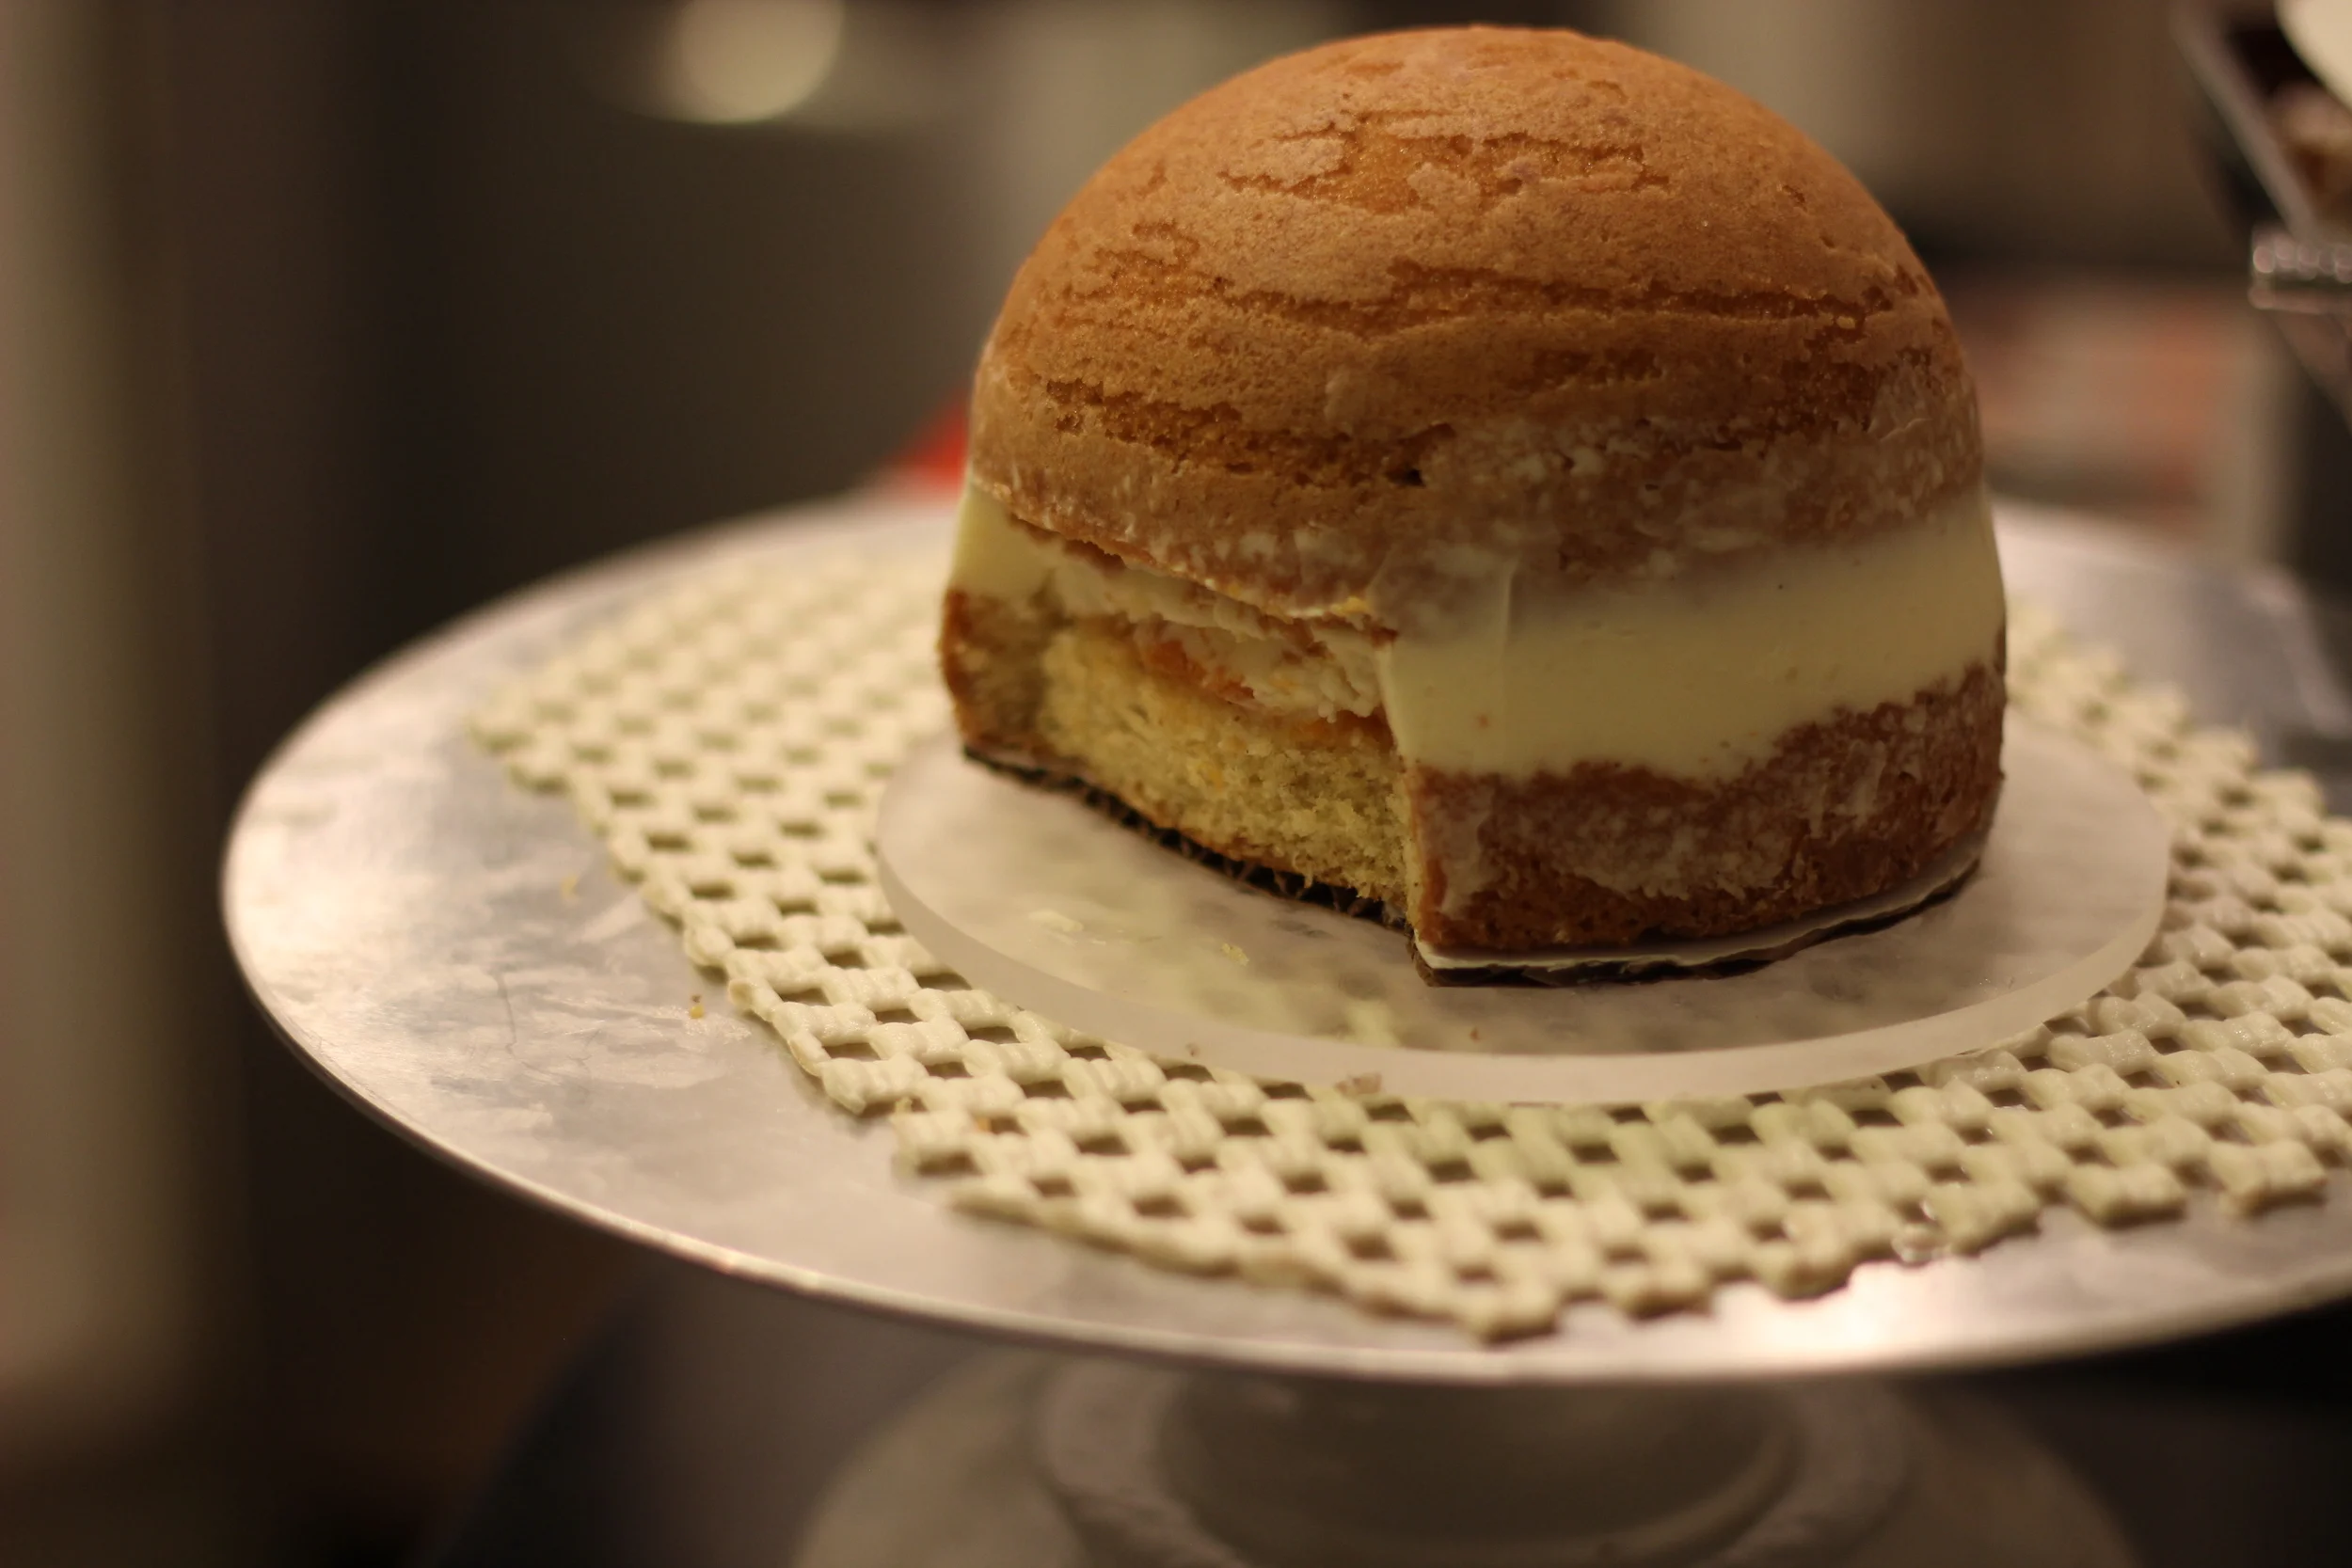
This buttercream is exactly the same as the ermine I came up with a few cakes back, but now with white chocolate for an even creamier flavor. It's one of my favorite buttercreams, and has a sturdy, almost-pudding-like consistency that I knew would hold up under the heavy gingerbread.
ERMINE BUTTERCREAM
4 Tbsp flour
1/4 c milk
3/4 c heavy cream
1/2 c granulated sugar
1 c (6 oz) white chocolate, chopped
1 Tbsp vanilla extract
1/4 tsp salt
2 c unsalted butter, room temperature
3/4 c powdered sugar, or to taste
Combine milk and cream. Place flour and 1/3 c. of the milk/cream mixture in a small saucepan. Whisk constantly over low heat until mixture thickens. Add remaining liquid and sugar, boil over low heat for about 2 minutes until mixture is thick as paste and bubbling. Add white chocolate and stir until melted. Transfer to a small bowl and refrigerate until cool. Whip butter, salt, vanilla, and powdered sugar until light and fluffy. Add the cool pudding in small batches and whip until smooth and combined.
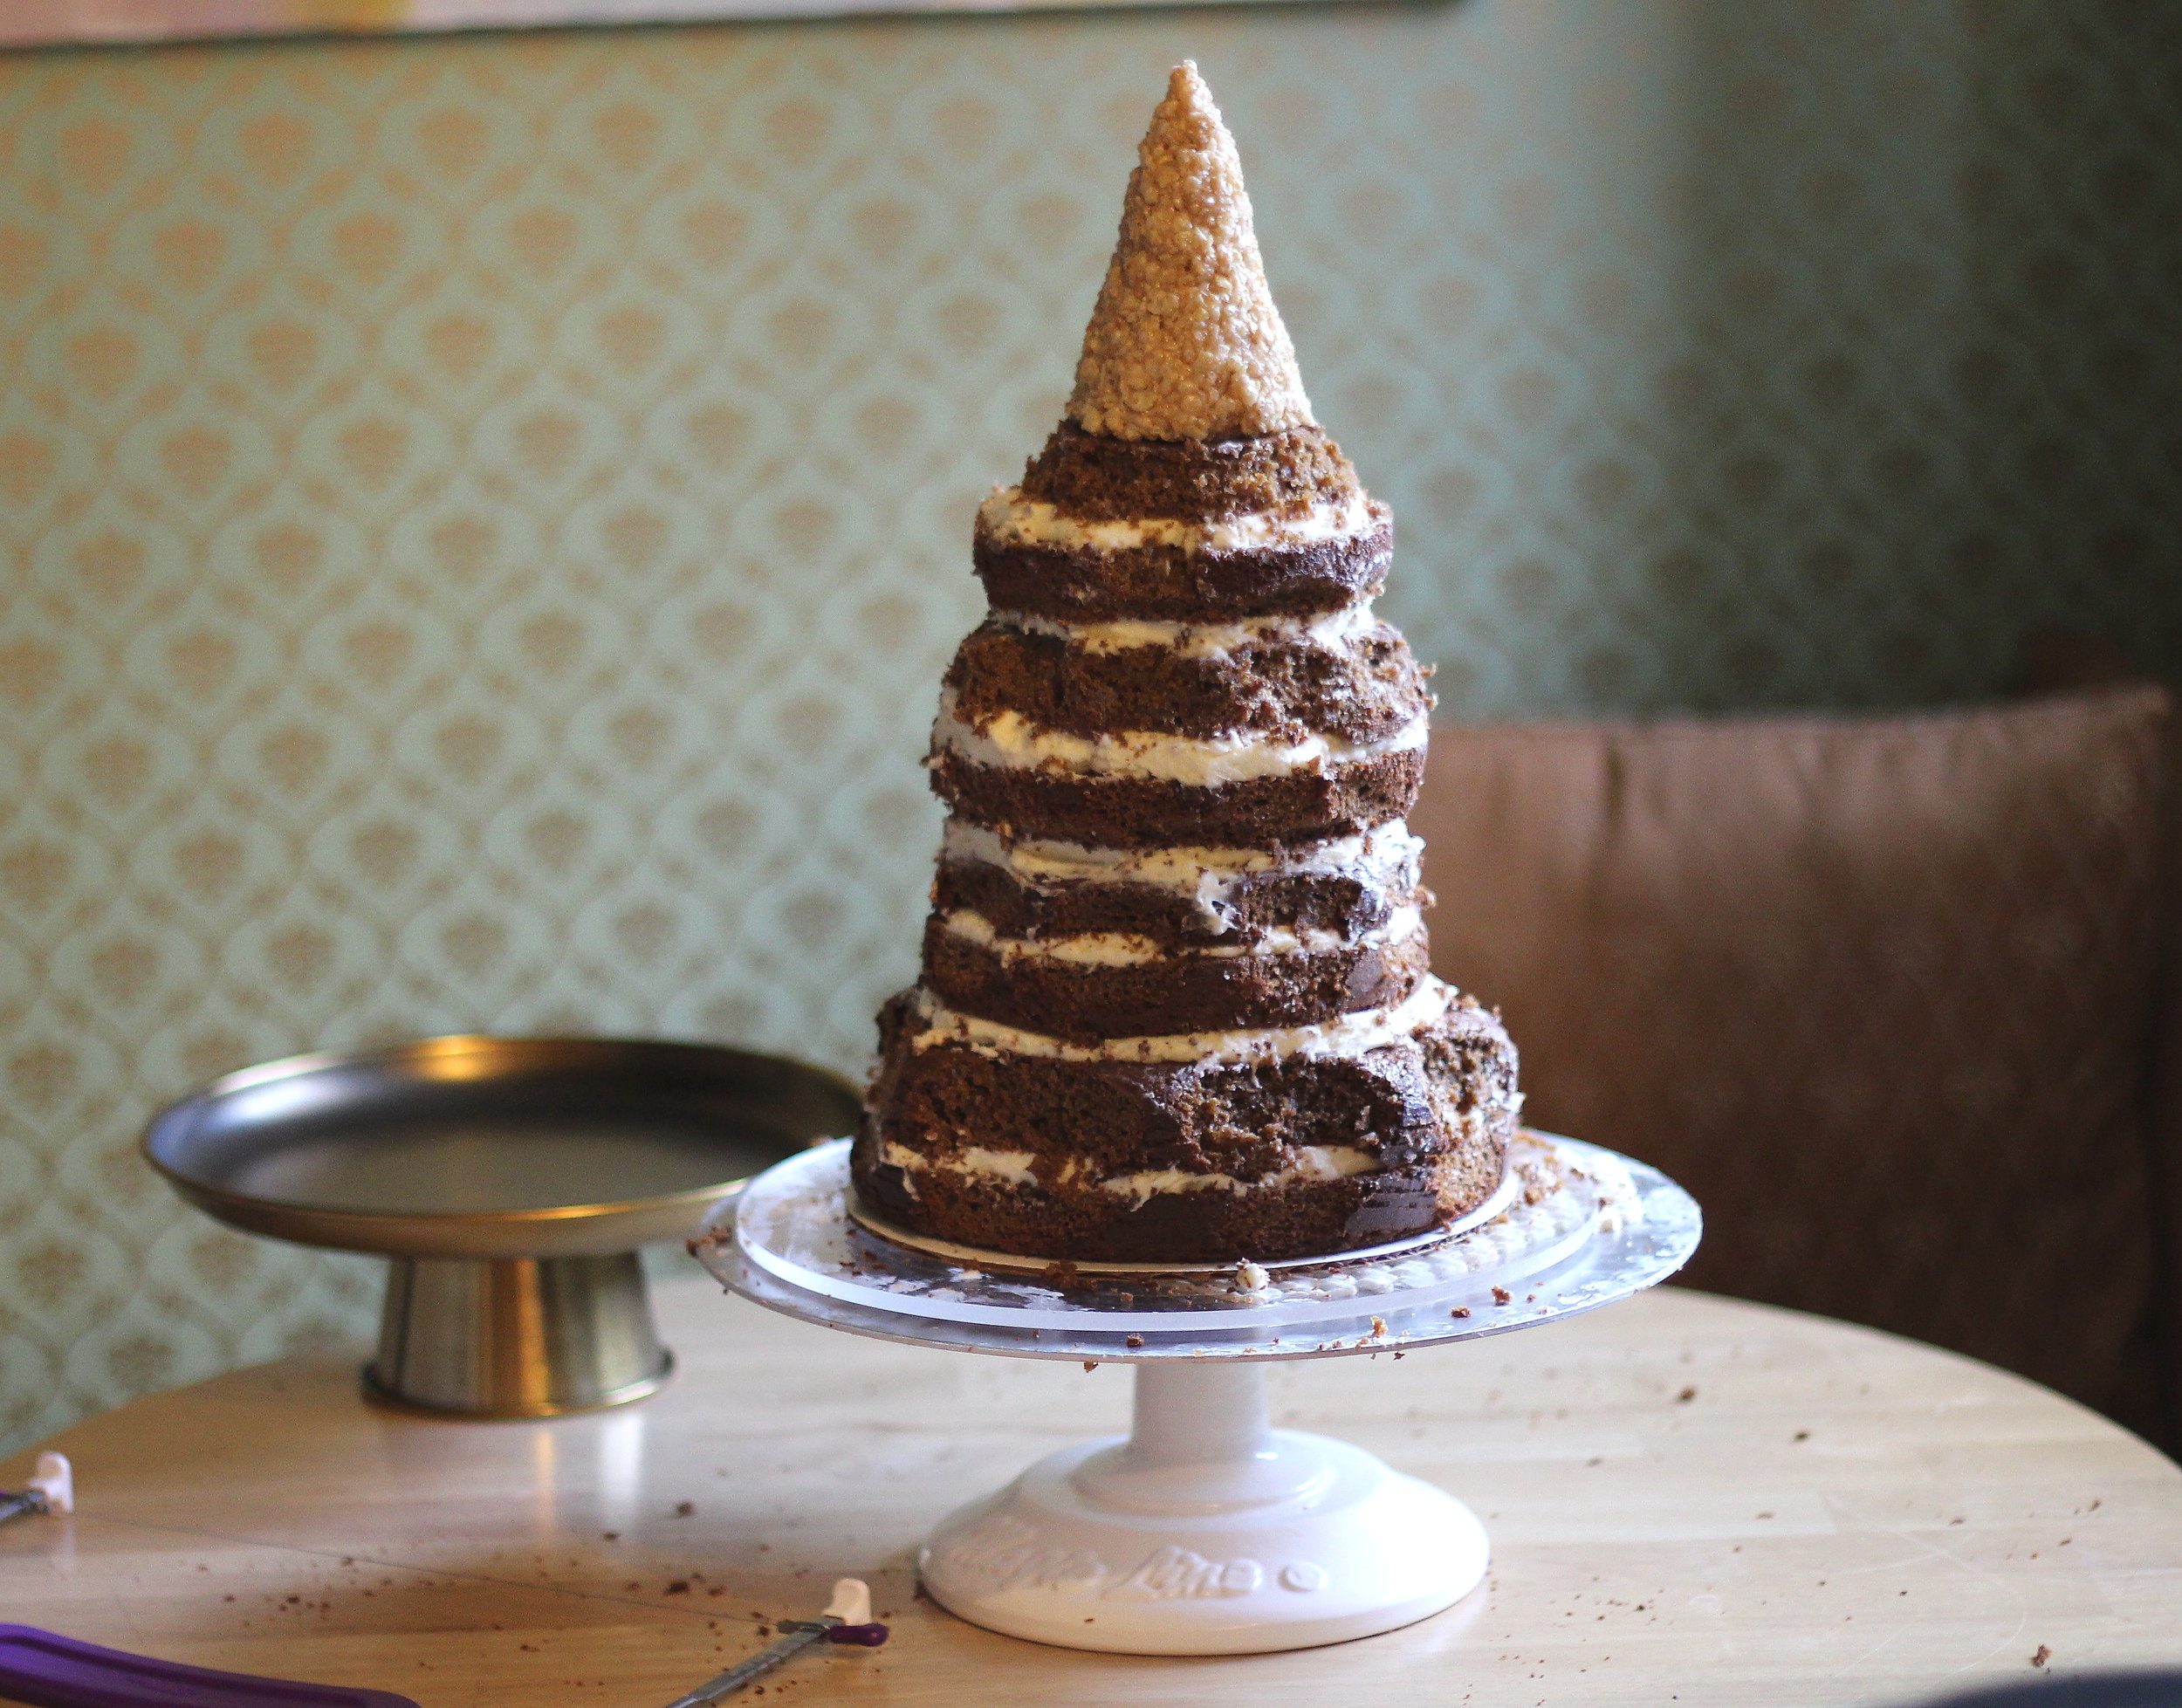
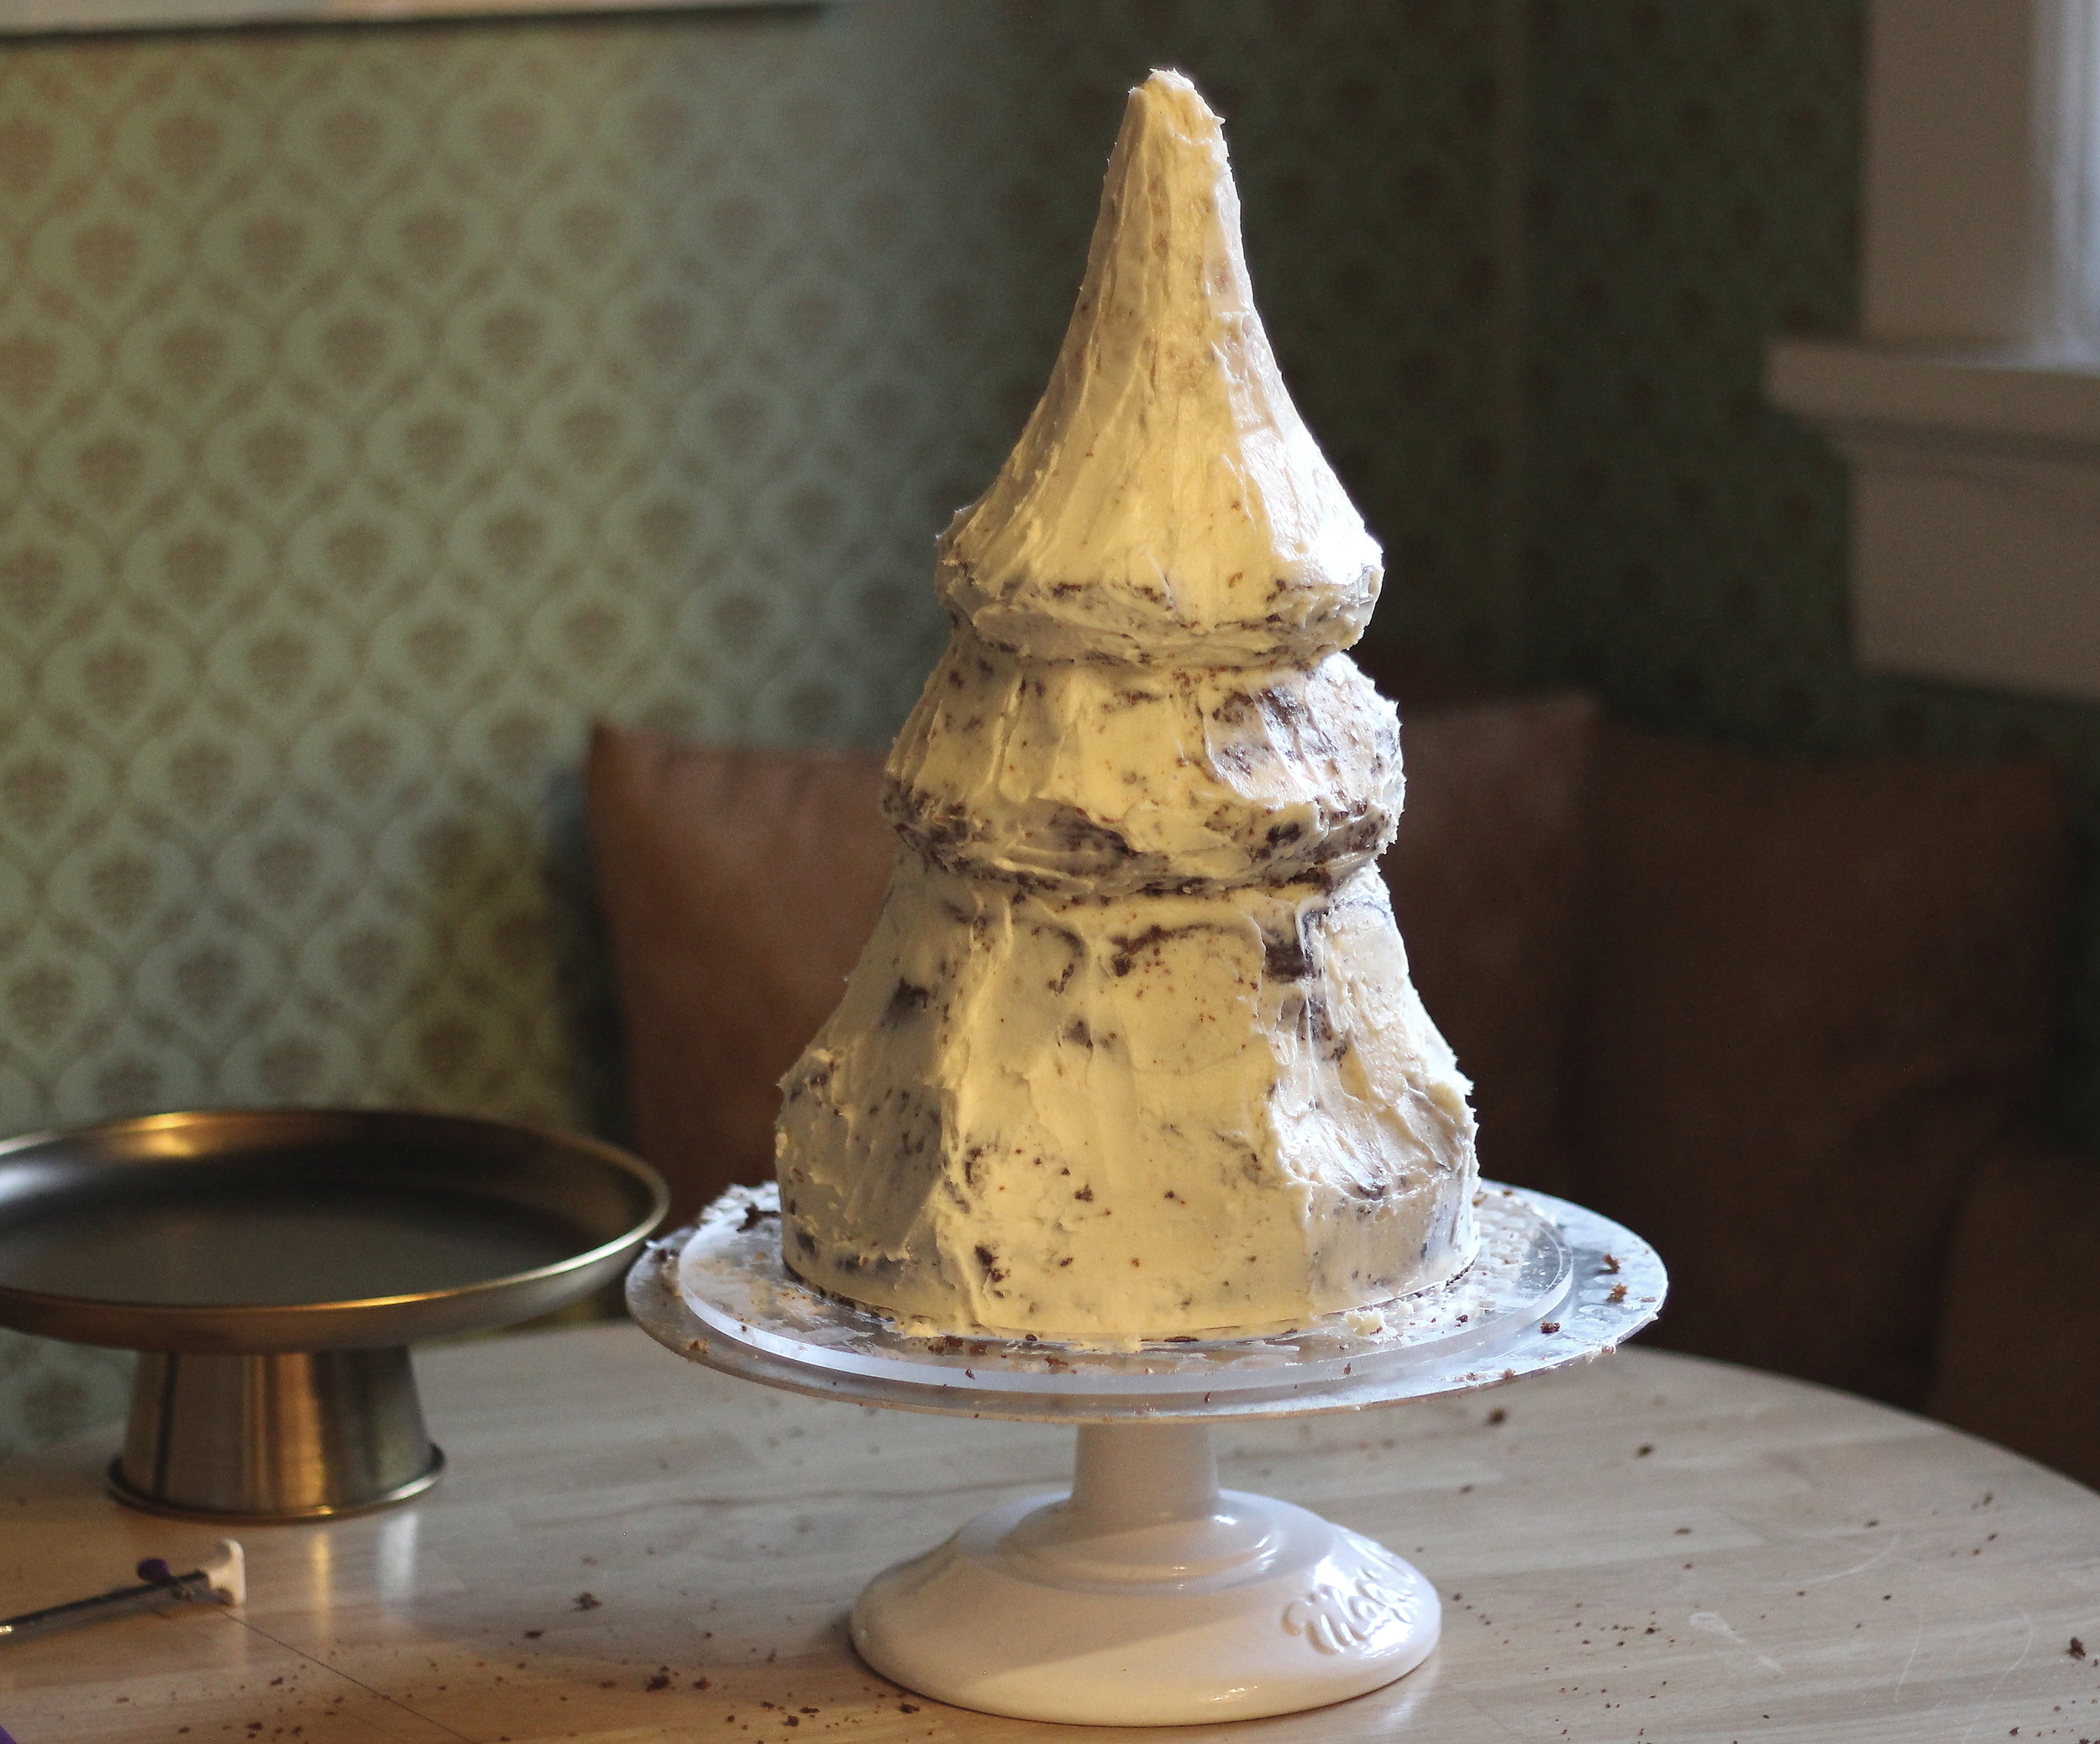
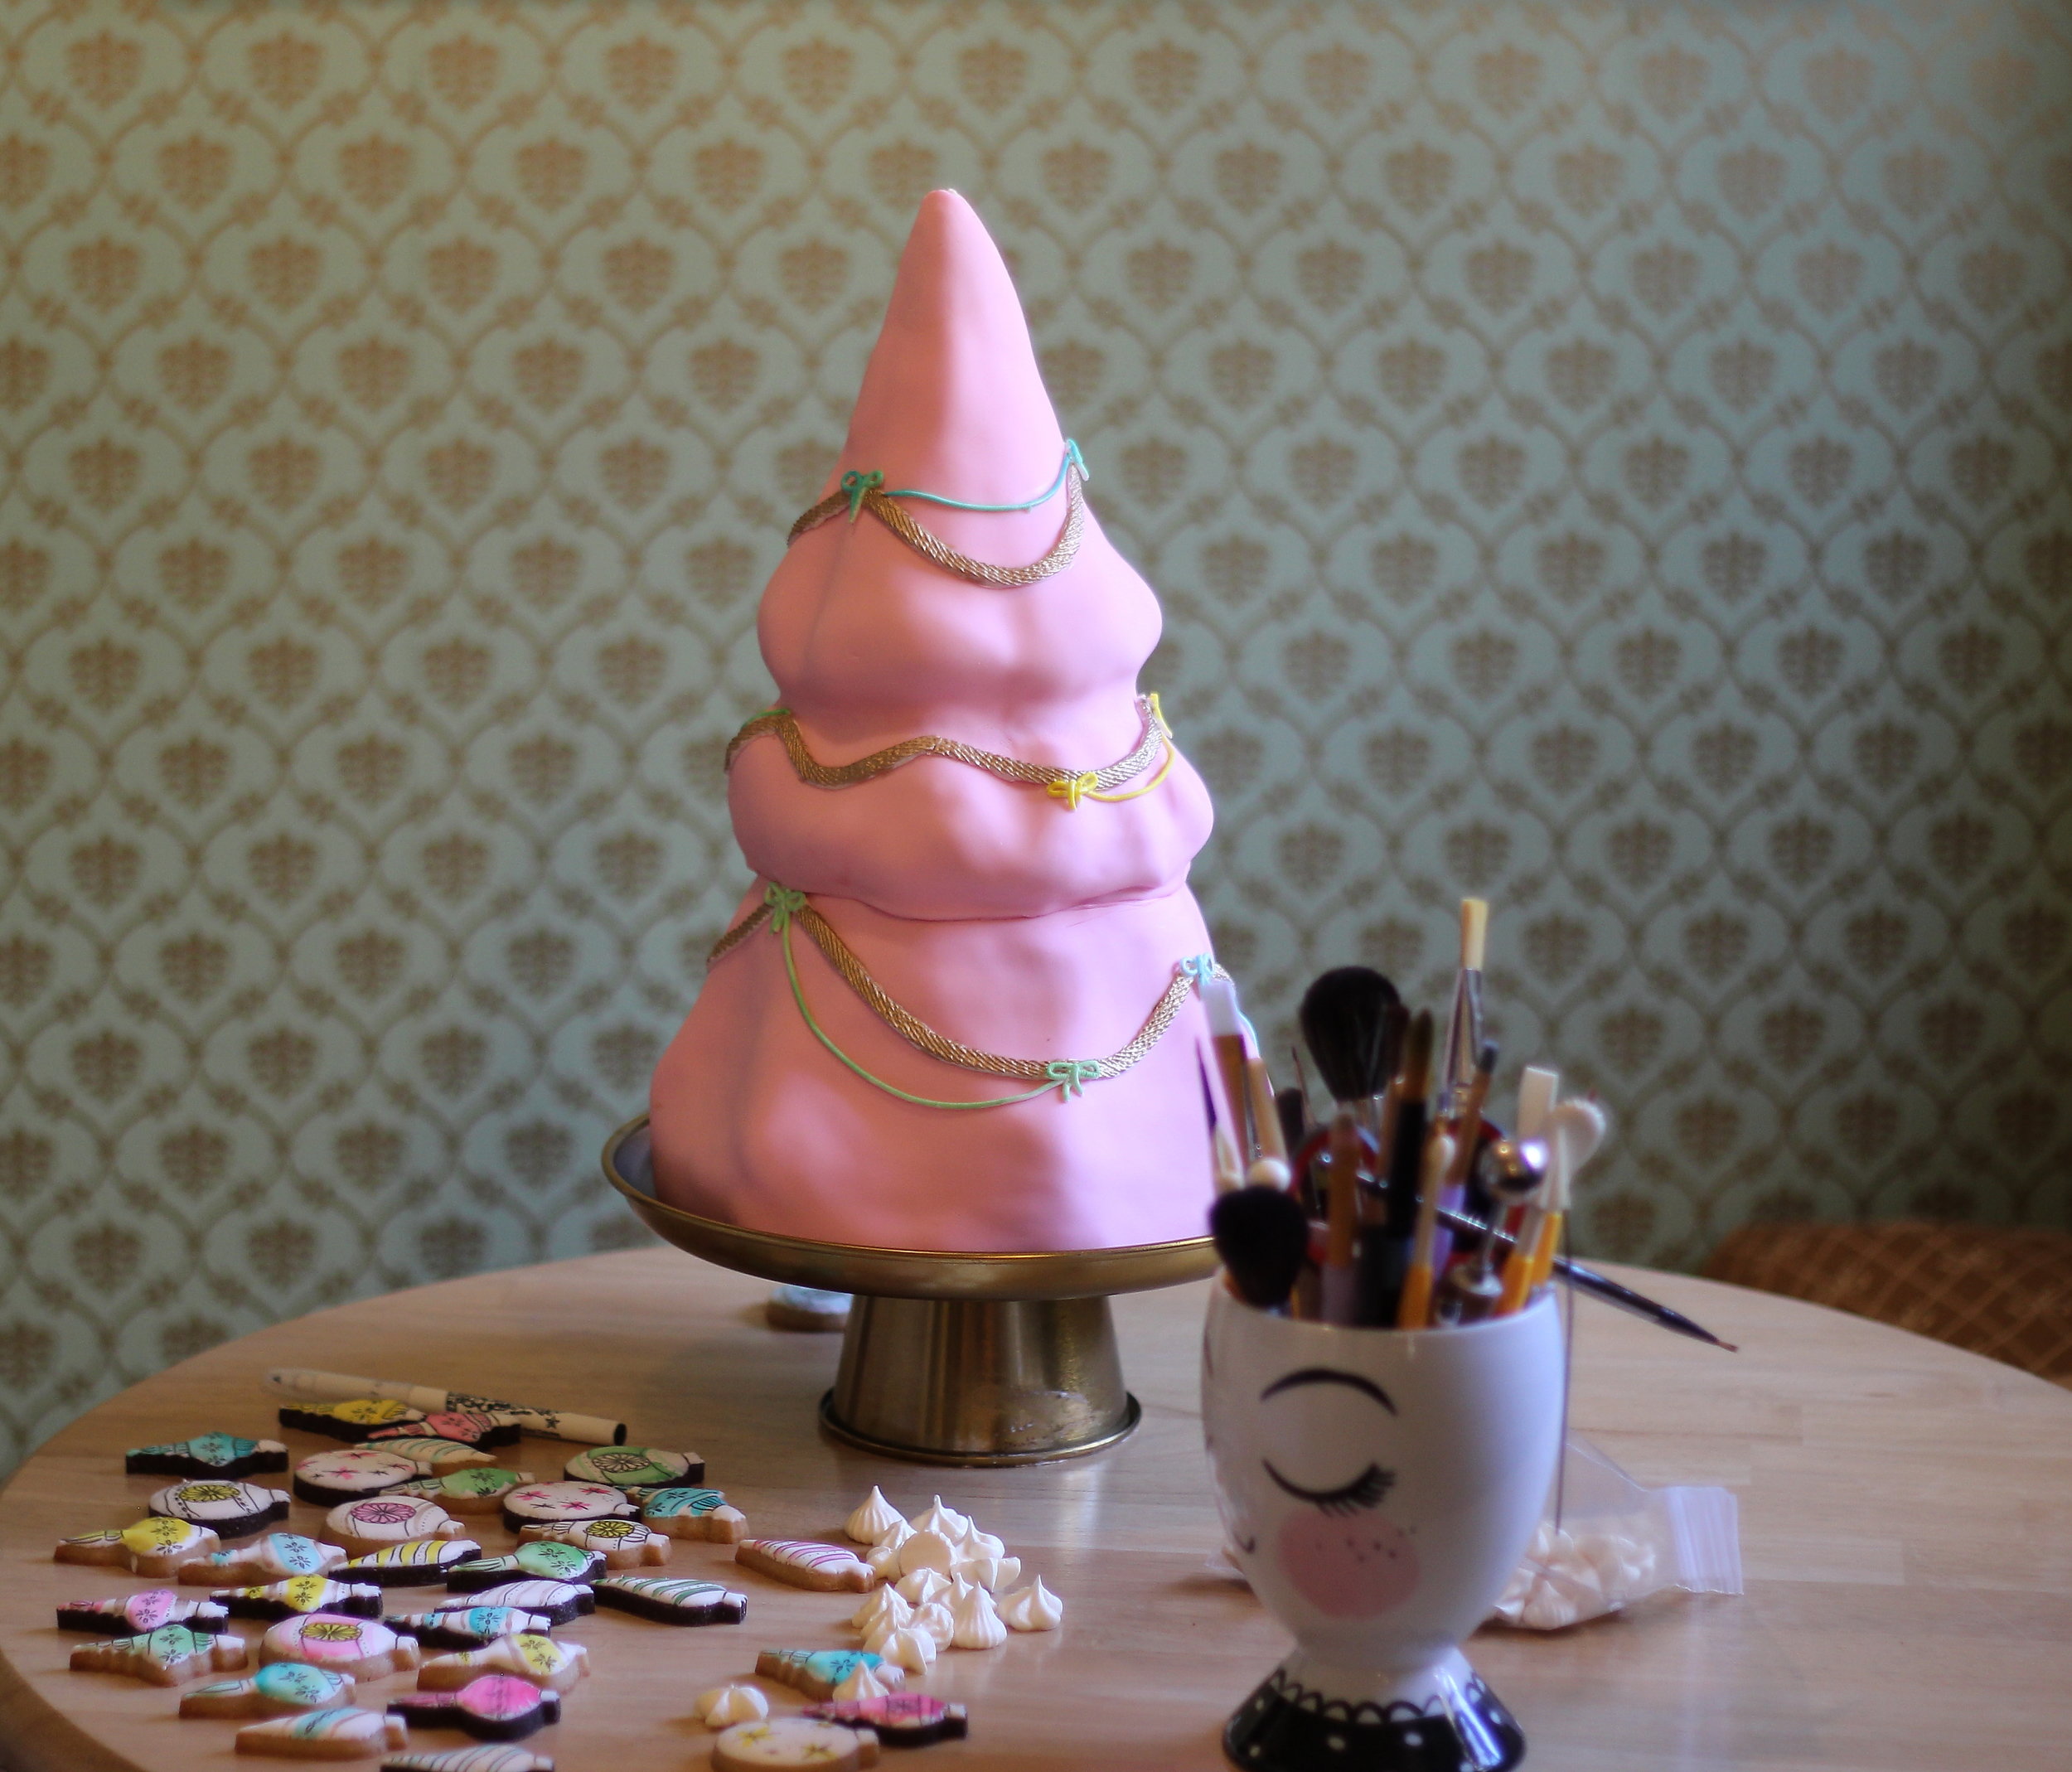
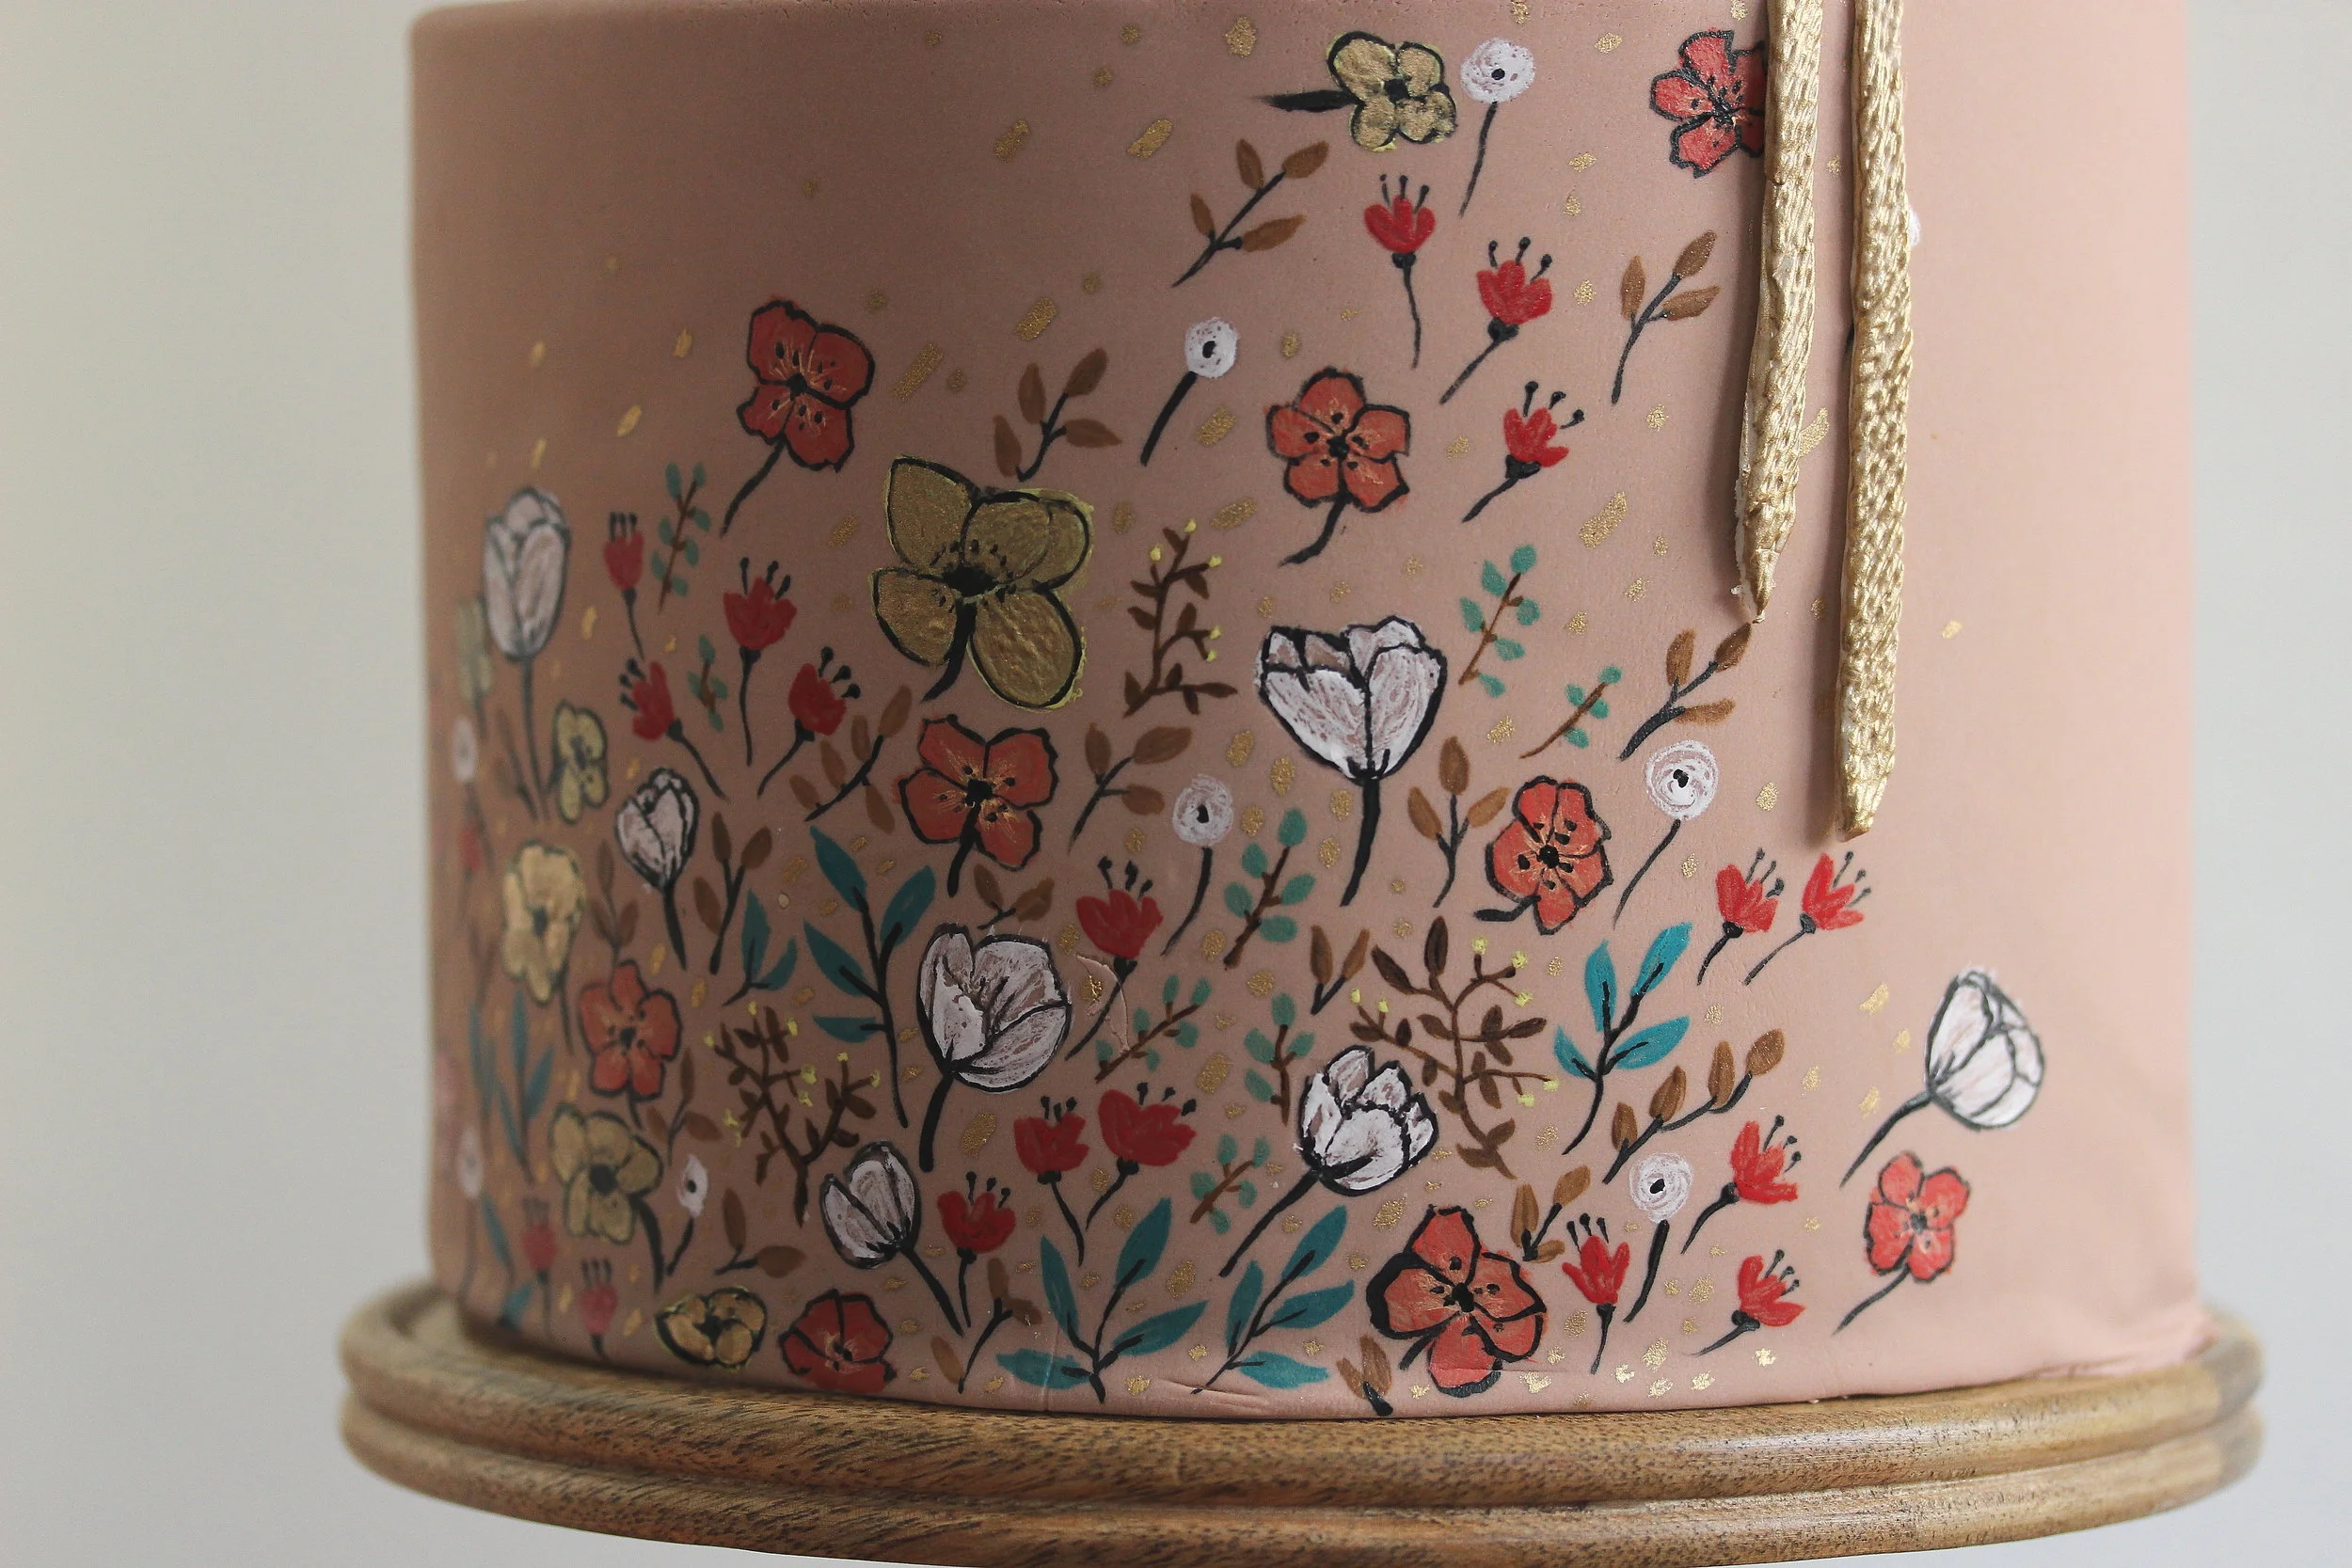
I doubled the recipe for the cake and carved my stacked cakes into a smooth Christmas tree with a rice krispy treat top, then frosted it and wrapped it in pink fondant. Cookies were applied with melted chocolate so they'd be nice and secure while I transported the cake to the party.
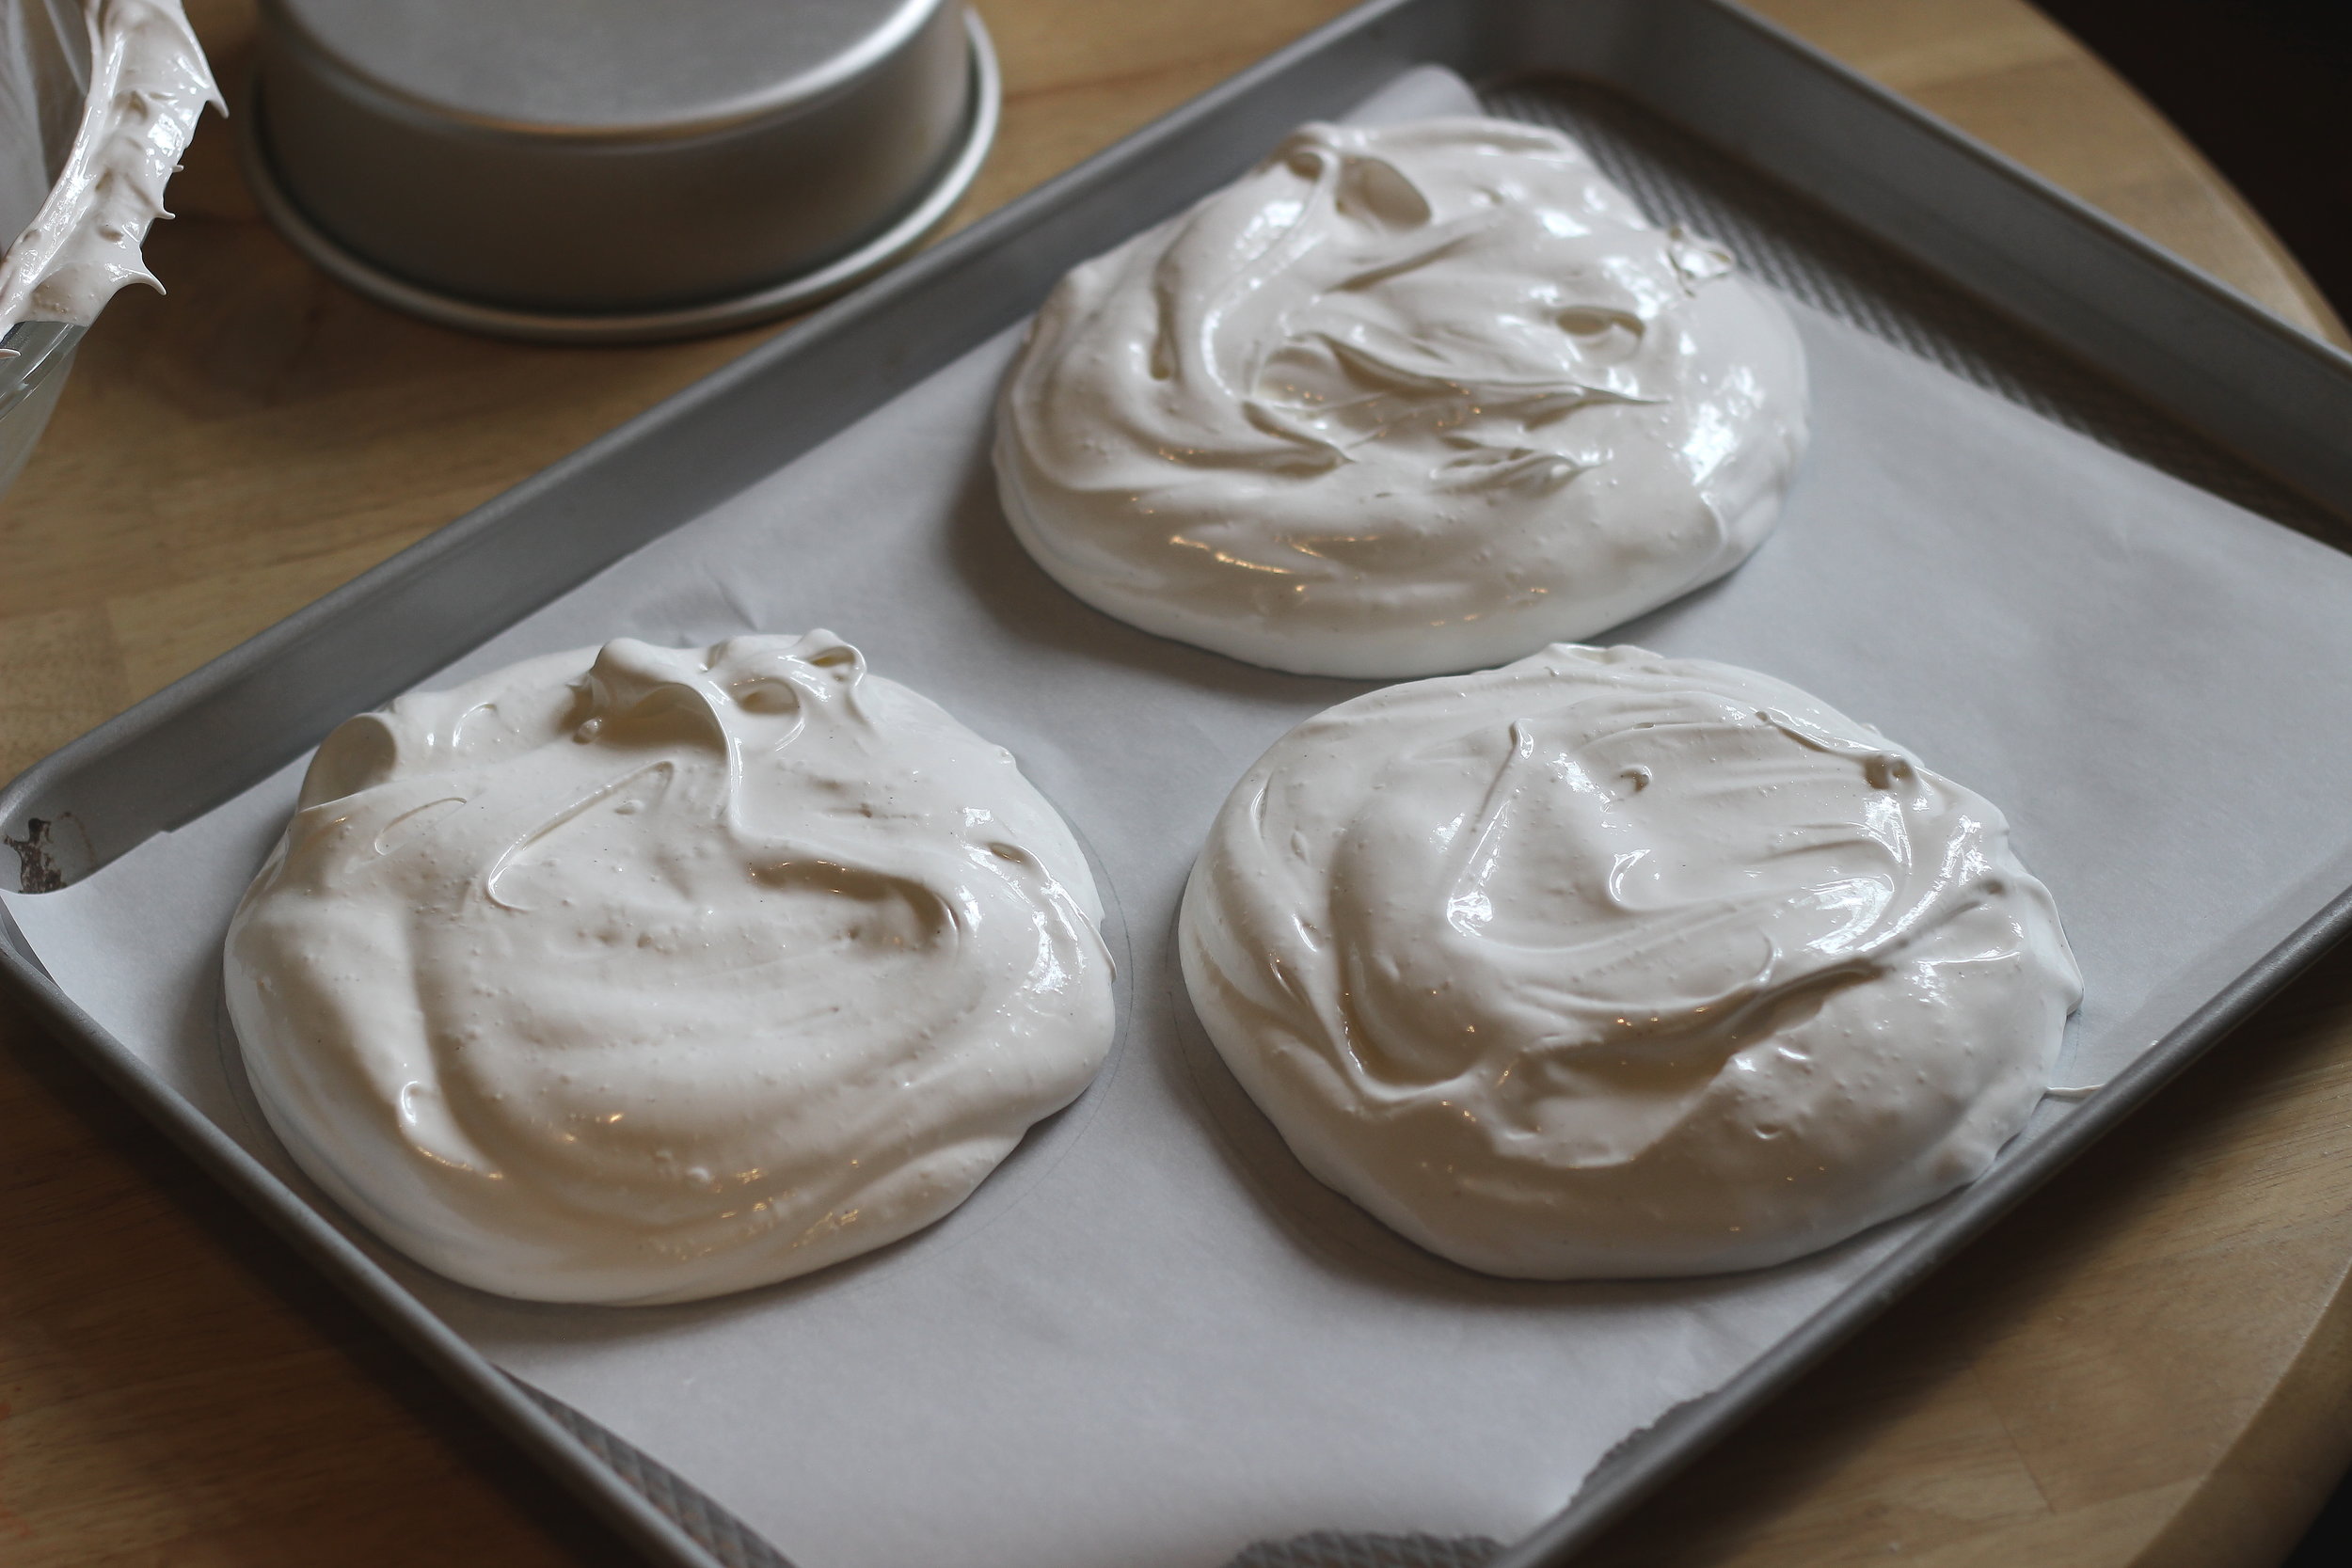
I baked off some tiny meringue cookies that were also glued on with melted chocolate and painted with edible gold and pastel watercolors. Tiny royal icing dots for lights and a few ribbons and bows tied it altogether (groan).

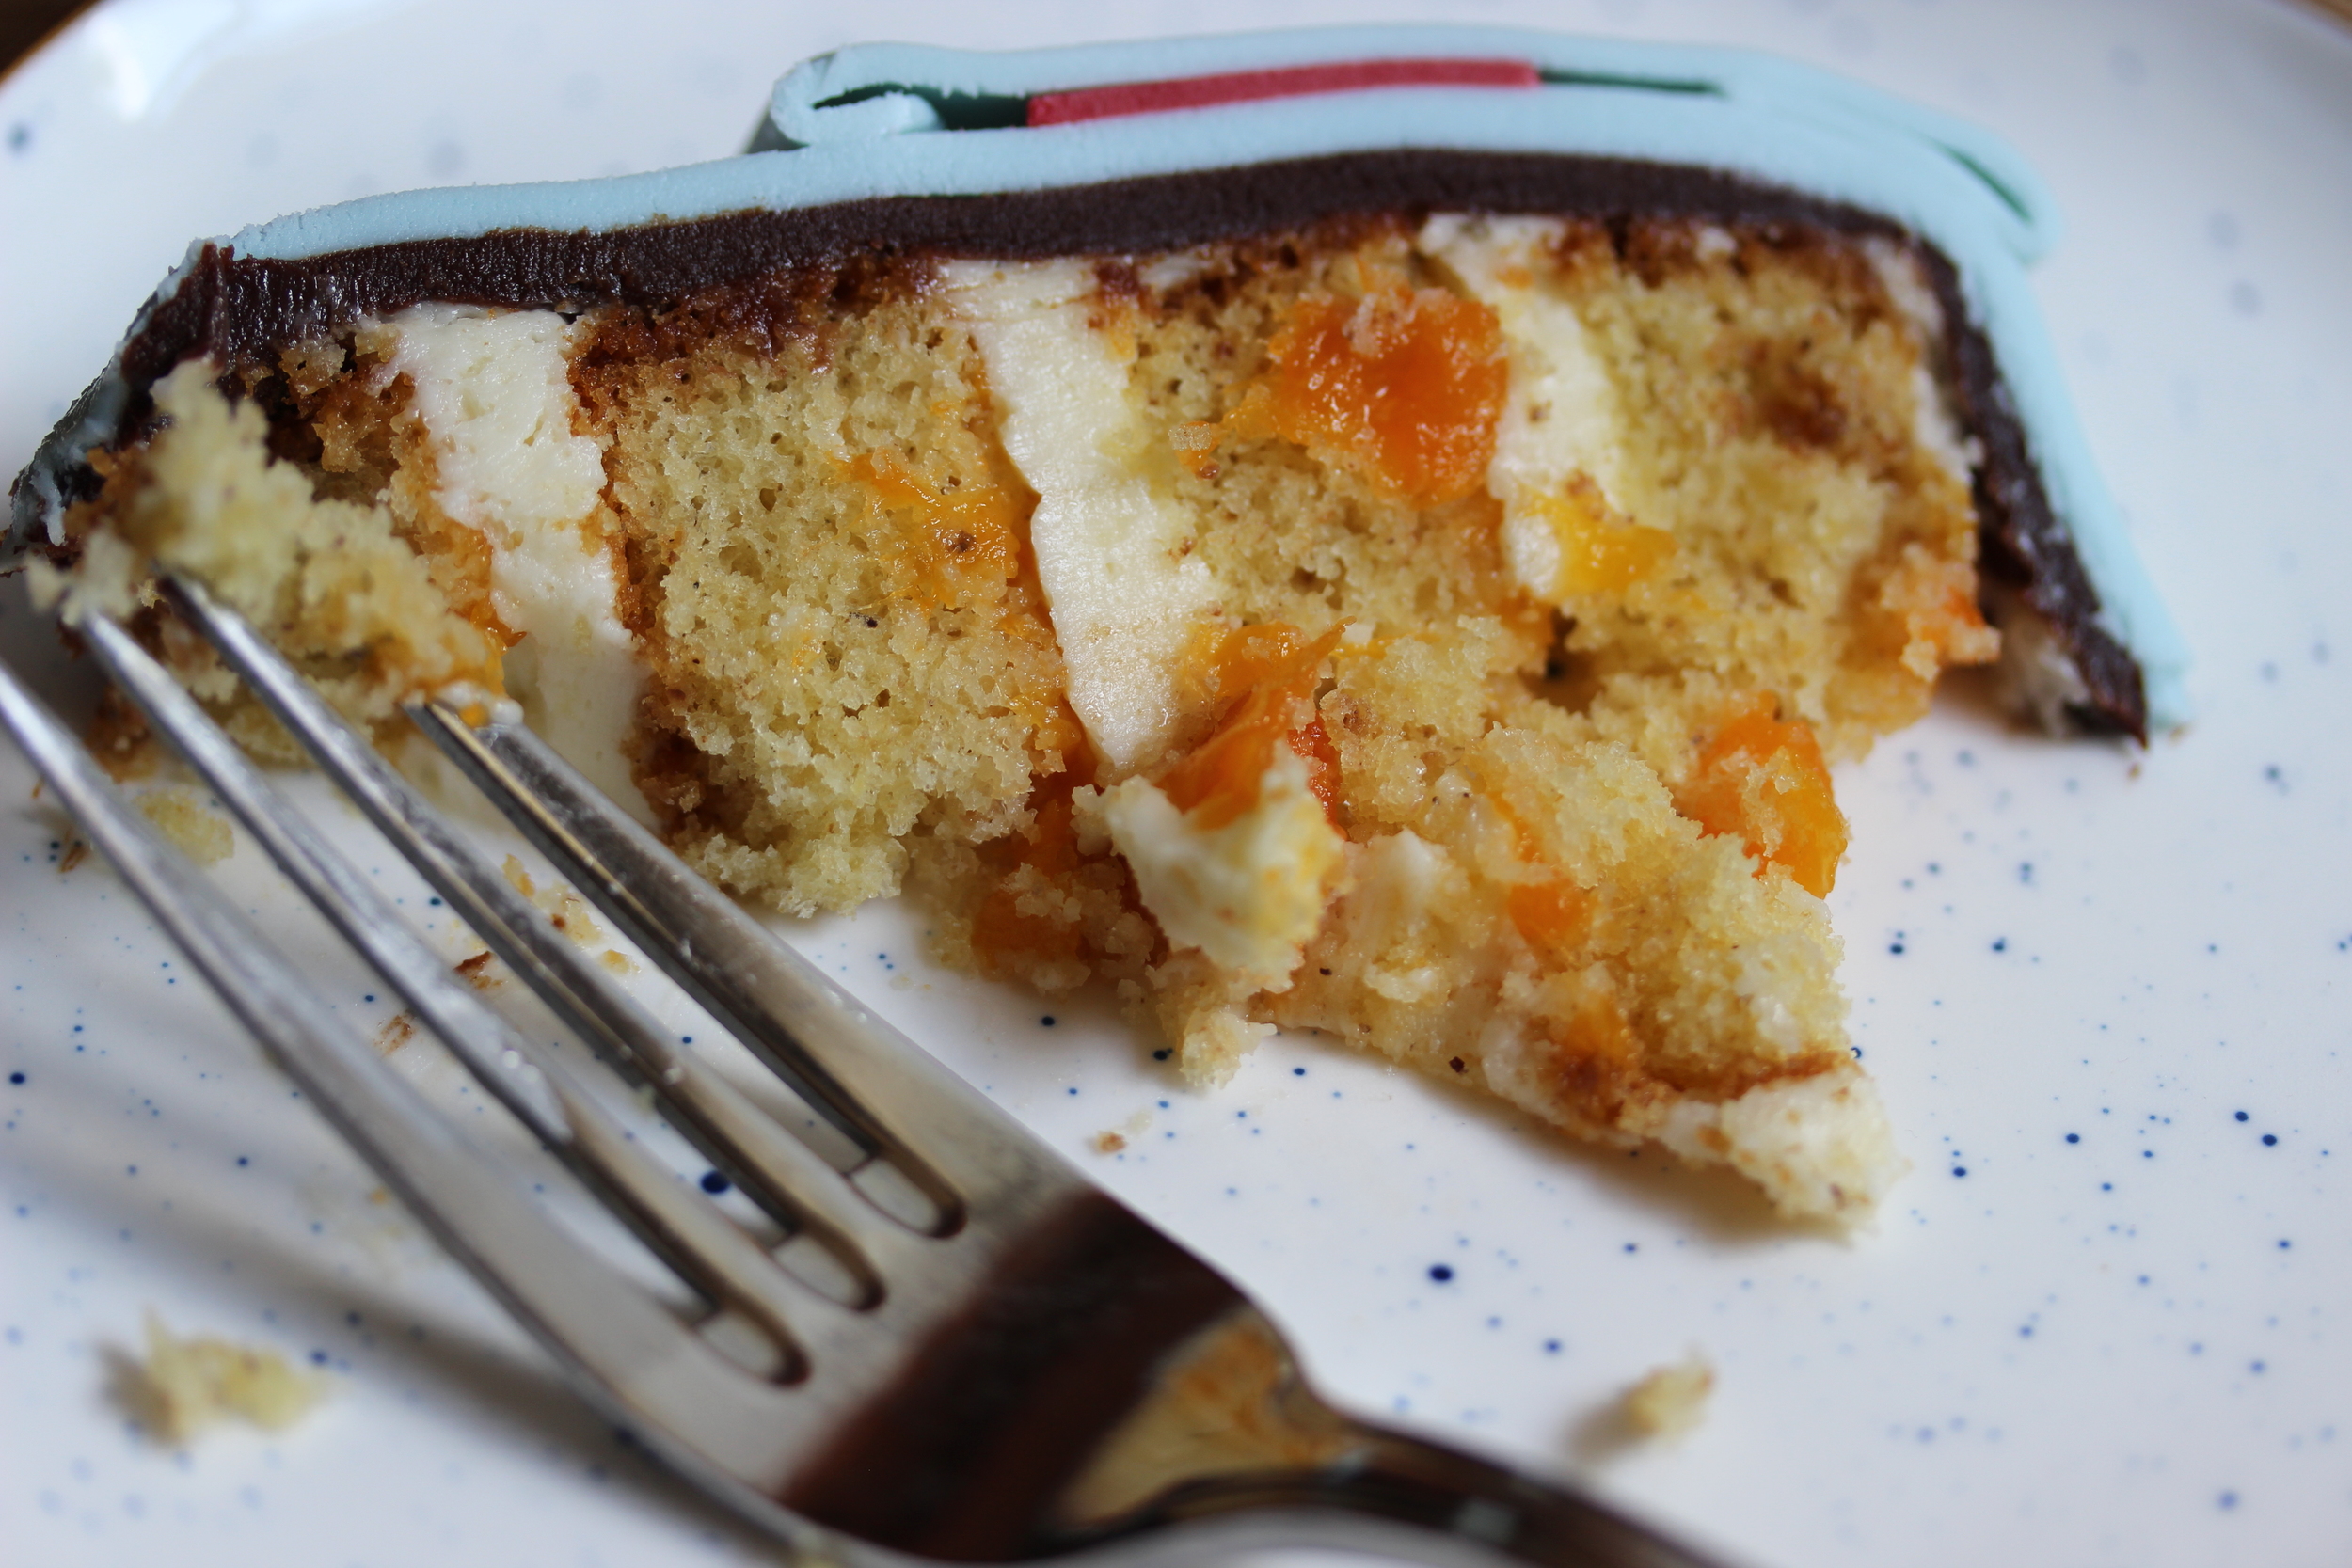
I brought this to my friend's amazing holiday party and it made me so happy to cut it up. Every piece ended up with its own assortment of cookies and it made such a delightful dessert plate. Sometimes people ask me how I can stand to cut up my creations, but I tell you it is my favorite part--dividing up this little cake of happiness I've made for everyone who wants it.

GINGERBREAD CAKE
2 c (250 g) all-purpose flour
1 tsp (6 g) baking soda
2 tsp (5 g) cinnamon
1/4 tsp ground cloves
1/4 tsp freshly ground pepper
3/4 c (180 ml) molasses
3/4 c (180 ml) whole milk
2 tbsp dark rum
1/2 c (107 g) white sugar
1/2 c (1 stick) unsalted butter, room temperature
1/2 tsp salt
1 tbsp freshly grated ginger
1 egg
2 yolks
1/2 c (112 g) sour cream
Preheat oven to 350 degrees F.
Combine milk and rum in a microwave-safe bowl or measuring pitcher and heat for about one minute, until very hot but not boiling. Add molasses and stir, set aside.
Whisk flour with baking soda, cinnamon, cloves, and pepper in a small bowl and set aside.
Cream soft butter with sugar, salt, and grated ginger until fluffy, about three minutes. Add egg and yolks, then sour cream, and beat for another three minutes. Pour half of the molasses mixture in gradually, continuing to beat, then half of the flour mixture. Finish beating mixture with remaining liquid then flour mixture.
Divide batter into prepared pans and bake for about 25 to 35 minutes, depending on the size of your pans. Cakes are done when center is set and springs back when pressed. Cool cakes, level, split, and fill.

a cut up cake is my favorite cake