Poundcake is the shortbread of the cake world. But despite its apparent simplicity, it's not necessarily easy to master. Both are best plain, without any bits or babs mucking things up because, all in all, both are really just an excuse to eat butter.
Bundt cake is poundcake, btw, just baked in a bundt pan. True poundcake is made into loafs, but that is the only difference. I use the terms interchangeably.
While I am bestowing the priceless gift of my secretest bundt cake recipe upon you, I'm also offering up some of the amazing photos of a bundt cake shoot I participated in with local Atlanta brilliants: Haley Sheffield, photography; Kristine Cholakian Cooke, stylist; and Caroline Worth-Bruno, floral designer and heavenly gem.
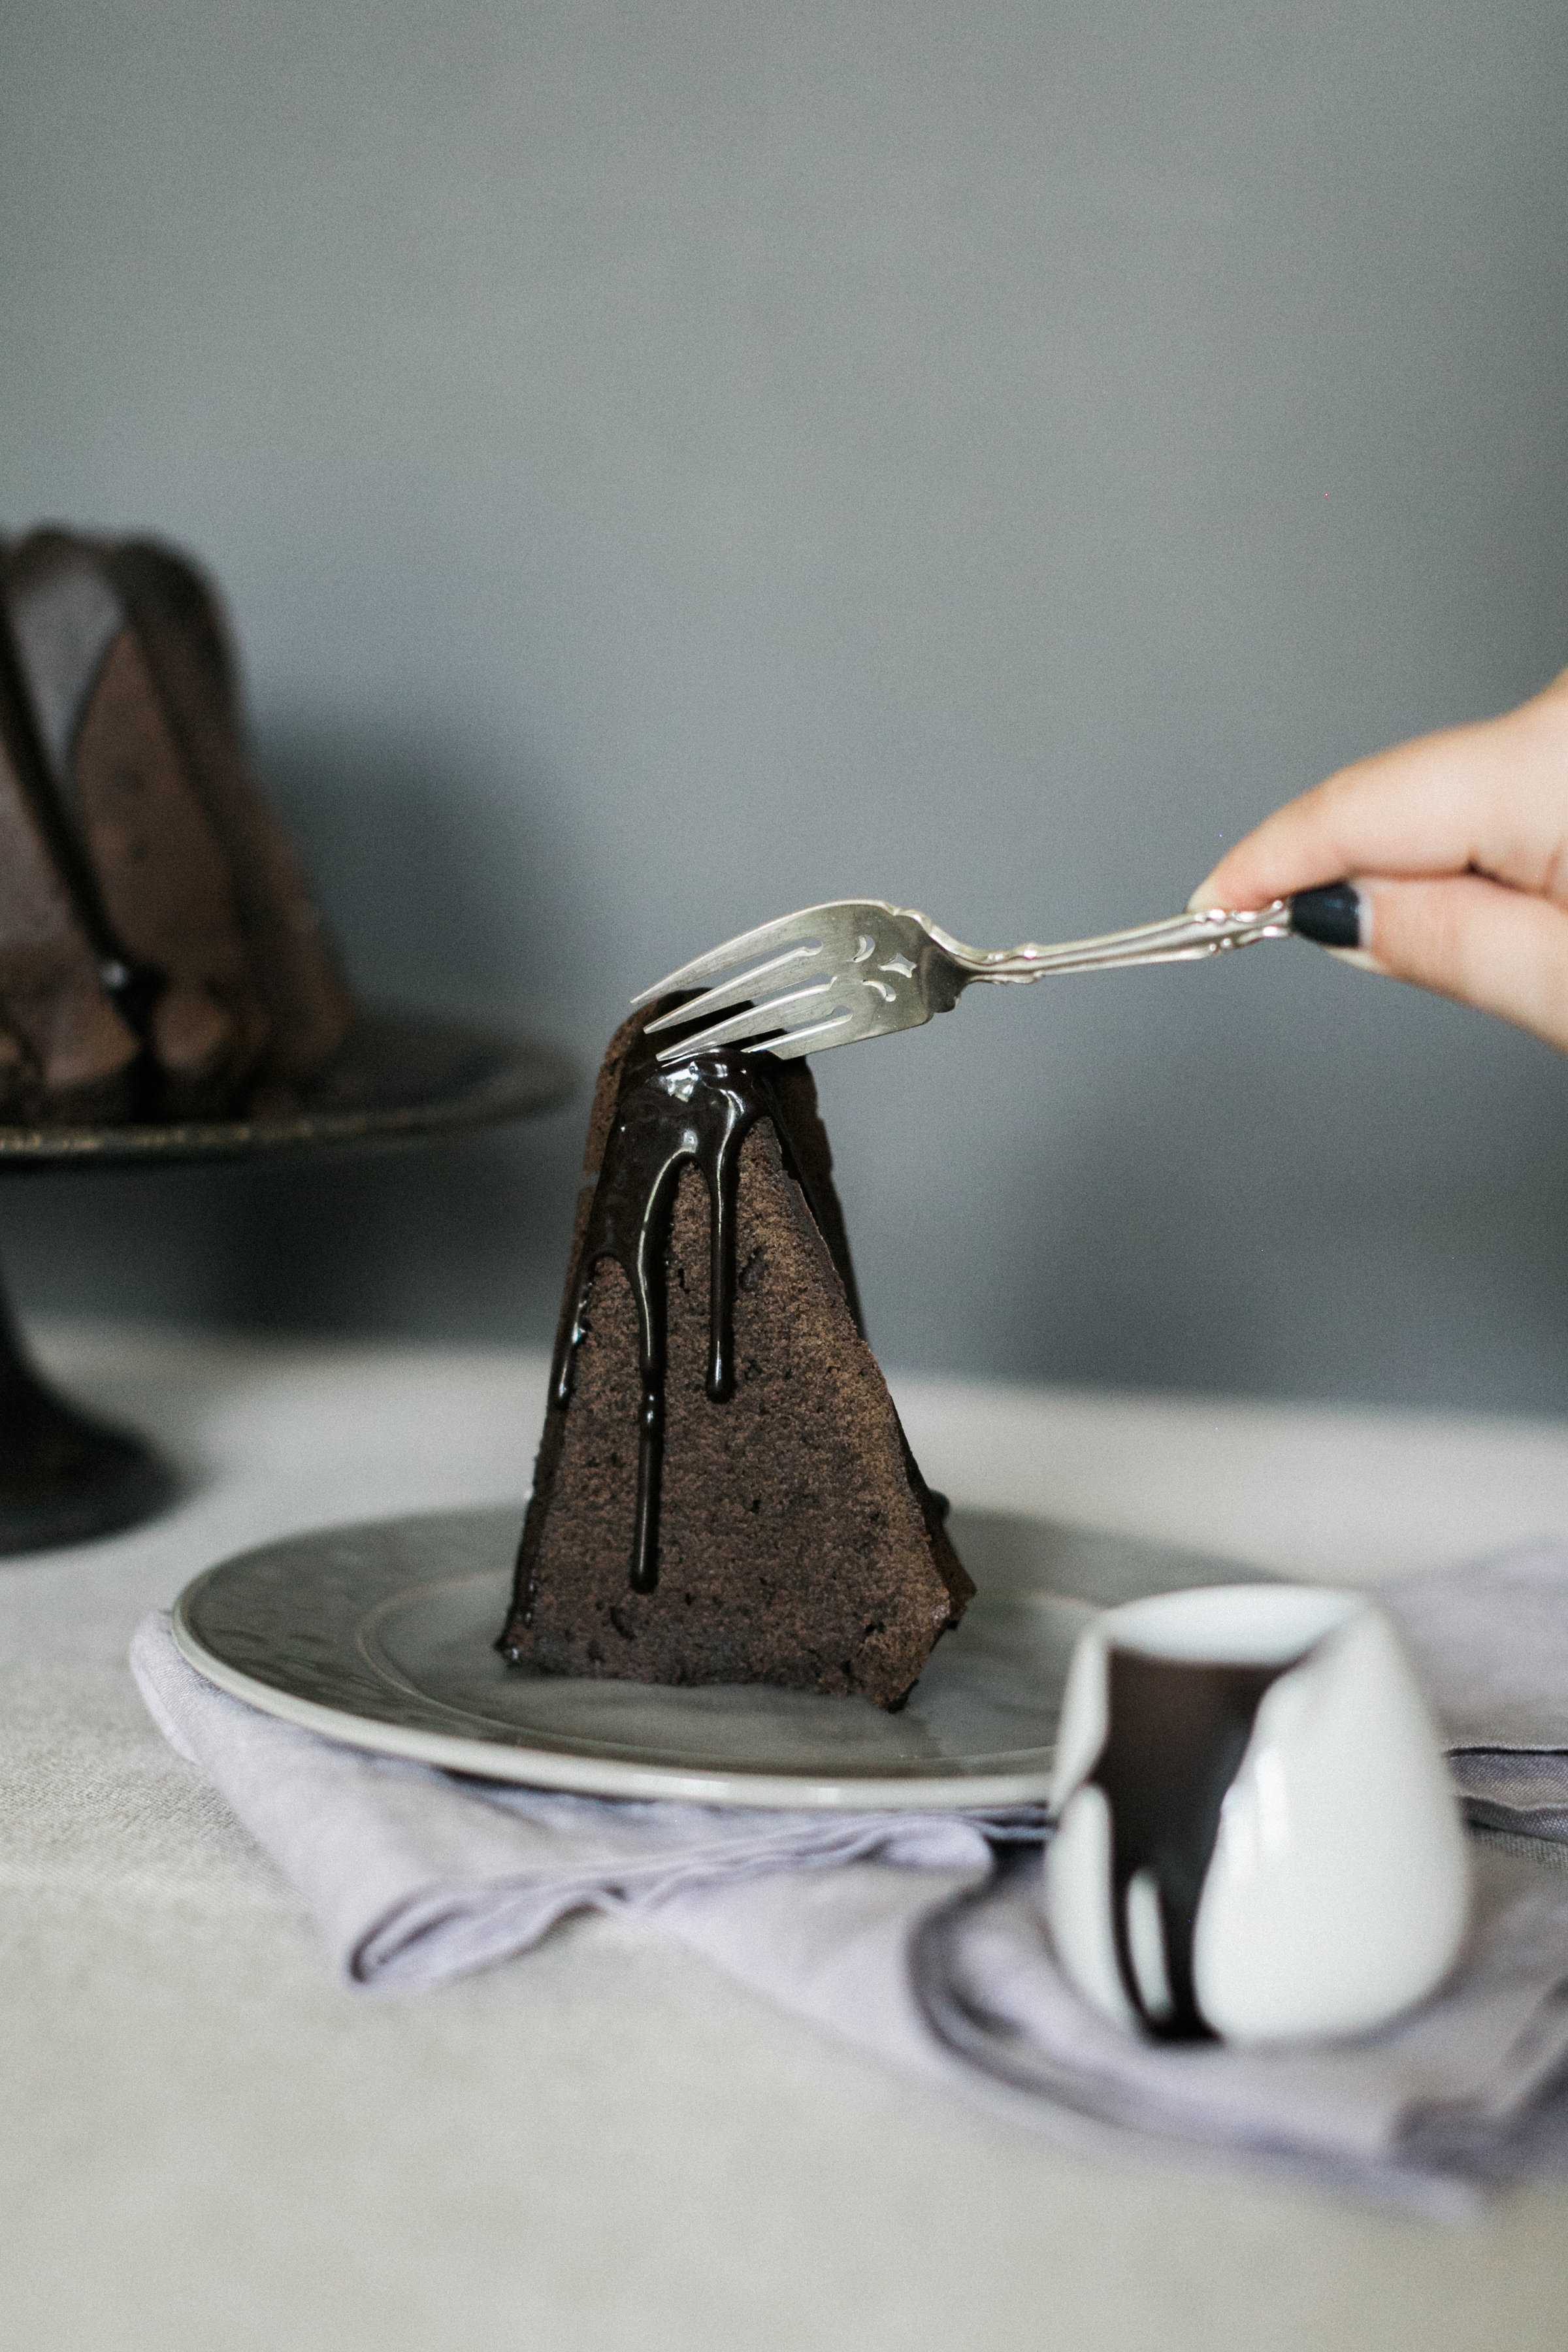
photo by Haley Sheffield, styling by Kristine Cholakian Cooke
Survey the world of pound/bundt cake recipes online and you will find the classic quatre quarts recipe--basically just butter, sugar, eggs, and flour--and you will also find recipes that resemble regular cake recipes. I say "regular" because they include a chemical leavener like baking powder or baking soda. And that is a huge mistake.
Have you ever had a bundt cake stick to the pan, break apart when you try to remove it, or have a pitted, unsmooth crust? If so, blame your baking soda.
Let me explain. Baking soda (and baking powder is just baking soda with some added neutralizers to slow baking soda's frantic and immediate bubbling) causes the air pockets in your batter to expand. Once the bubbly structure is created, the batter network cures, trapping the air and creating the soft, tender texture of cake. As the batter expands, it falls all over itself in your pan chaotically, pressing itself into the sides of your pan, forcing its mass up like a slow-mo volcano.
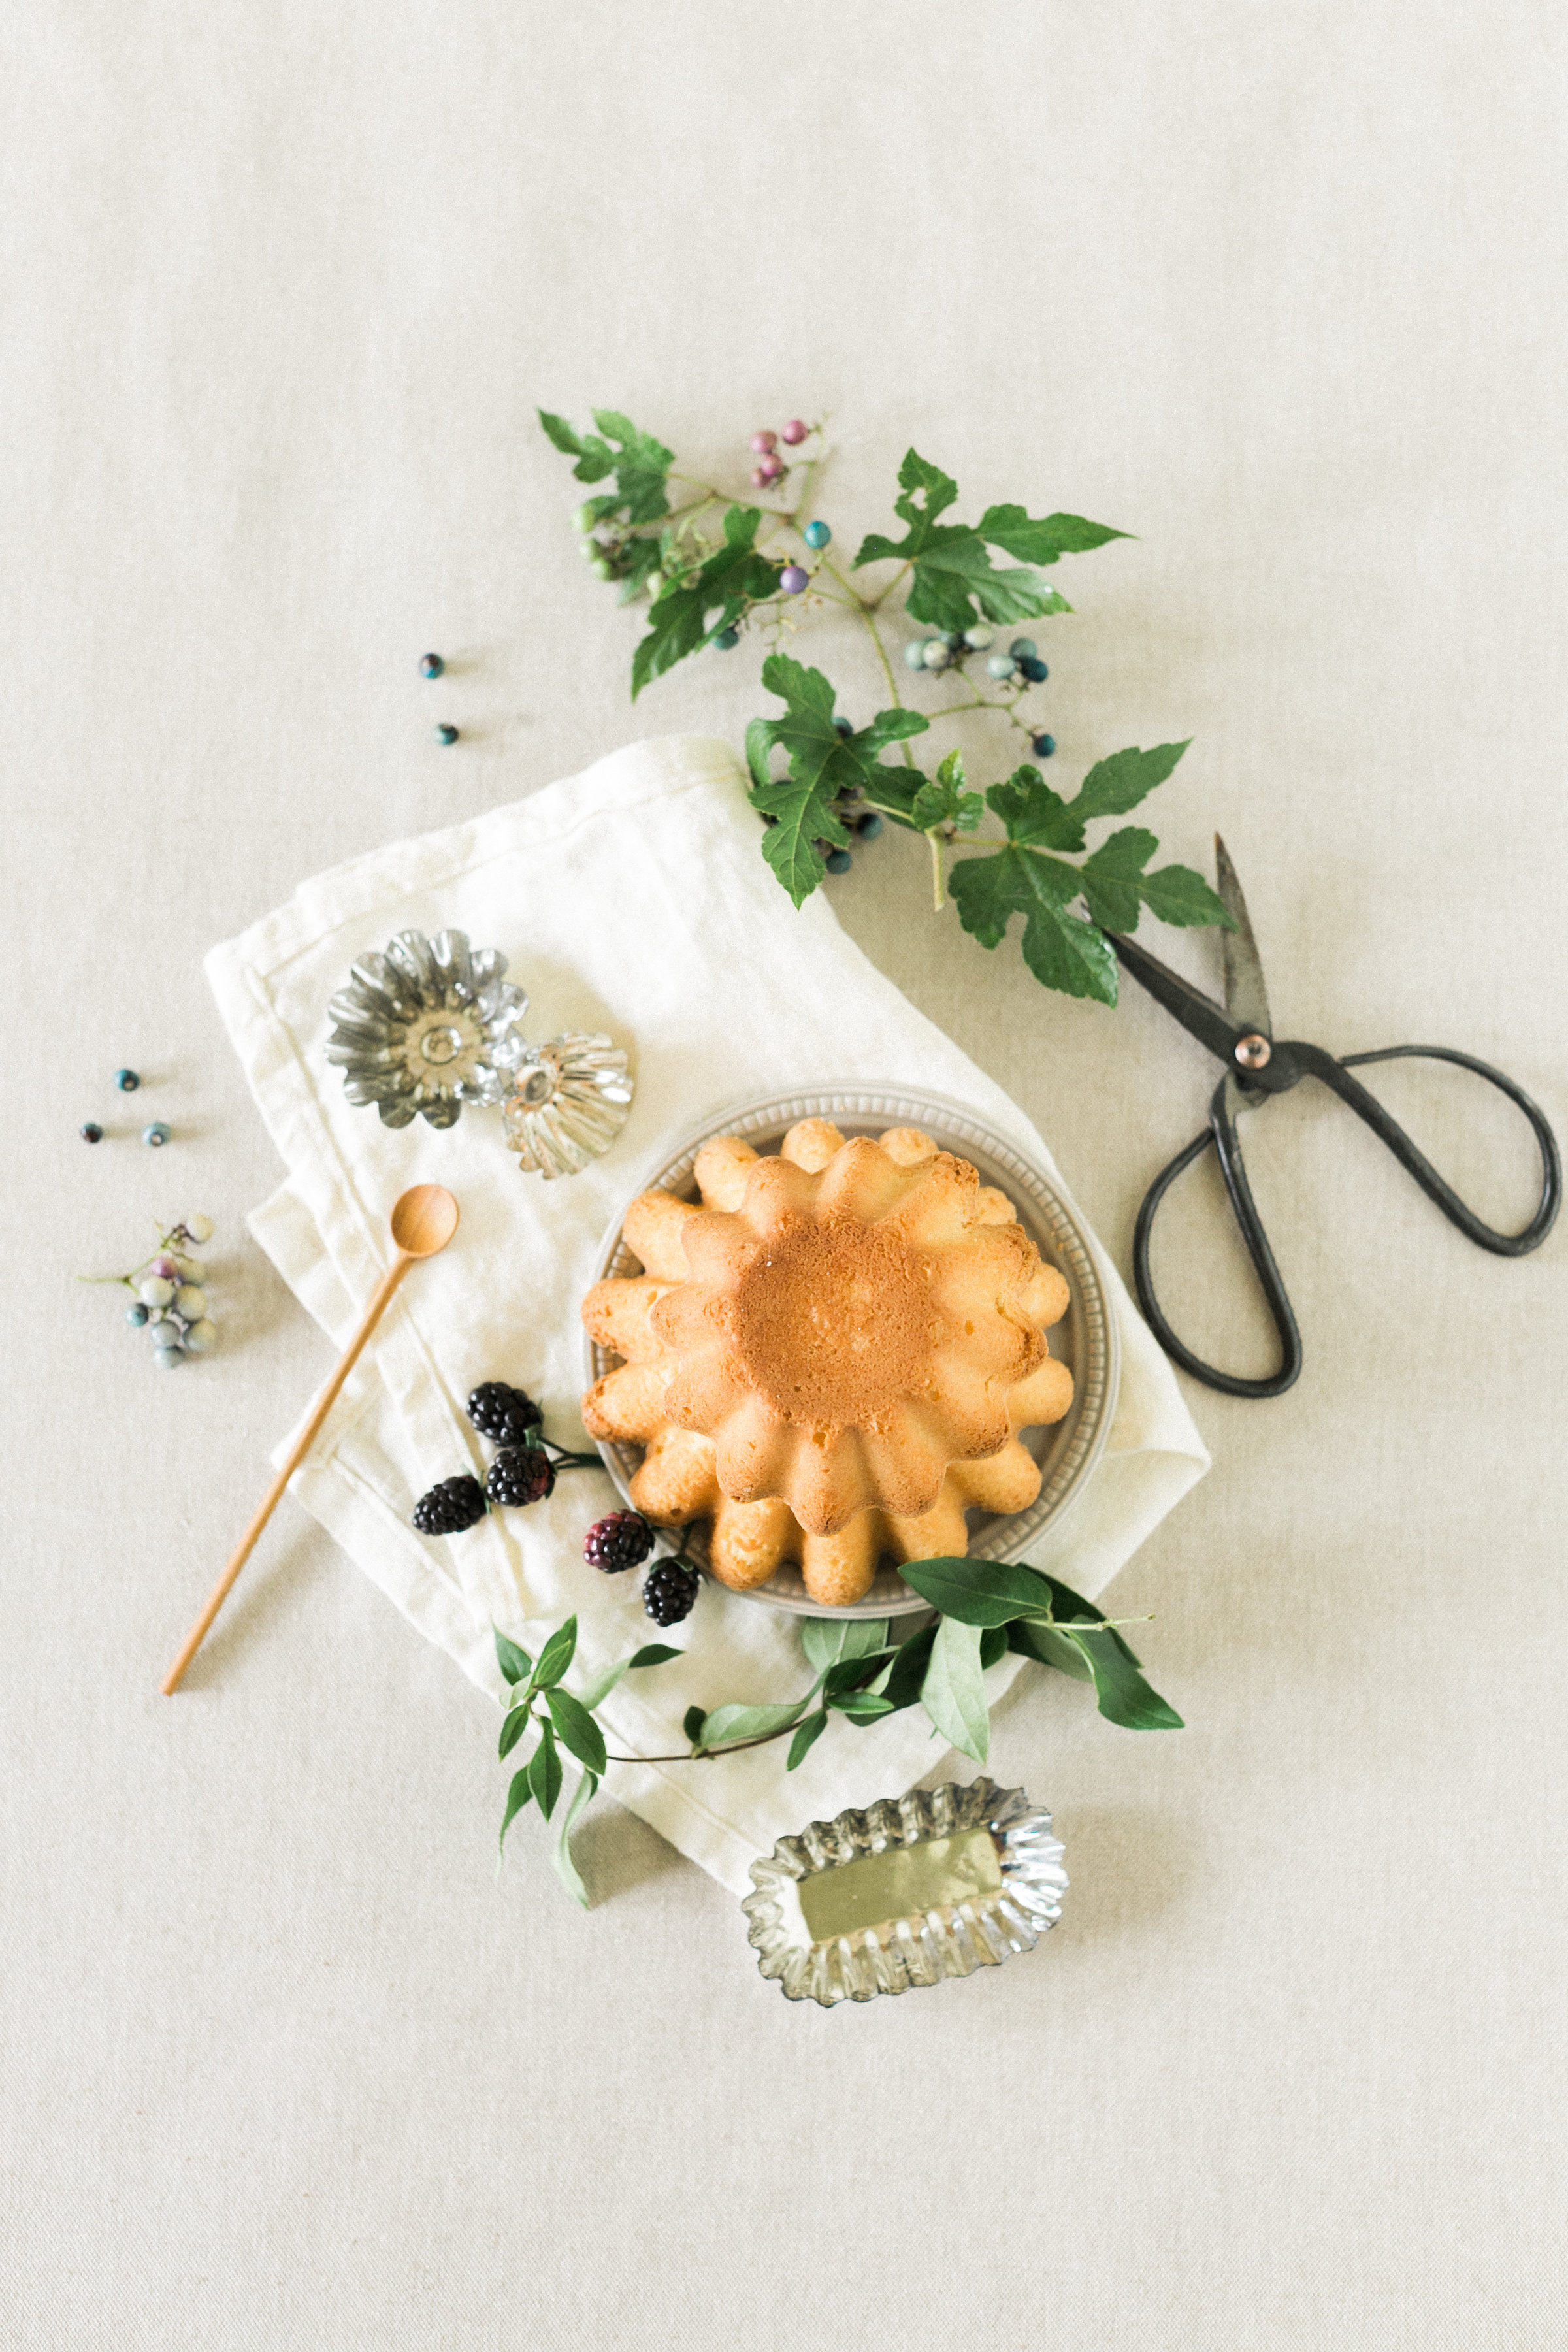
photo by Haley Sheffield, styling by Kristine Cholakian Cooke, flowers by Caroline Worth-Bruno
Pound cake batter, on the other hand, is a lazy batter. These cakes take much longer to bake than regular cakes because this batter is just sort of gently sitting there, lazily basking in your oven...
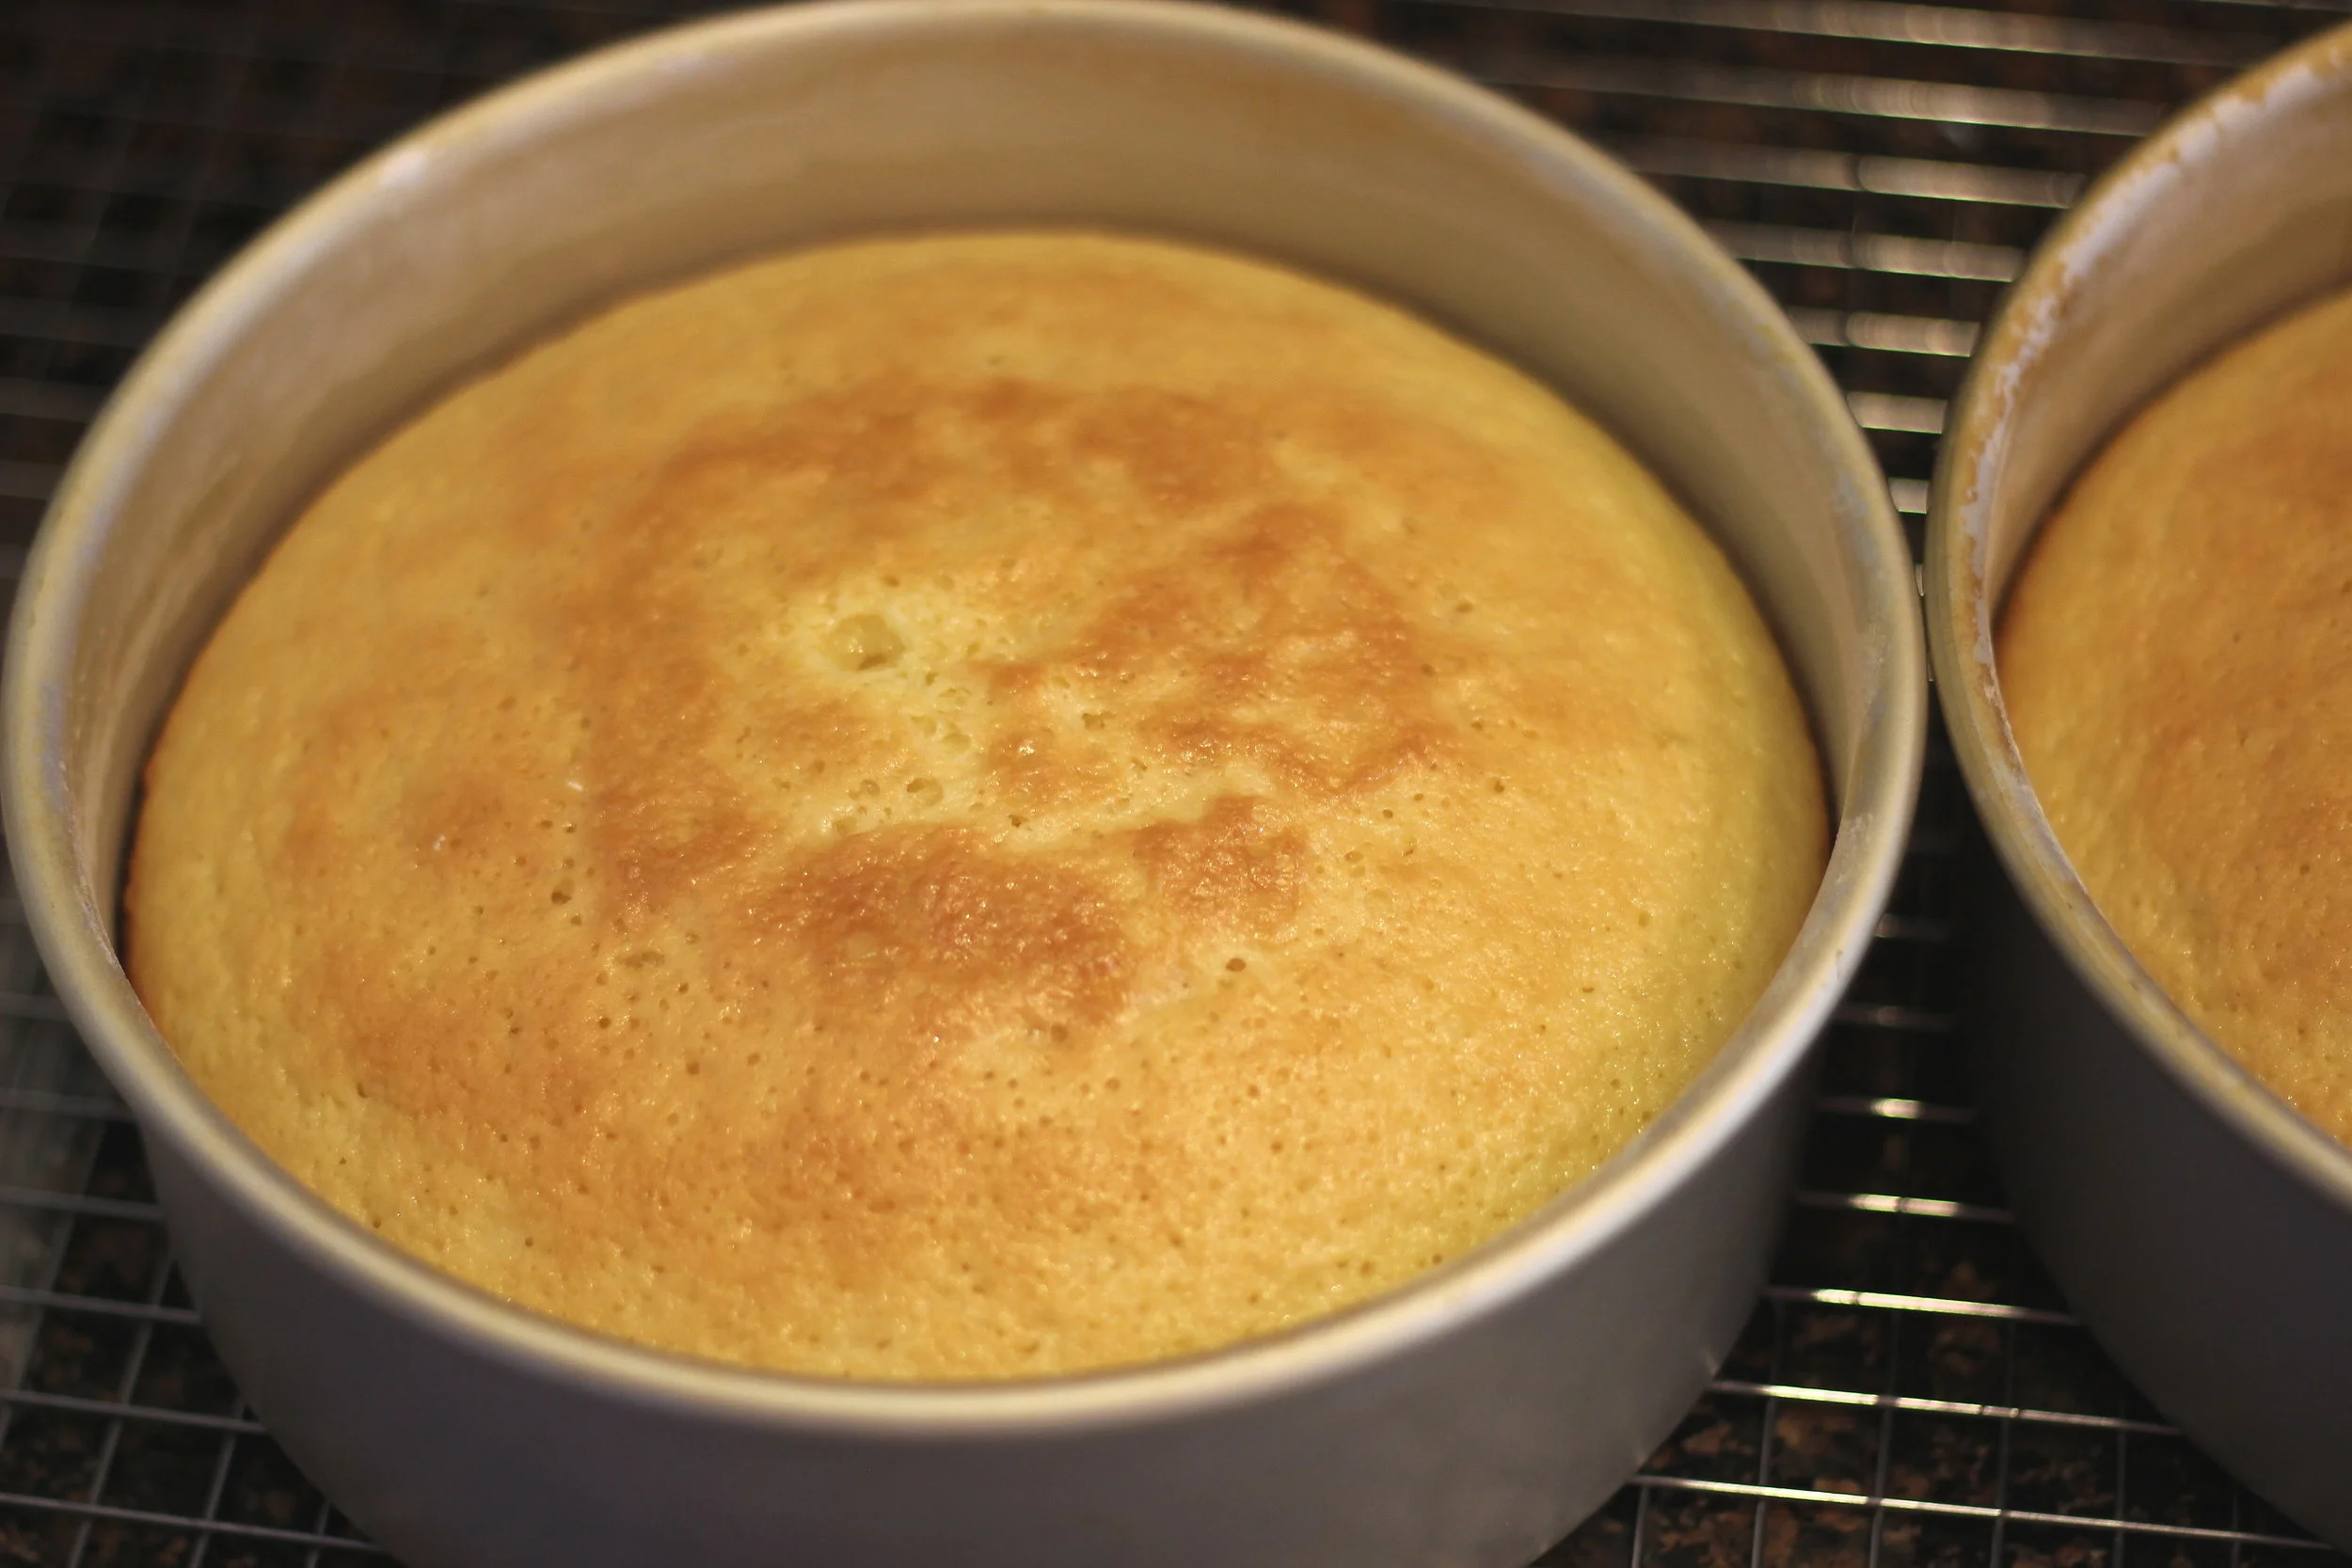
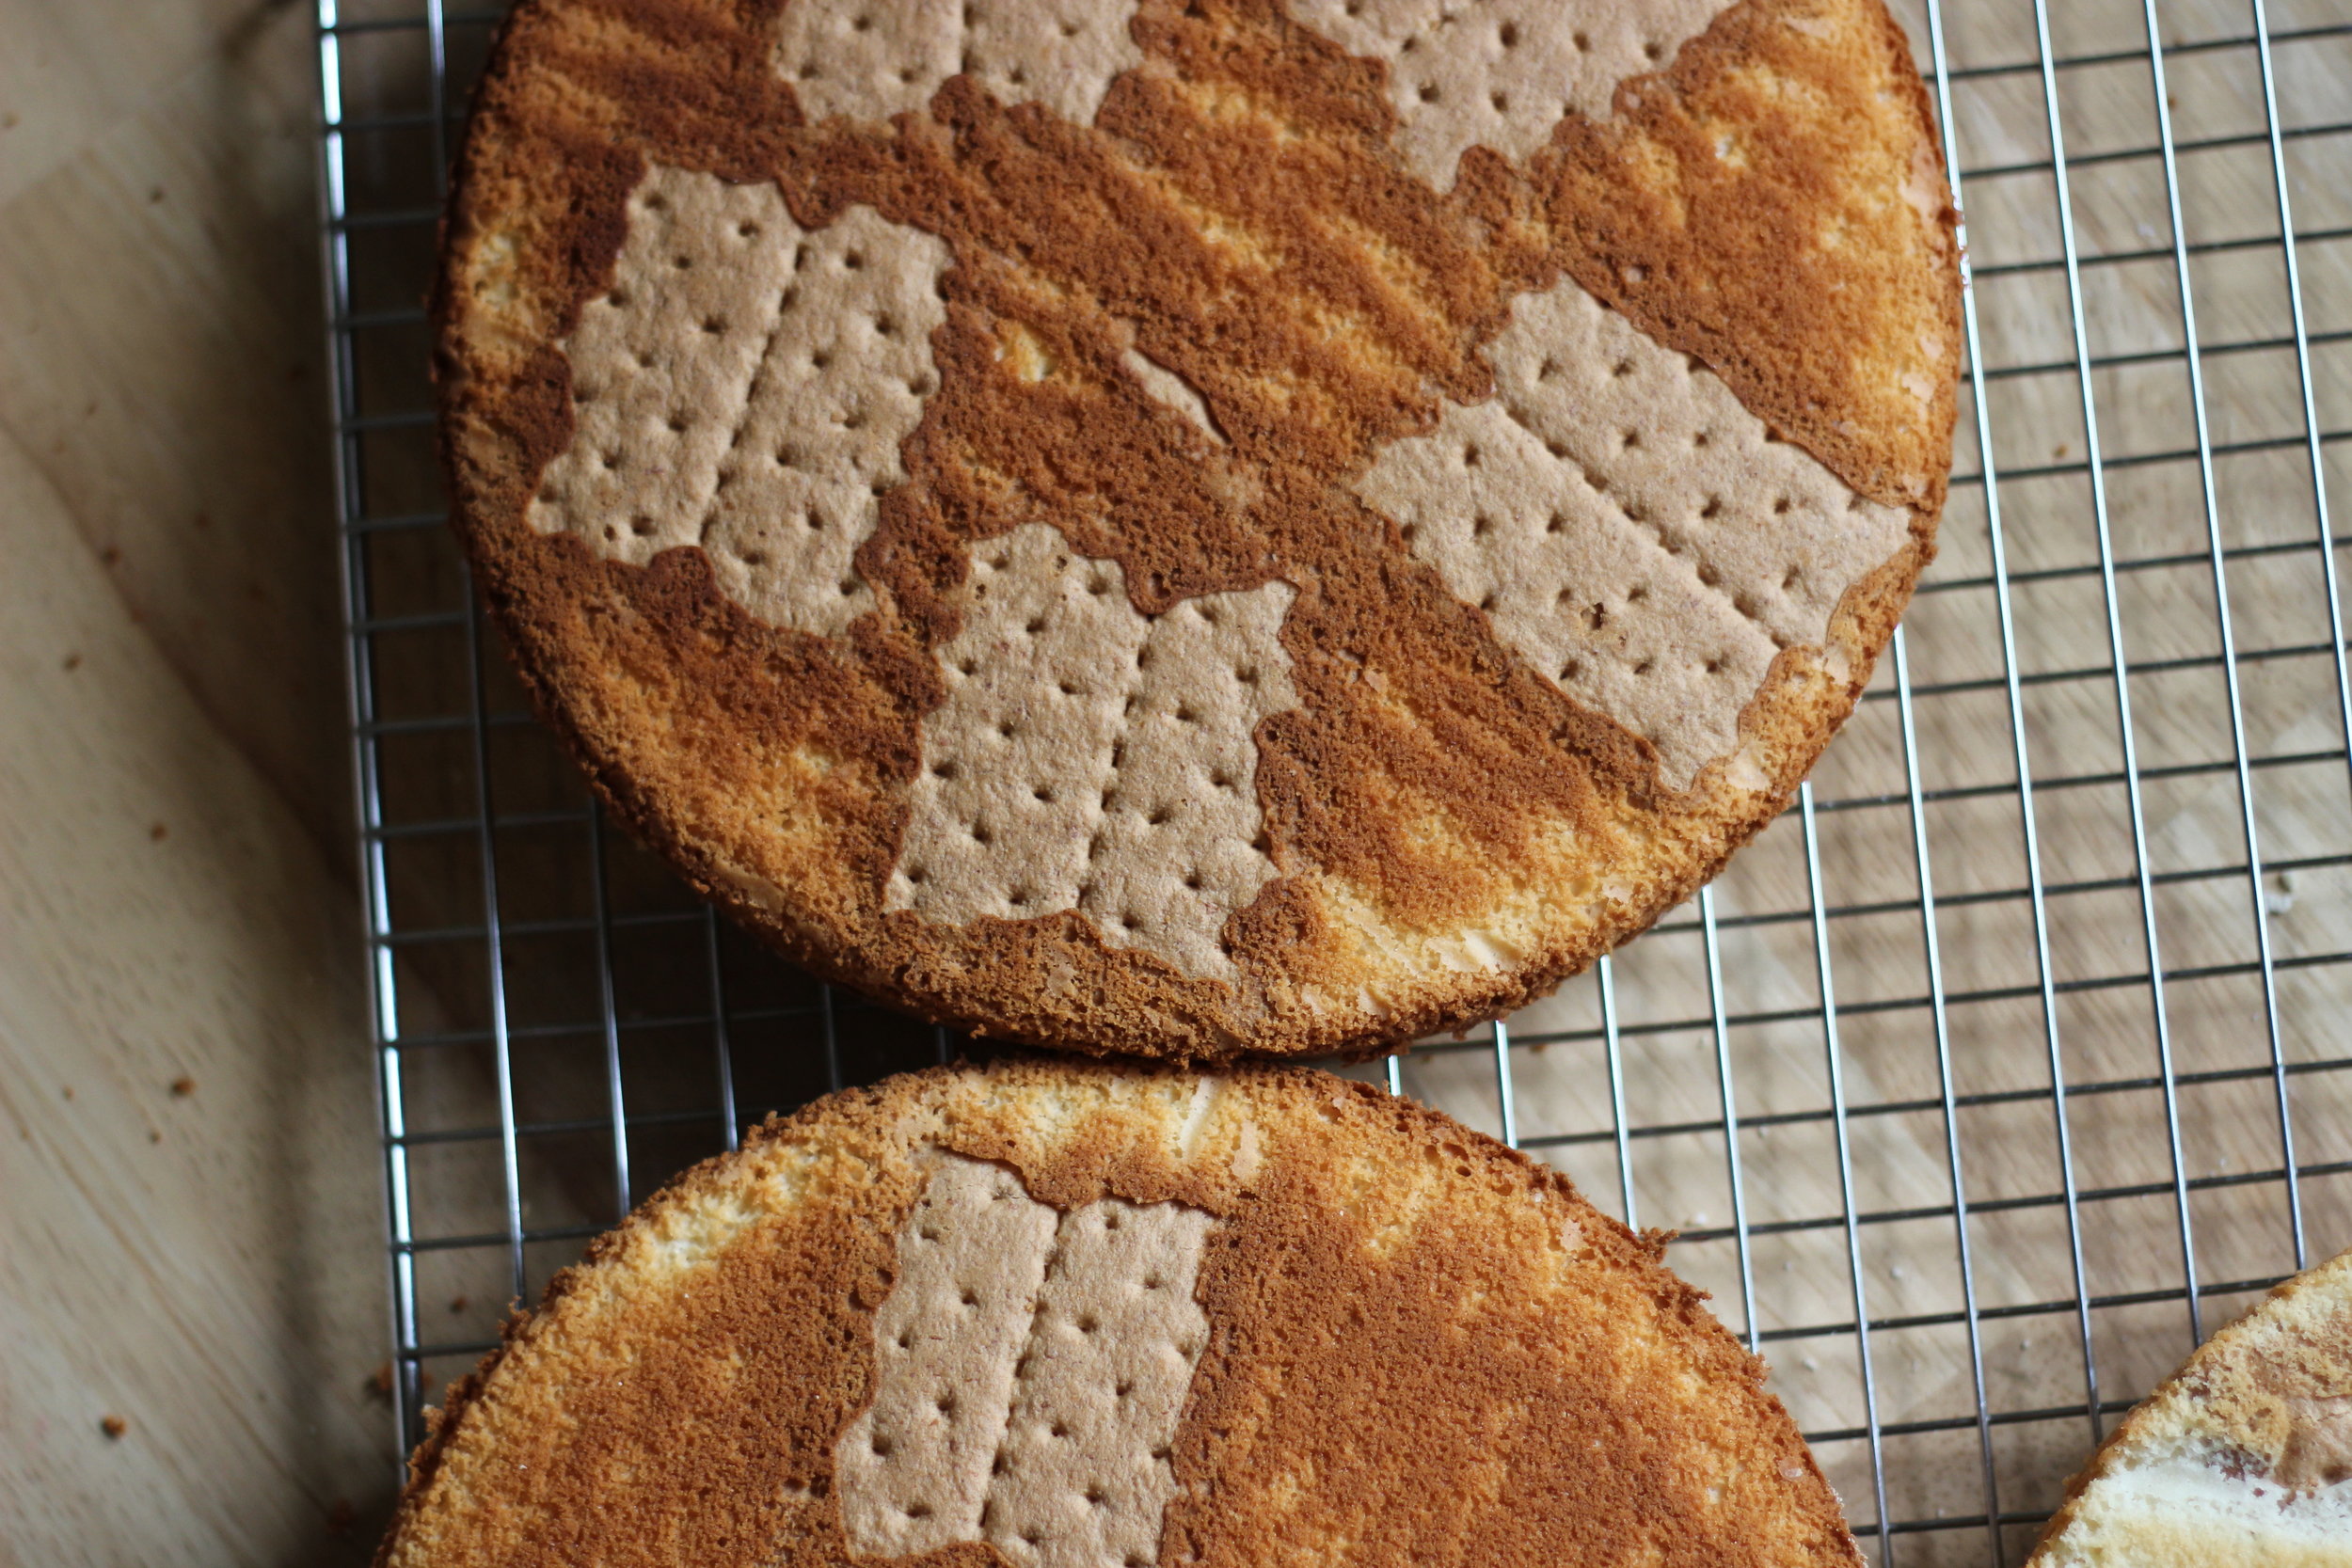
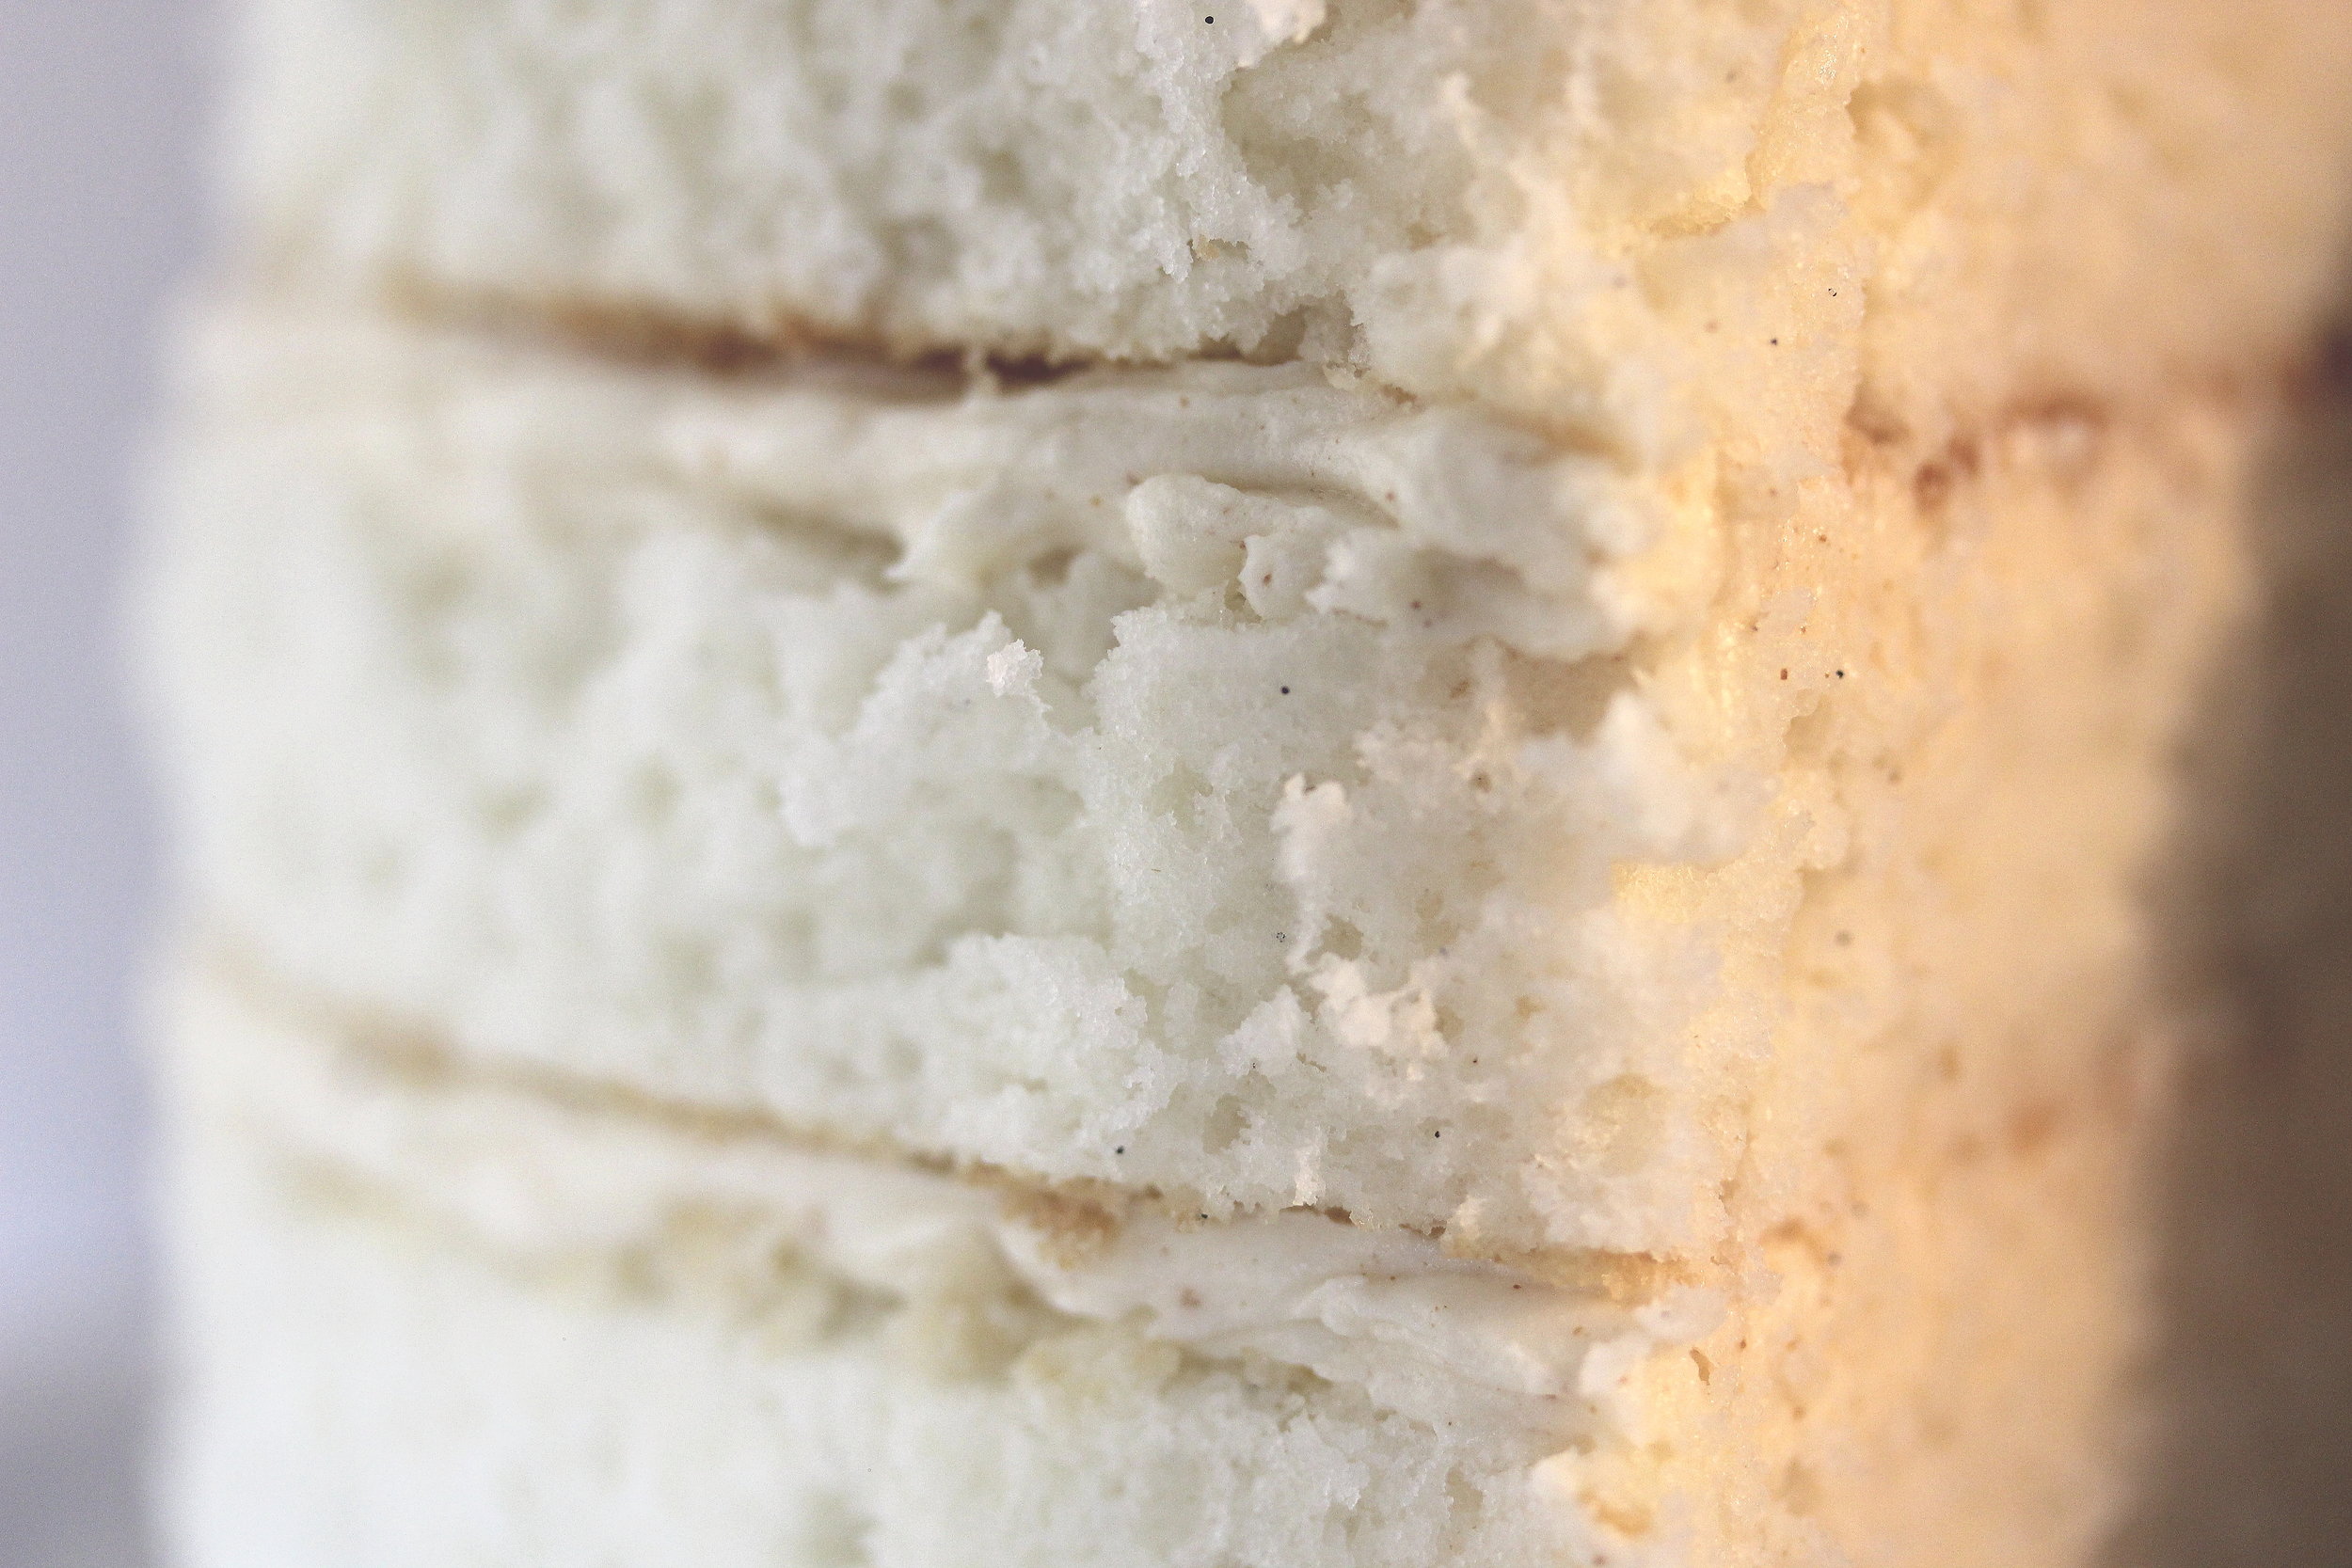
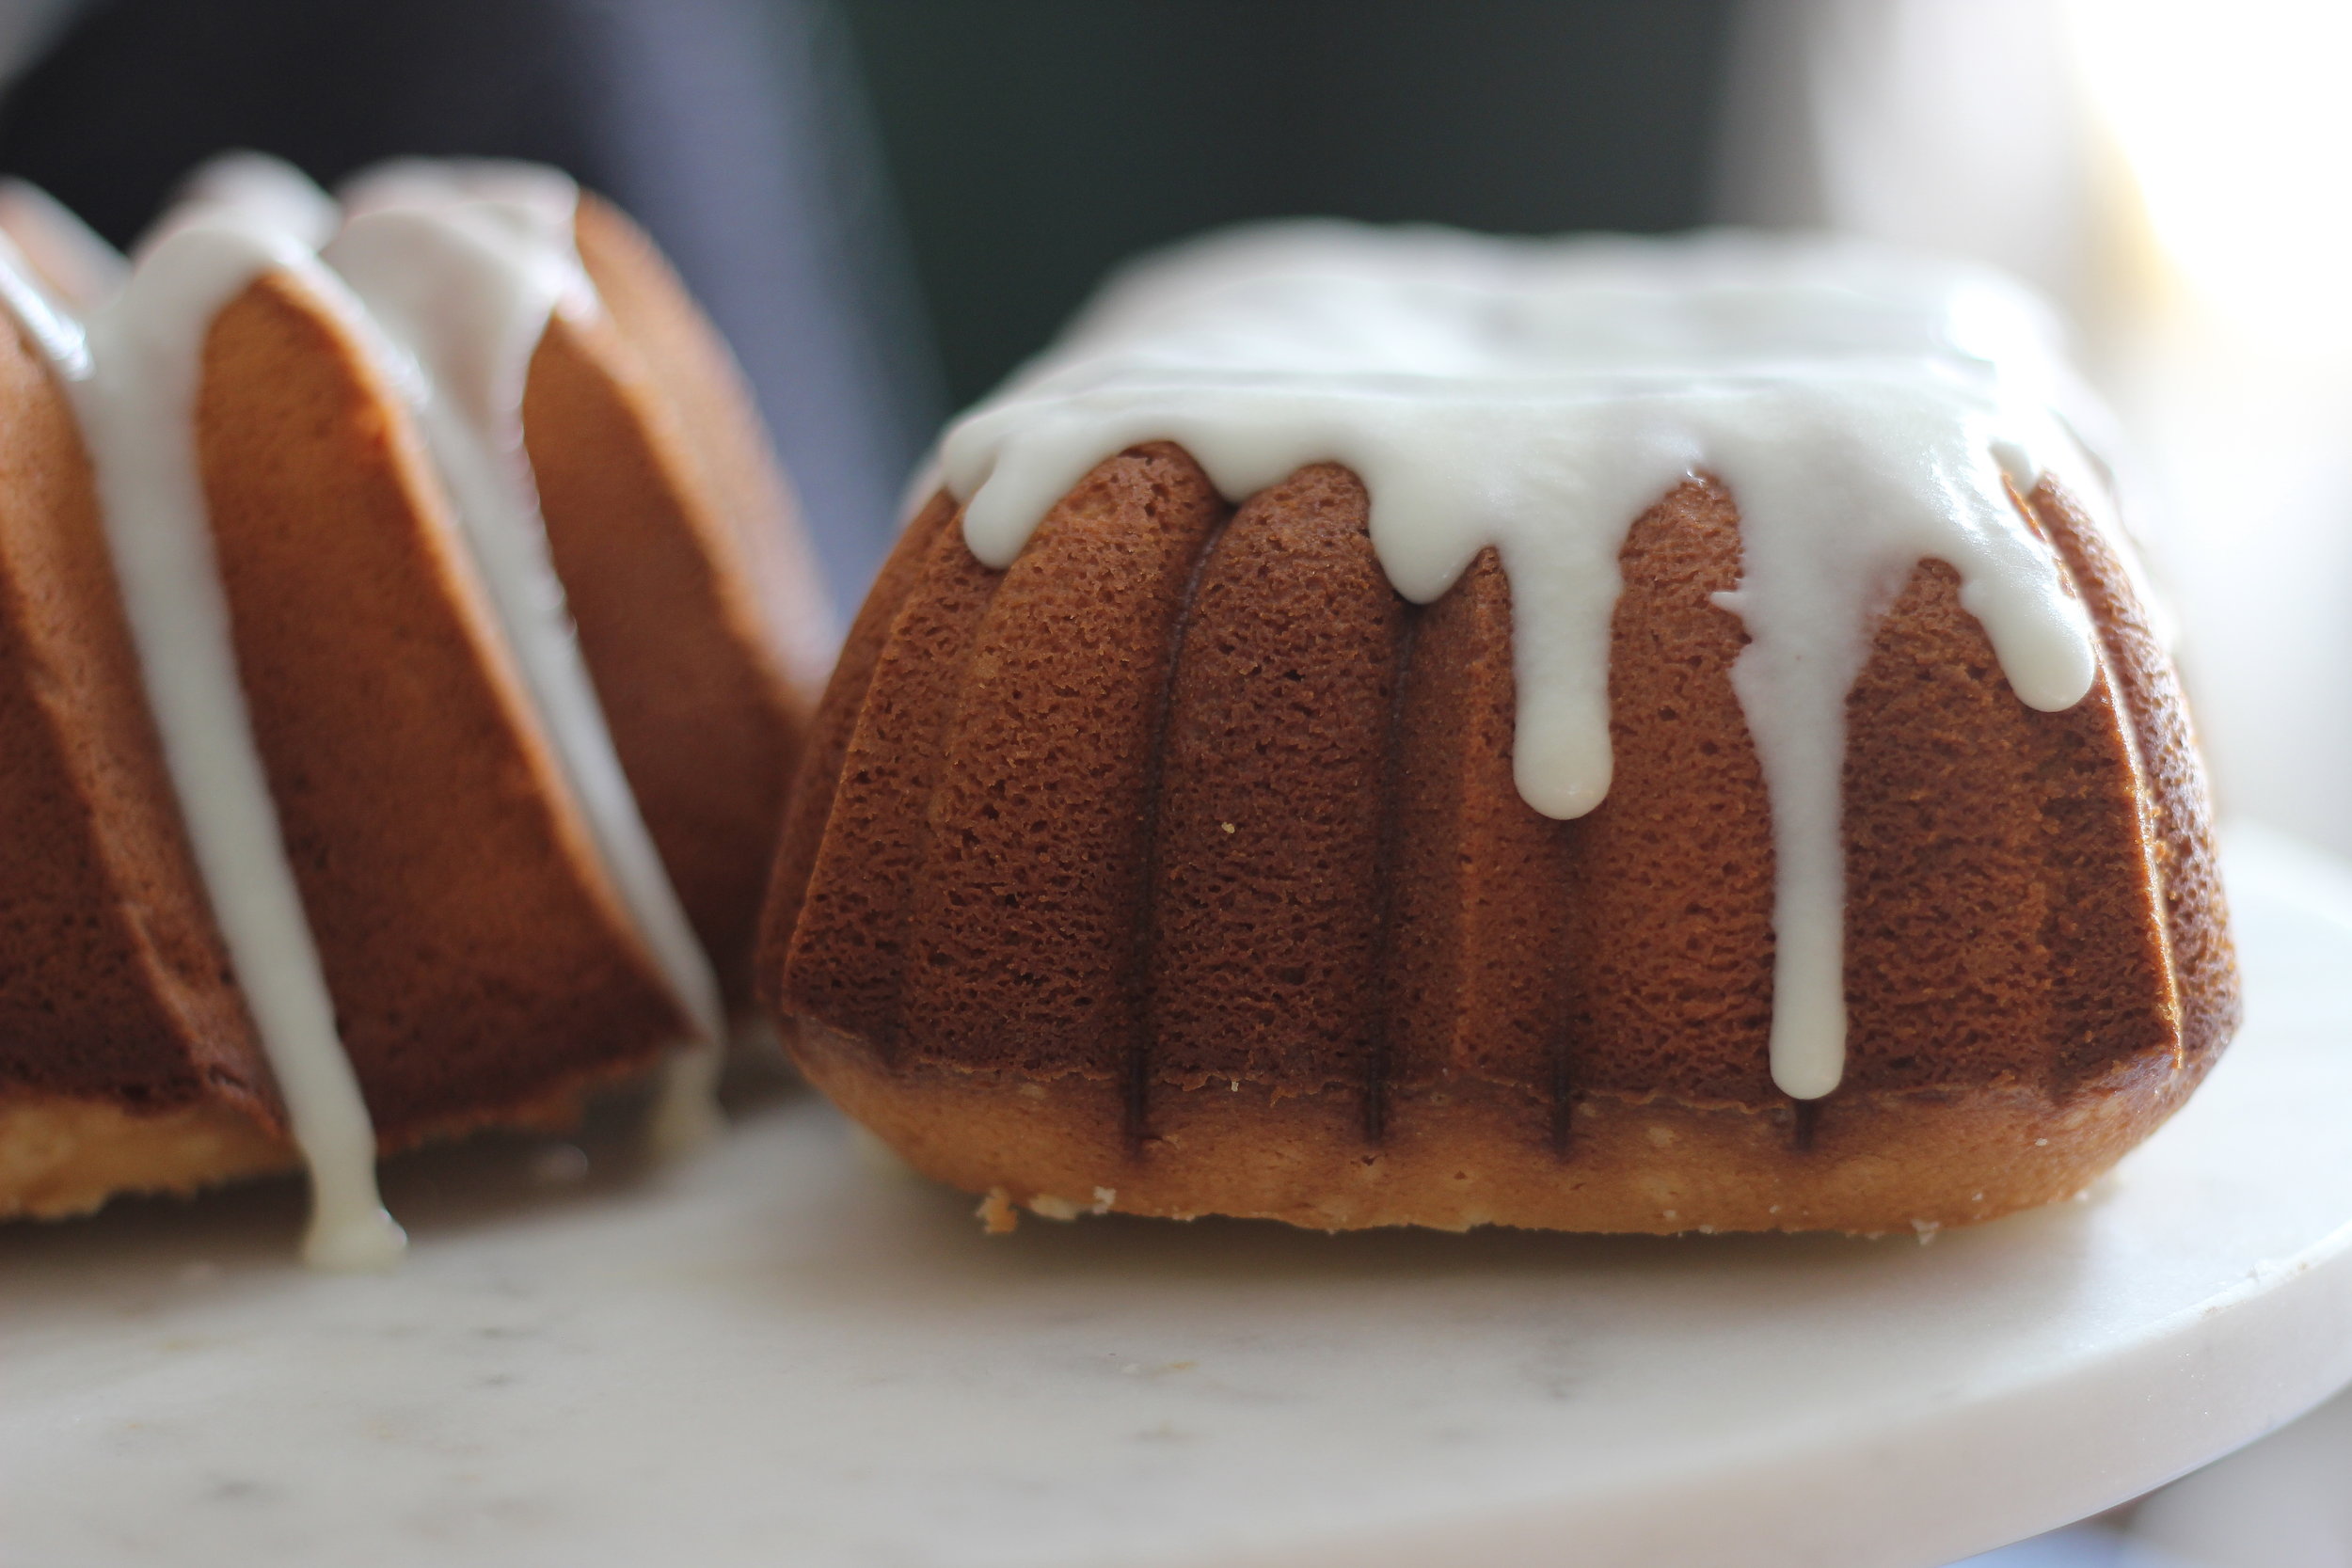
Without a chemical leavener, pound cake expands just a little only due to the steam escaping from the finer air bubbles in your batter. The batter that is touching your pan forms an even, smooth crust because it's not expanding very energetically against the pan. If you have the right recipe, your bundt should never break upon removal from the pan, but fall out smoothly with an even, golden crust.

Unless you are using a pan from the dark ages, you shouldn't need any grease or flour in your pan either. In fact, those things can just cause an interference. Any normal nonstick bundt pan should be fine on its own. You should also not need to pry any instrument into your pan to get your bundt baby out. A few taps, a few gentle shakes, and it should plop out easily when inverted.
That being said, I do spray my older pans with a light flash from Baker's Joy, just for the extra assurance. I have made bundts with and without it, and it really makes no discernable difference except in my very old aluminum antique pans.
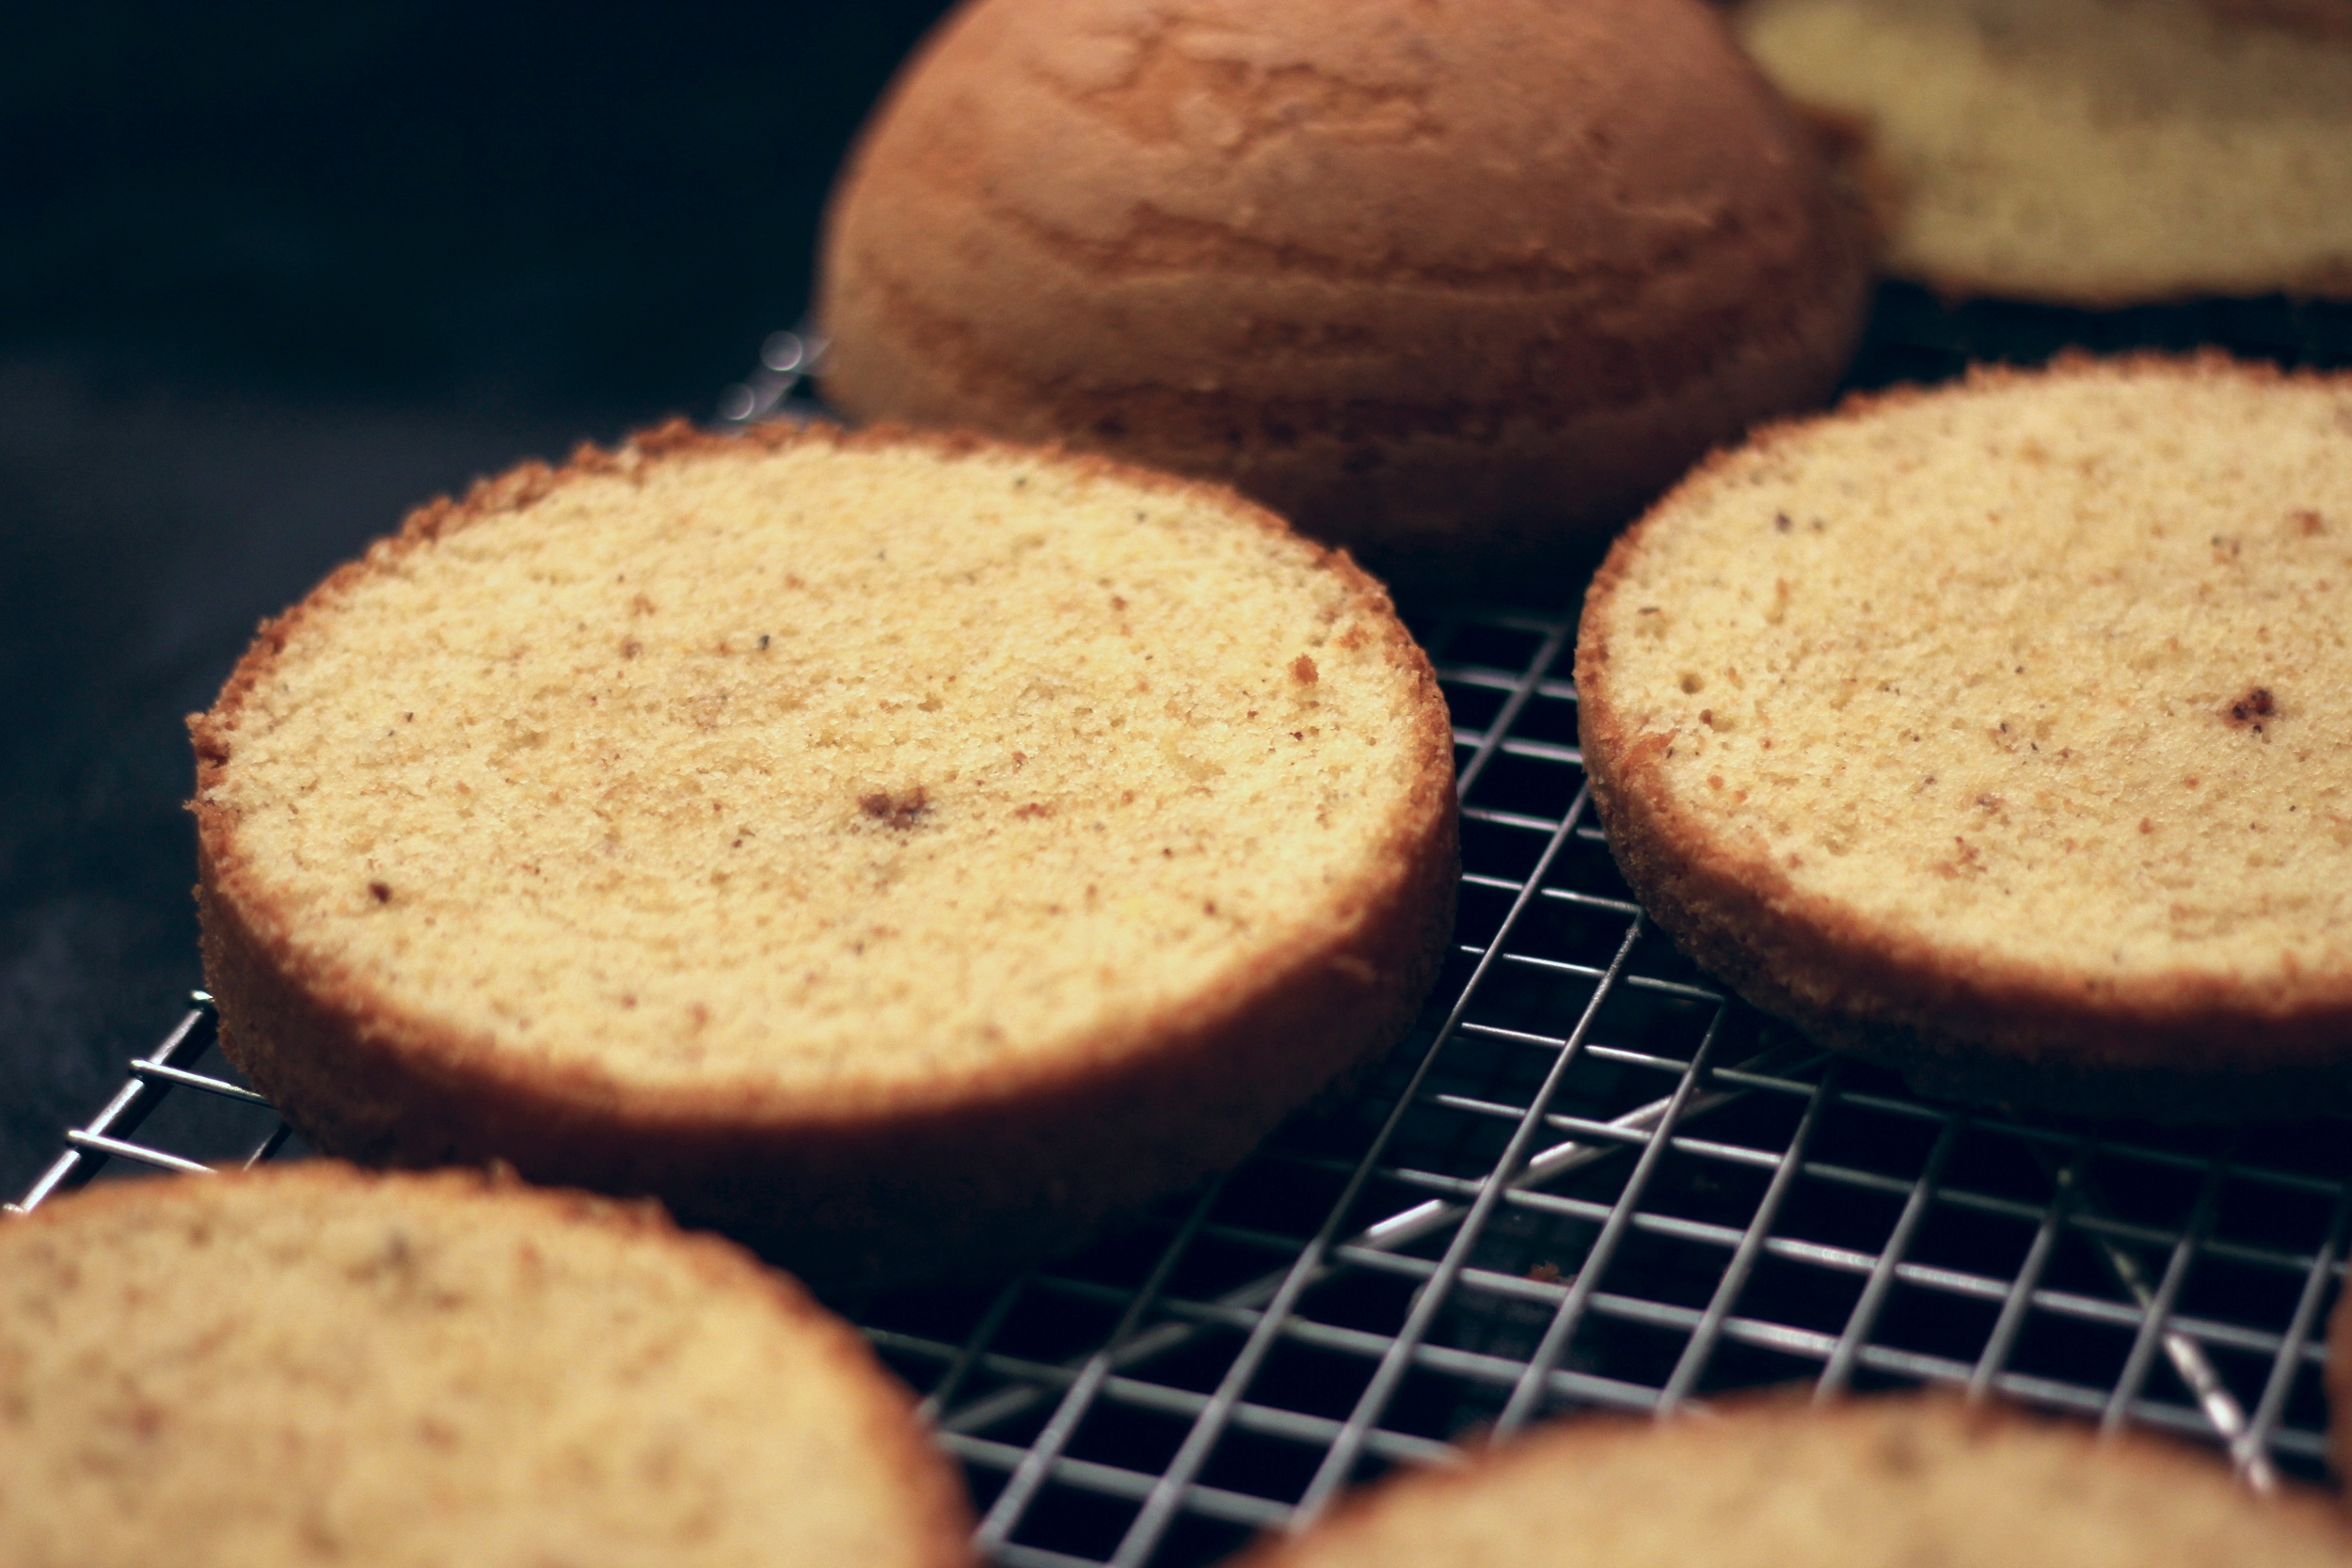
Bundt is done when the top cracks and the dough inside the crack looks just barely set.

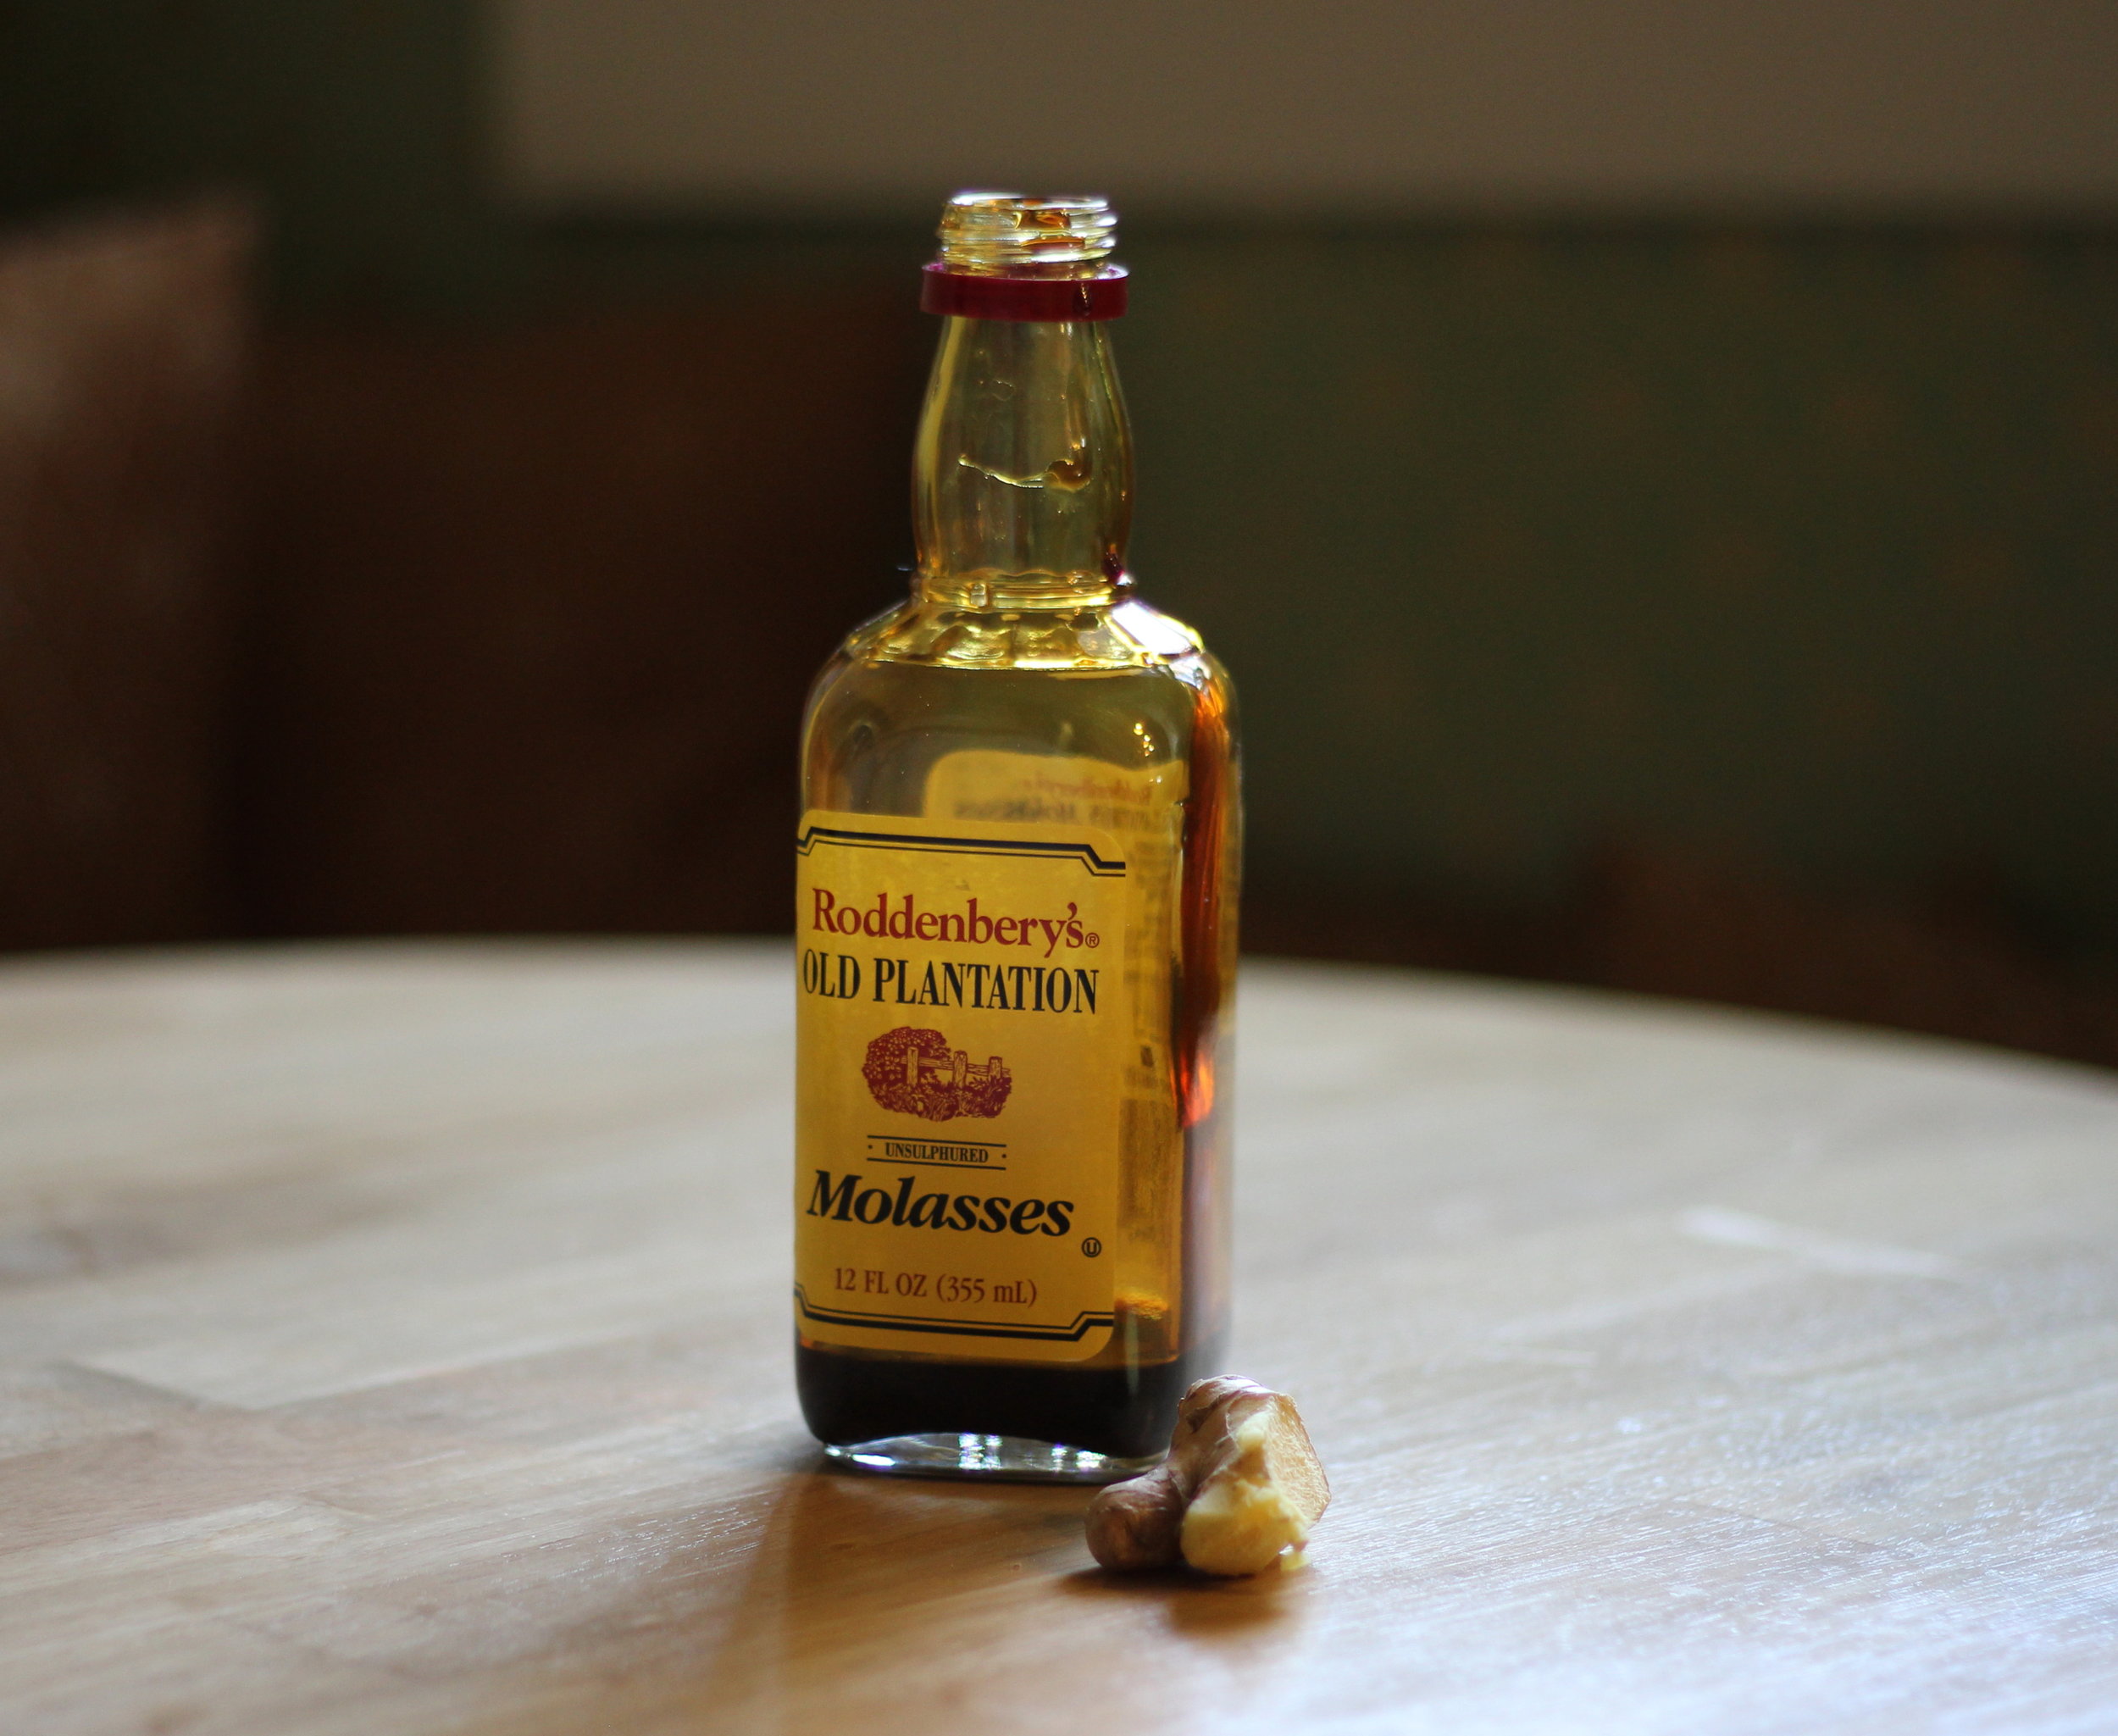
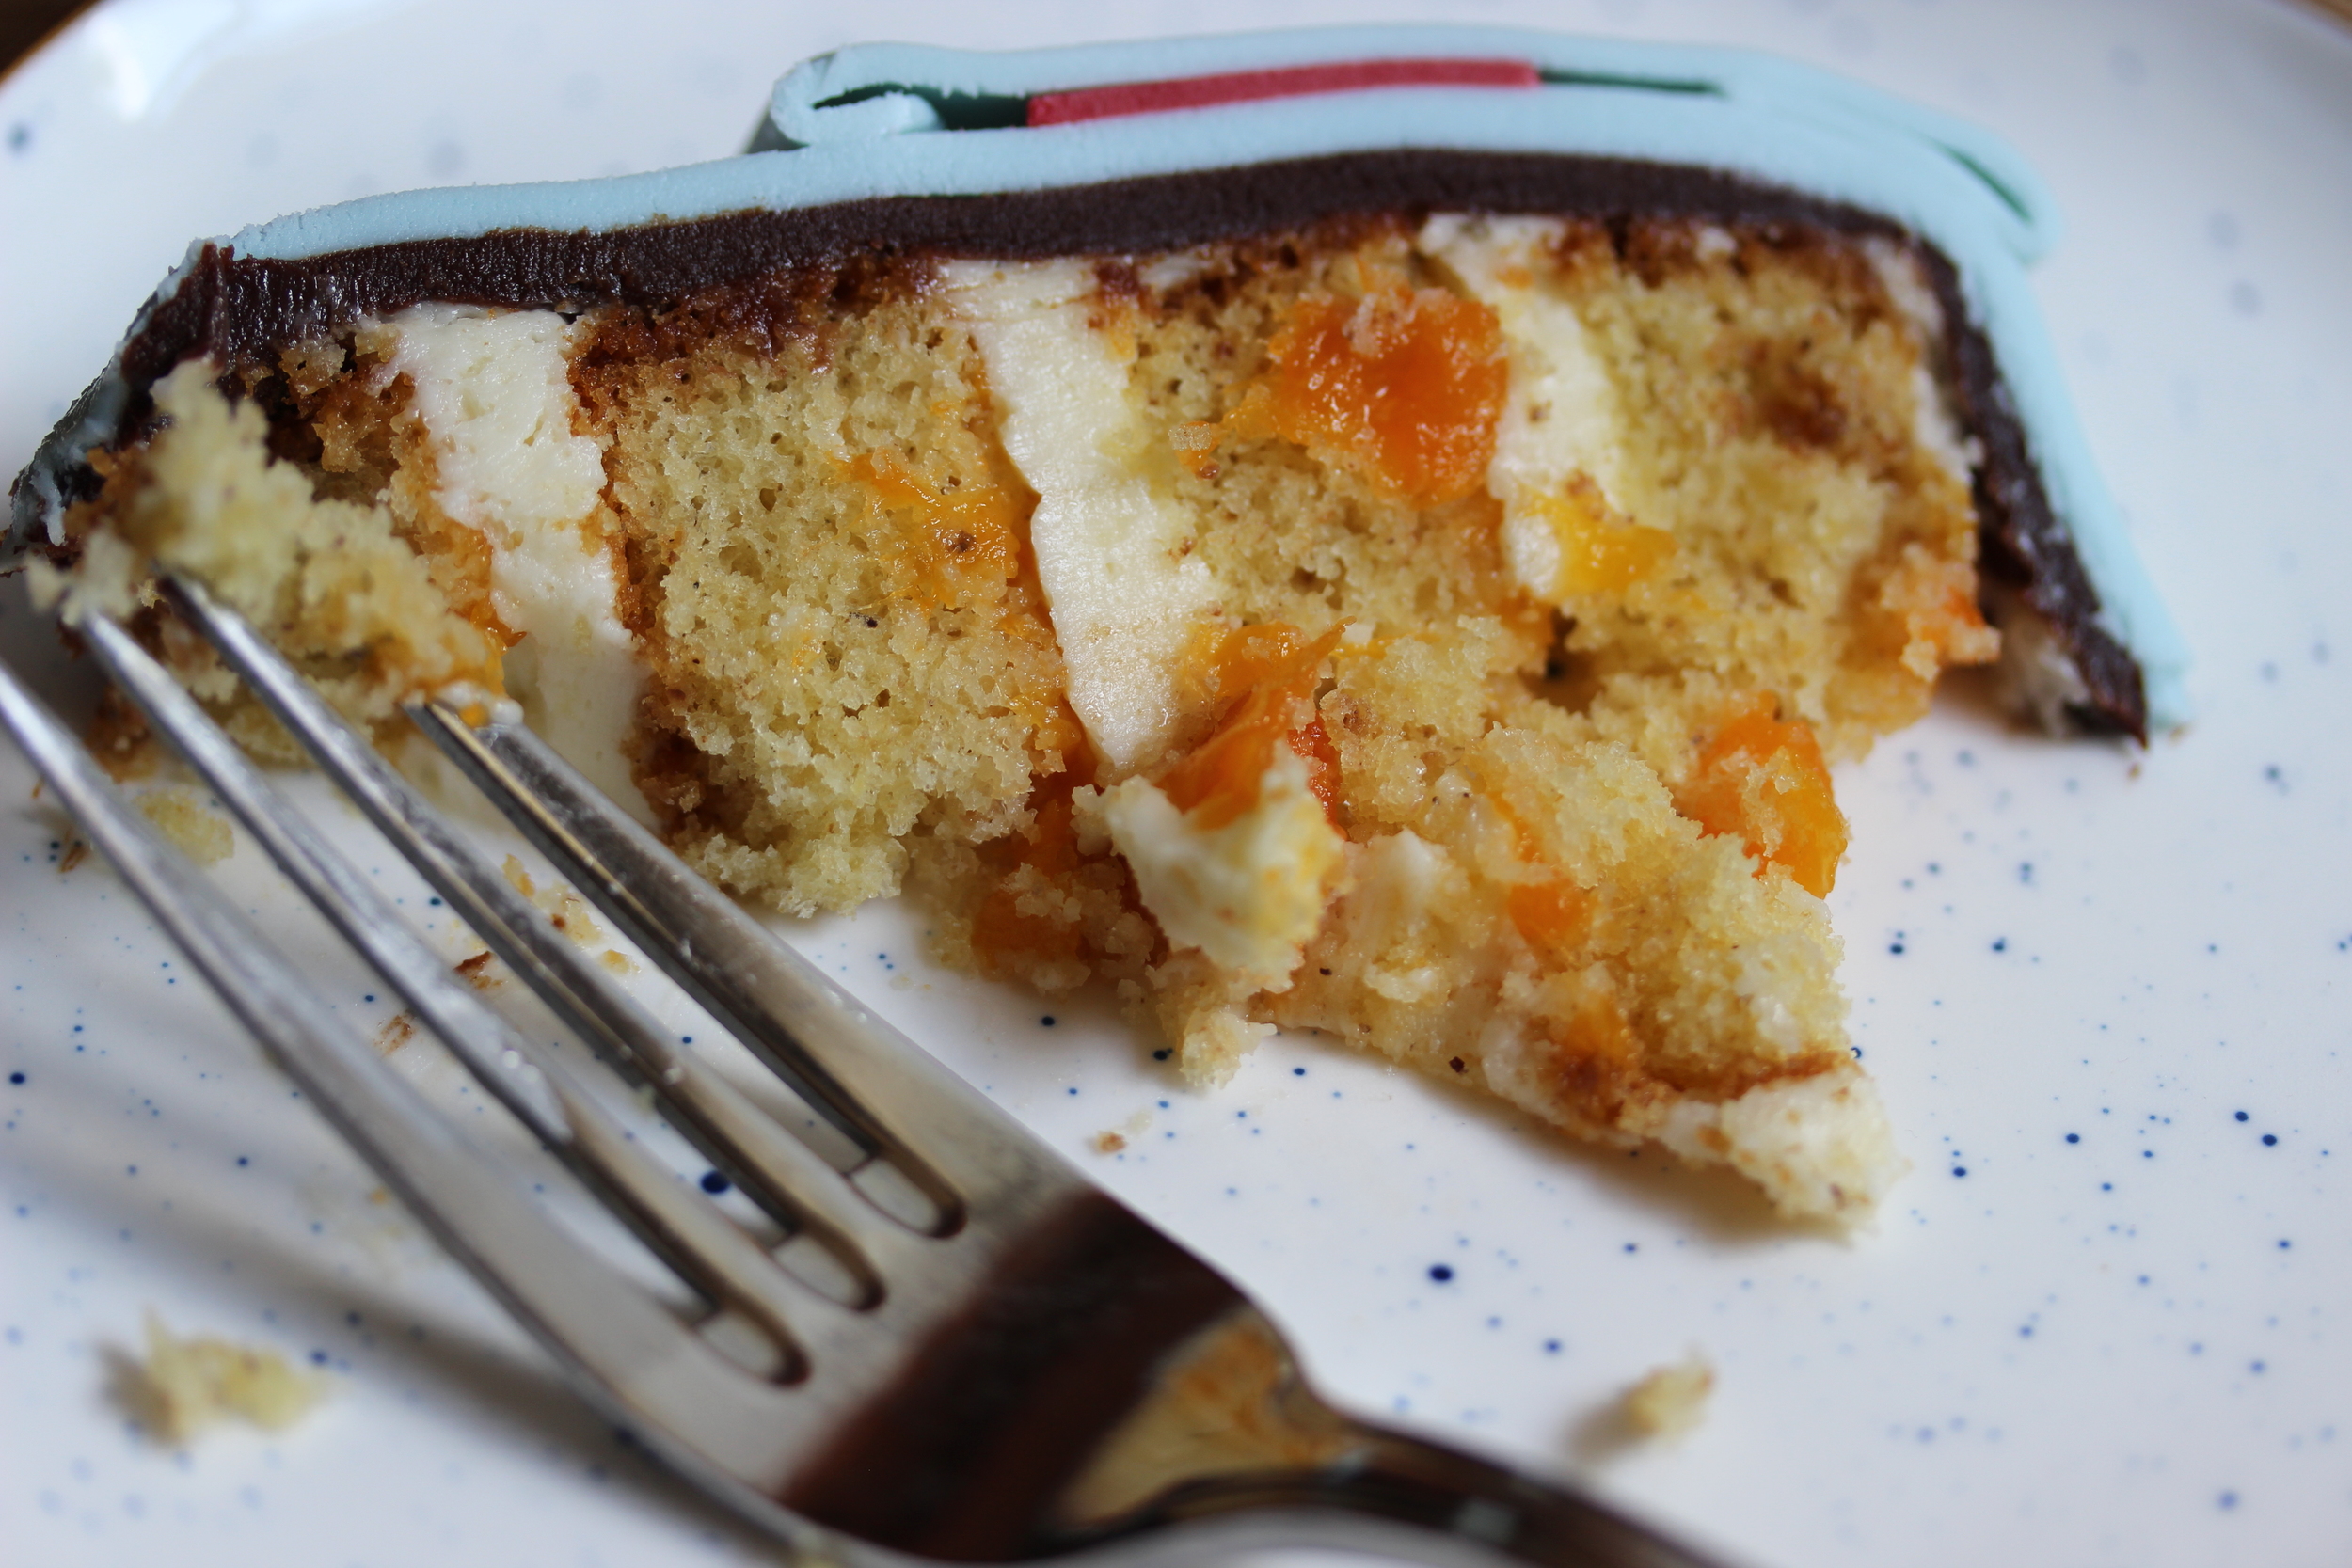
Now, being "plain" as it is, a bit of acid in poundcake is always a good idea. That's why lemon or citrus poundcake is always the most popular variety, but blueberry and strawberry are also great. I love lemon poundcake with strawberry icing (just puree some fresh or frozen strawberries, strain, and add the juice to the icing recipe below), and I really really love orange poundcake.
If you want really good, tangy lemon icing, you're going to need a pinch of citric acid, which can be found in the canning section of your grocery store. Lemon juice alone will only take you so far. Make it as thick or as thin as you like, but don't sub water for the heavy cream or milk--that bit of dairy really helps give the icing substance.
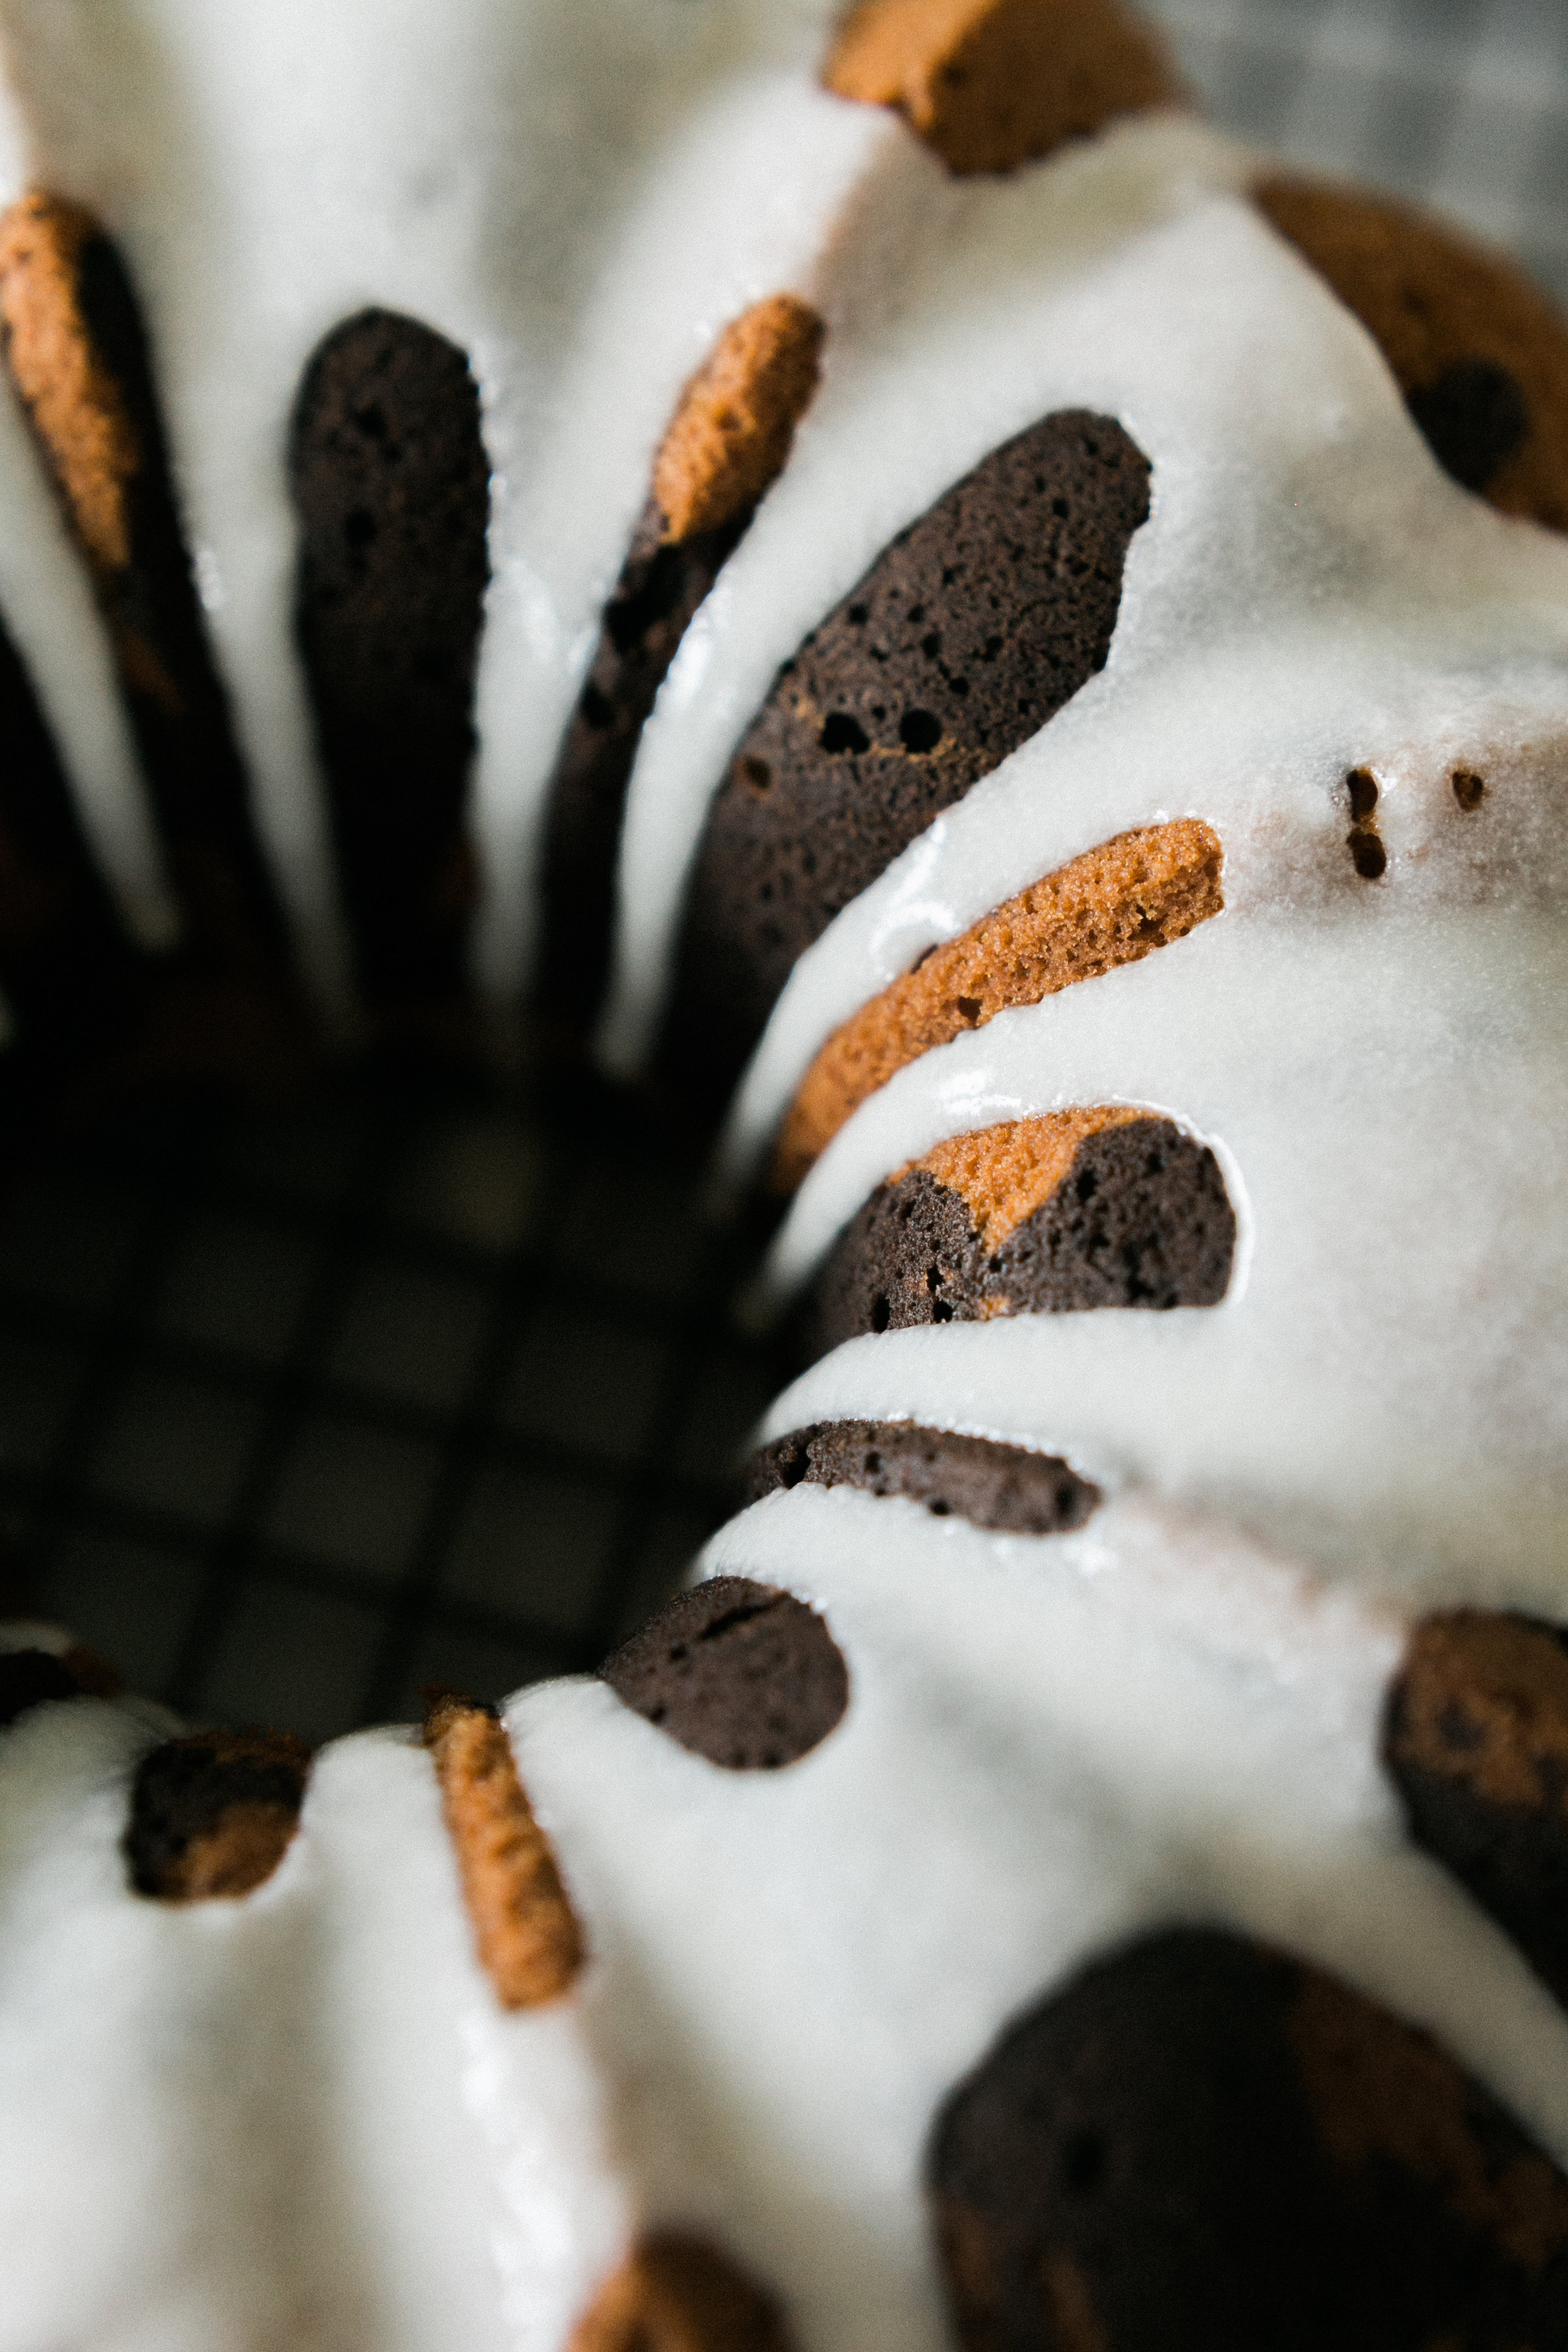
photo by Haley Sheffield, styling by Kristine Cholakian Cooke
And if you really really want to gild the lily, you can brush your warm poundcake with simple syrup and it will be even more ridiculously moist, edging up to a pudding-like texture, if that's your kind of thing. Either way, this cake is better the next day, once the crust softens.
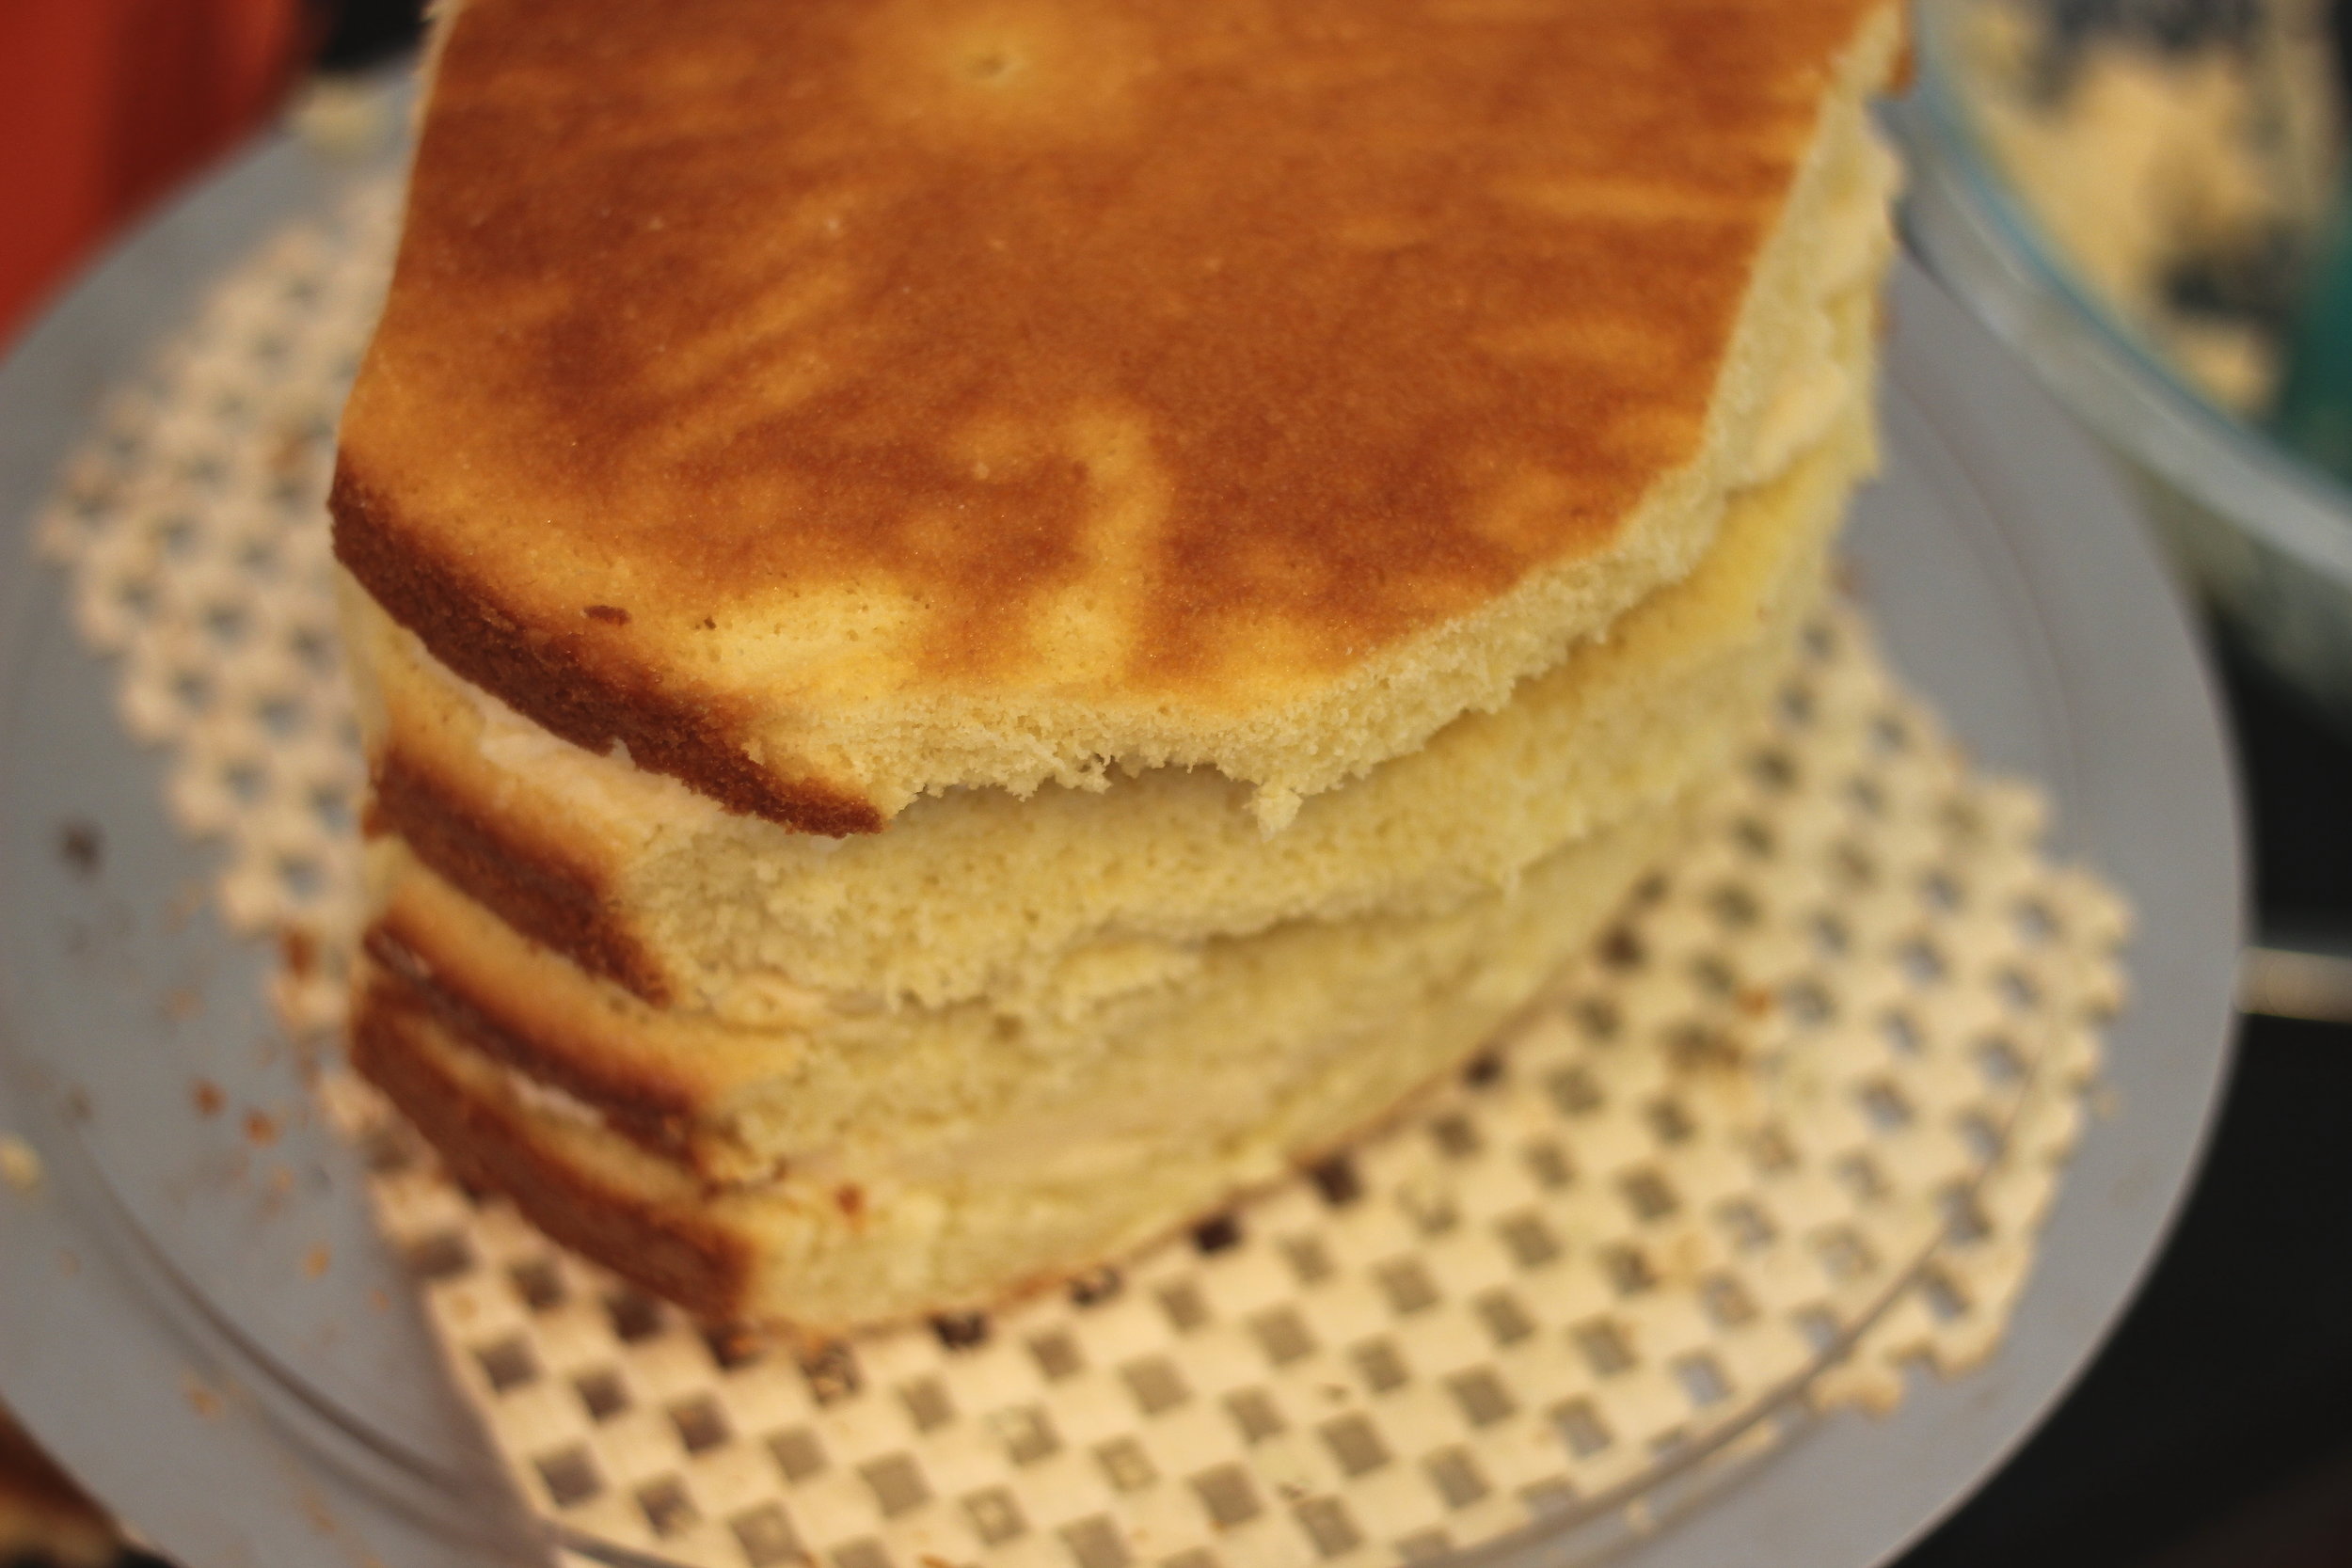
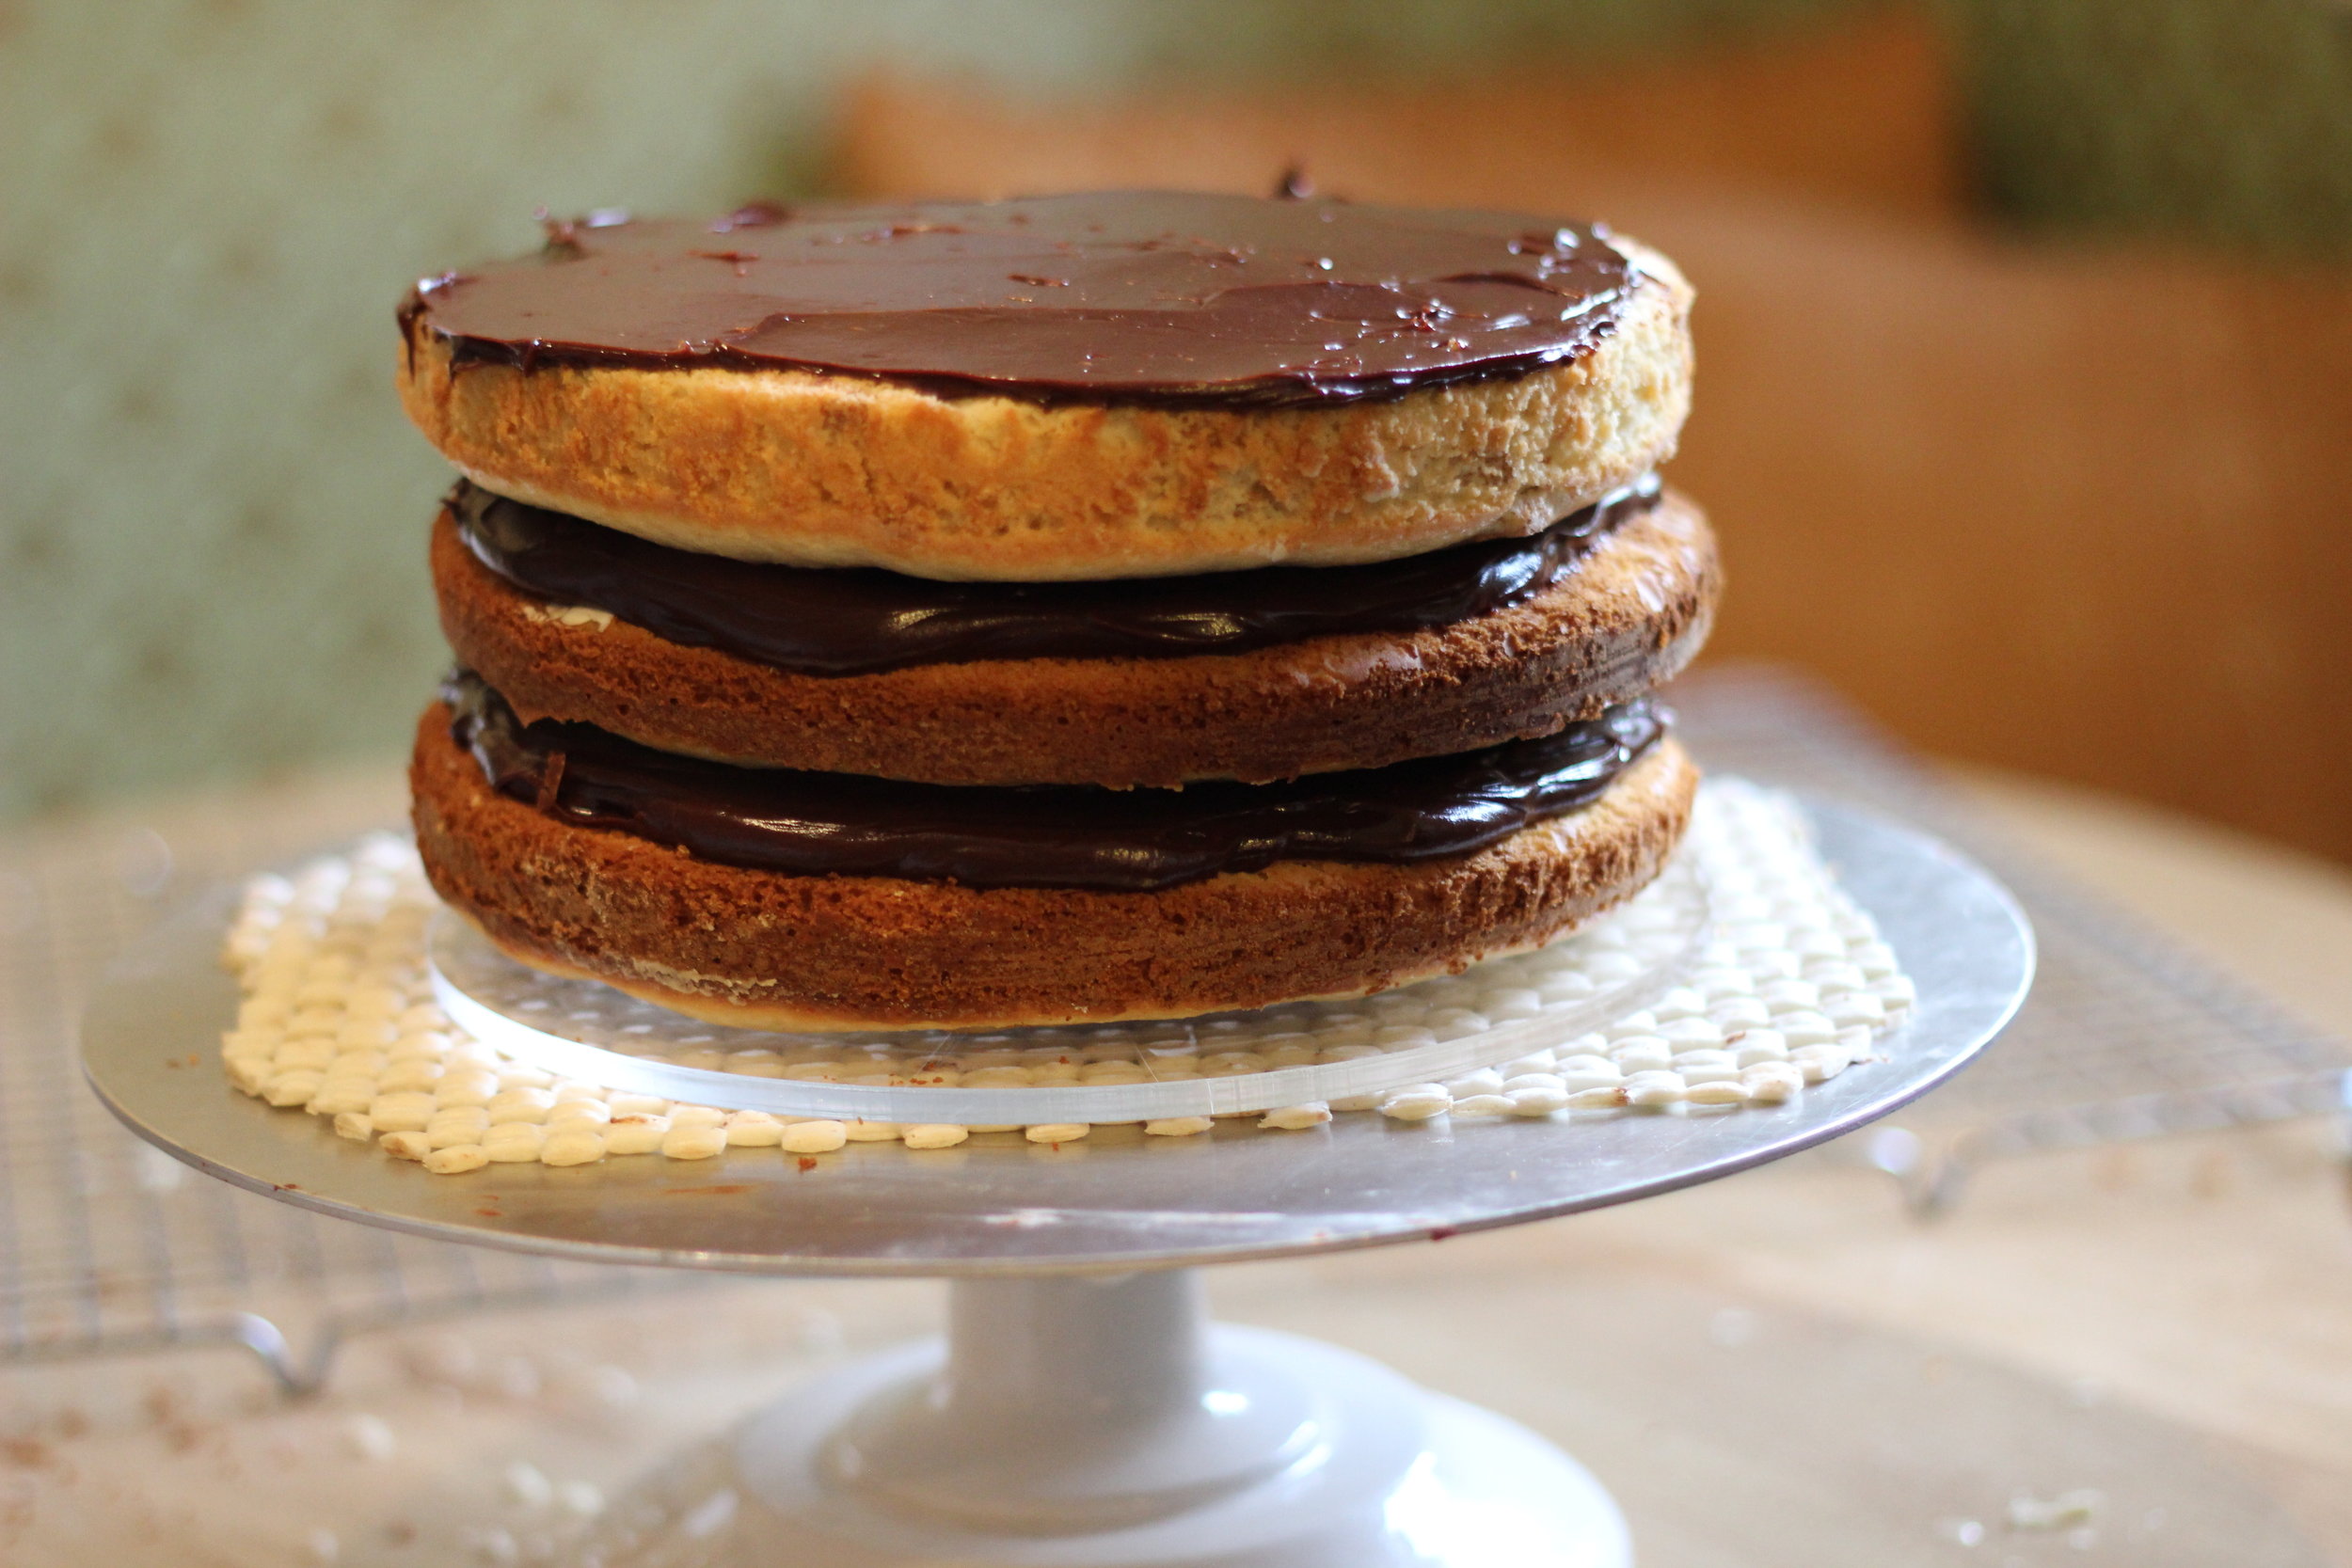
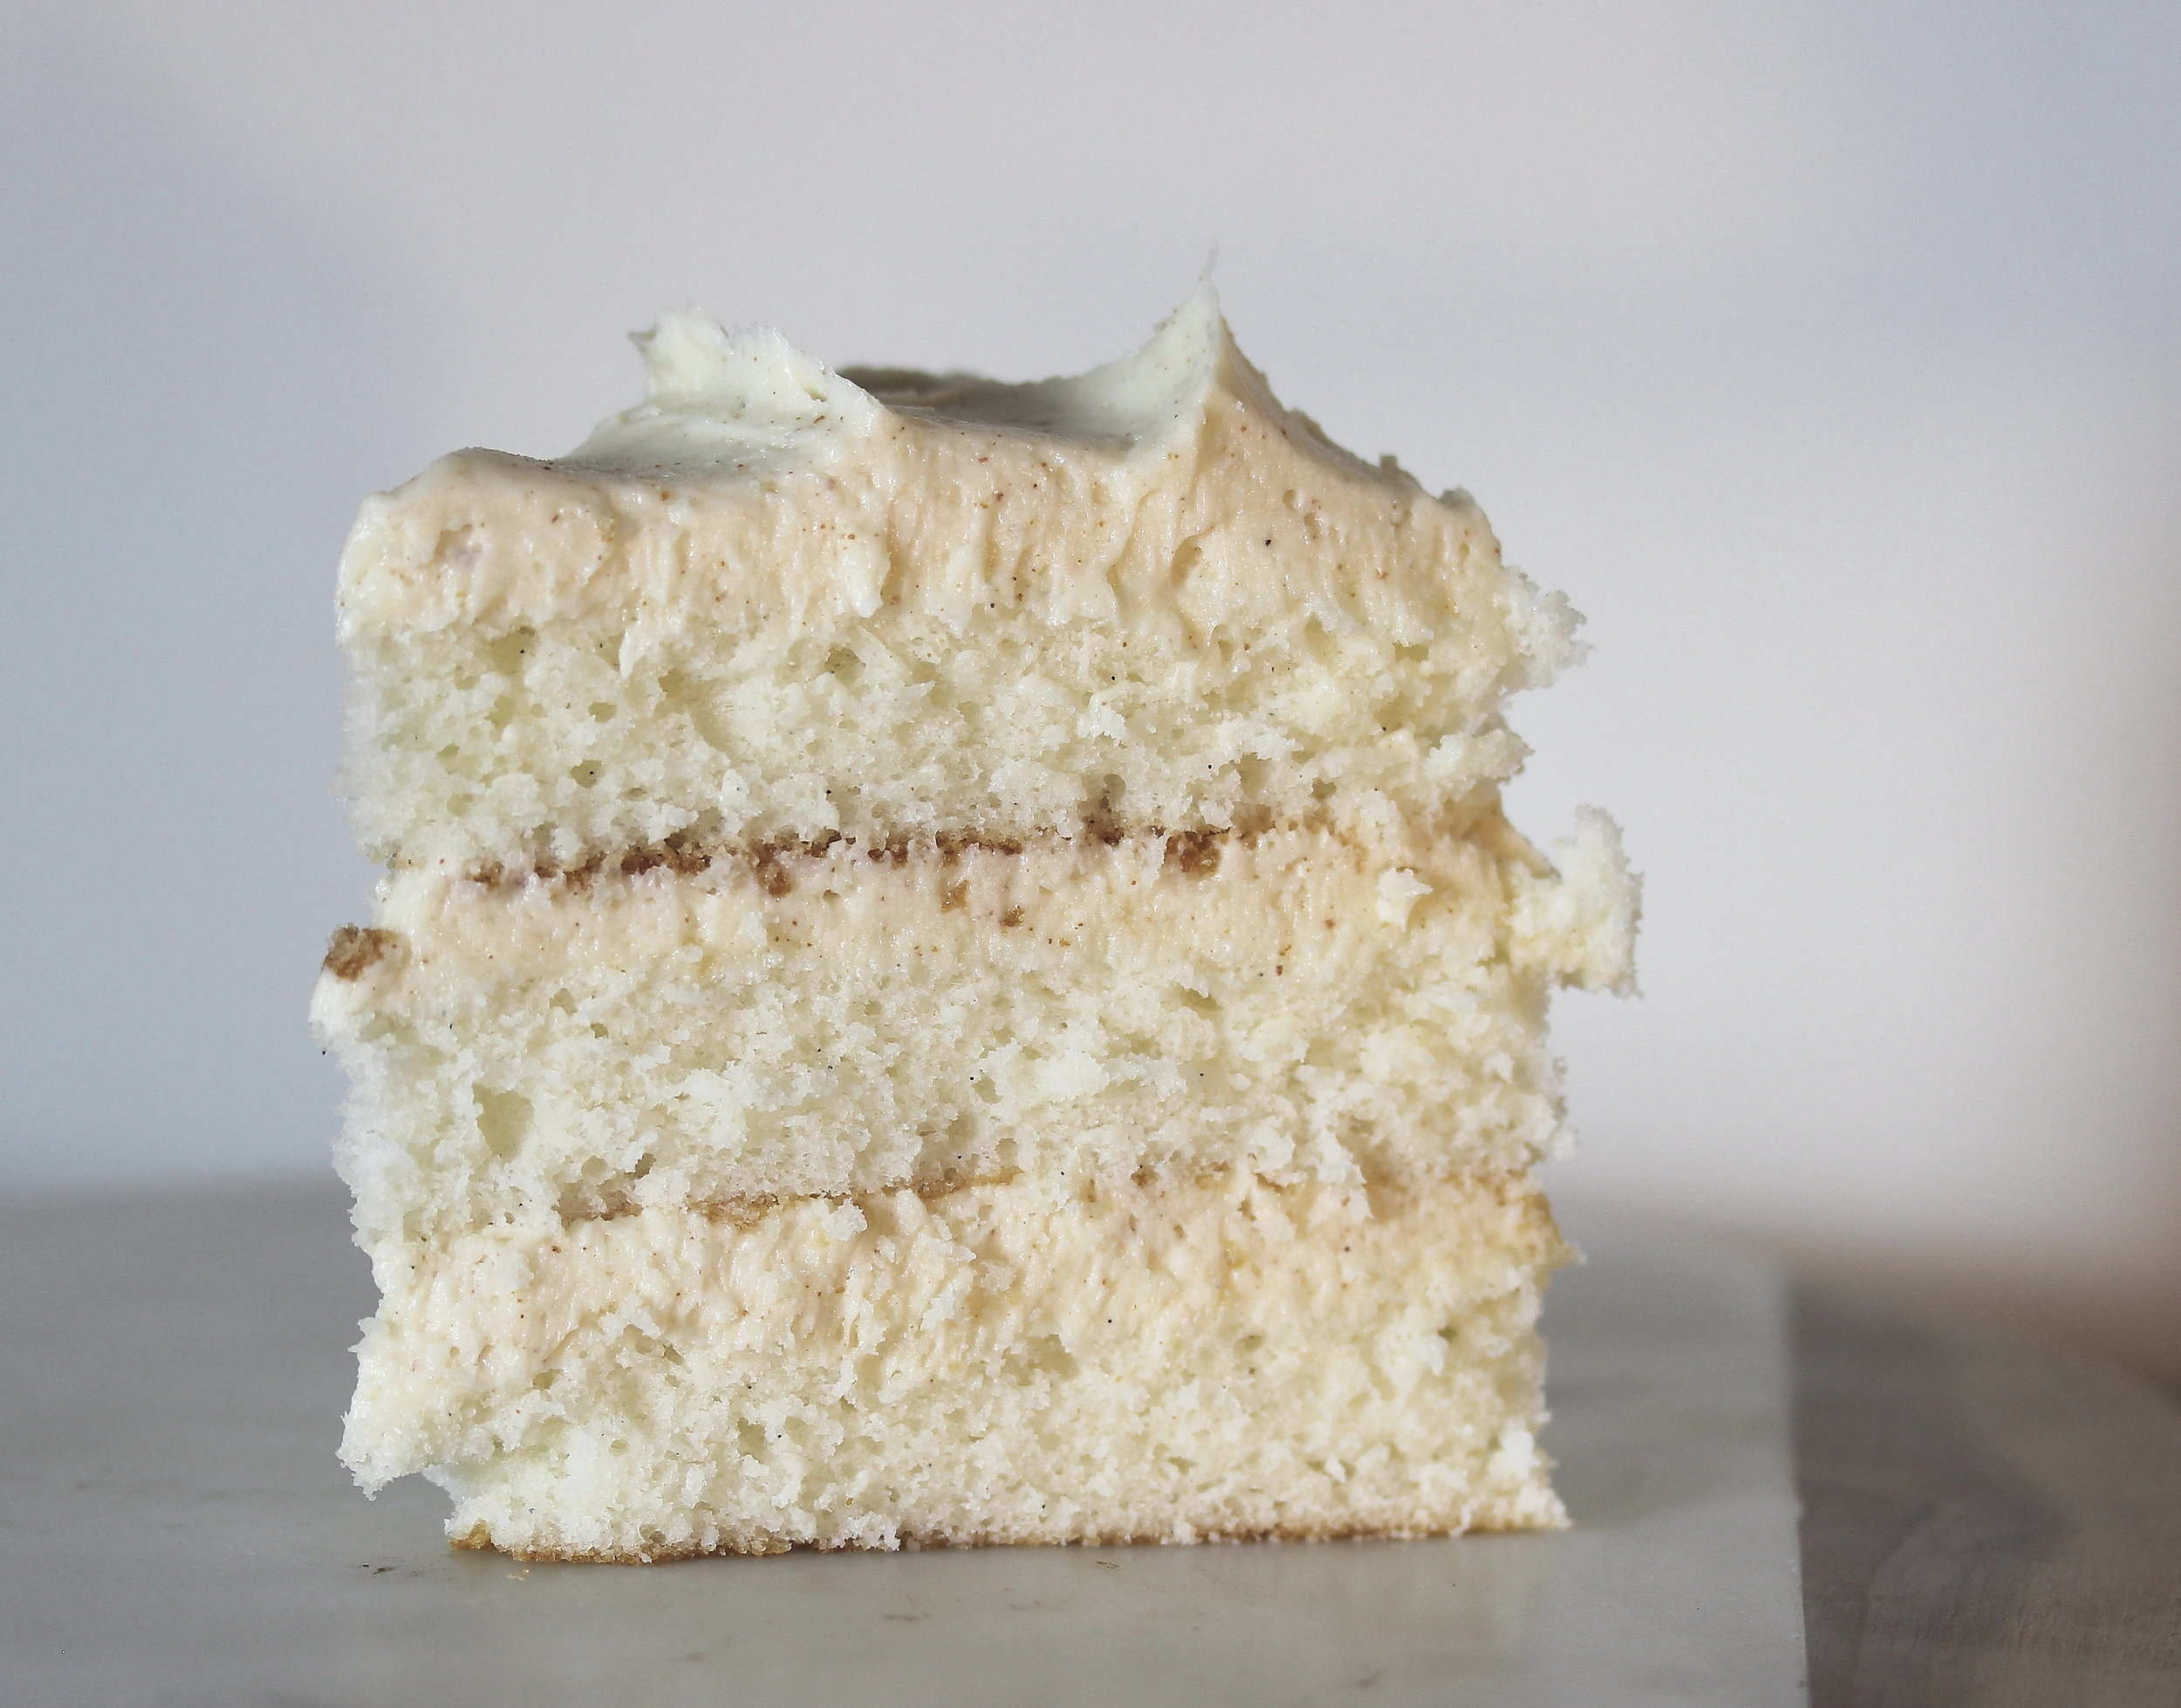
I tested the basic triad of poundcake recipes--all butter, butter and cream cheese, and butter and sour cream, and a combo of both. As expected, the sour cream and cream cheese (which has been my go-to poundcake recipe for years) was the best. The acid of the sour cream works a little like buttermilk, keeping the dough tender, and the moisture of the cream cheese keeps the cake tender enough to not really need a sugar syrup soak.
The texture of this cake should be velvety and dense.

Take your time creaming this batter, since there are no chemical leaveners, this mechanical whipping process is the only source of bubbles/rise for your cake--don't hurry through it.
This recipe makes an ample amount of batter, about 7 cups, enough for two 8" loafs or one large bundt pan. It can be halved if using a smaller pan. Because the pan size doesn't matter as much with pound cake in terms of how the batter will perform, you can put as much or as little of this batter in your pans and it should all come out basically the same, just be sure to adjust your time down for smaller amounts of batter or smaller pans.
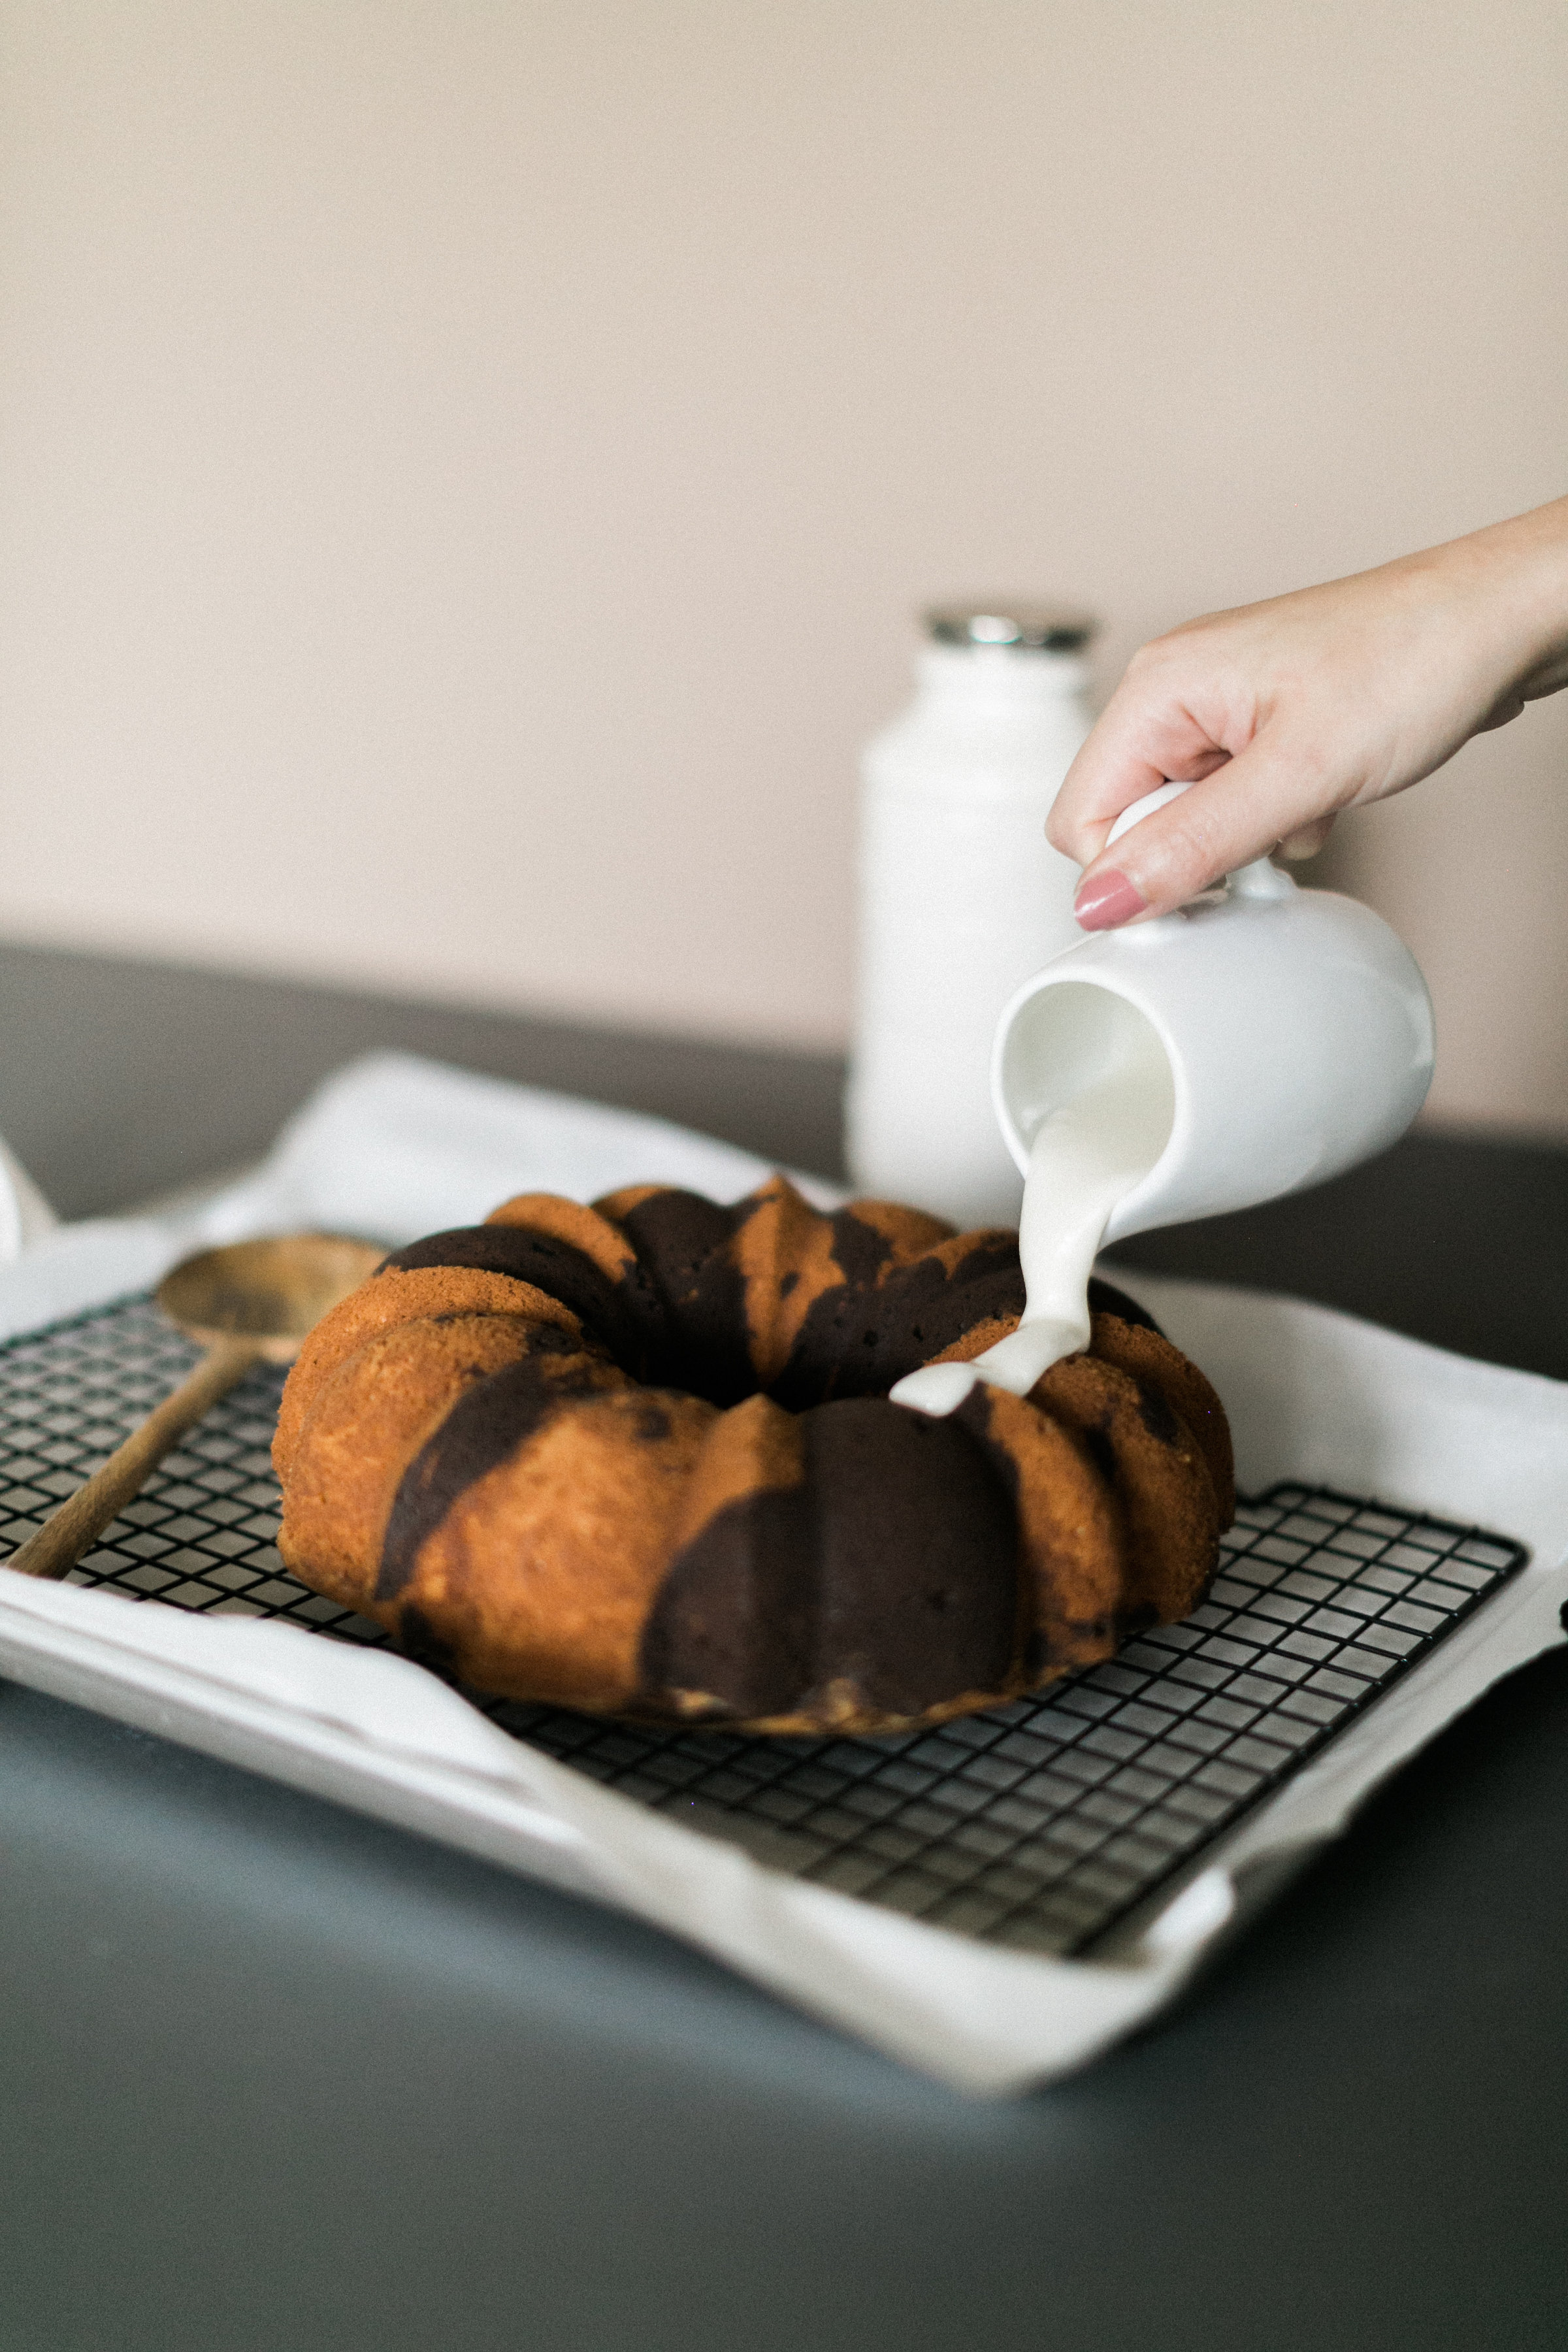
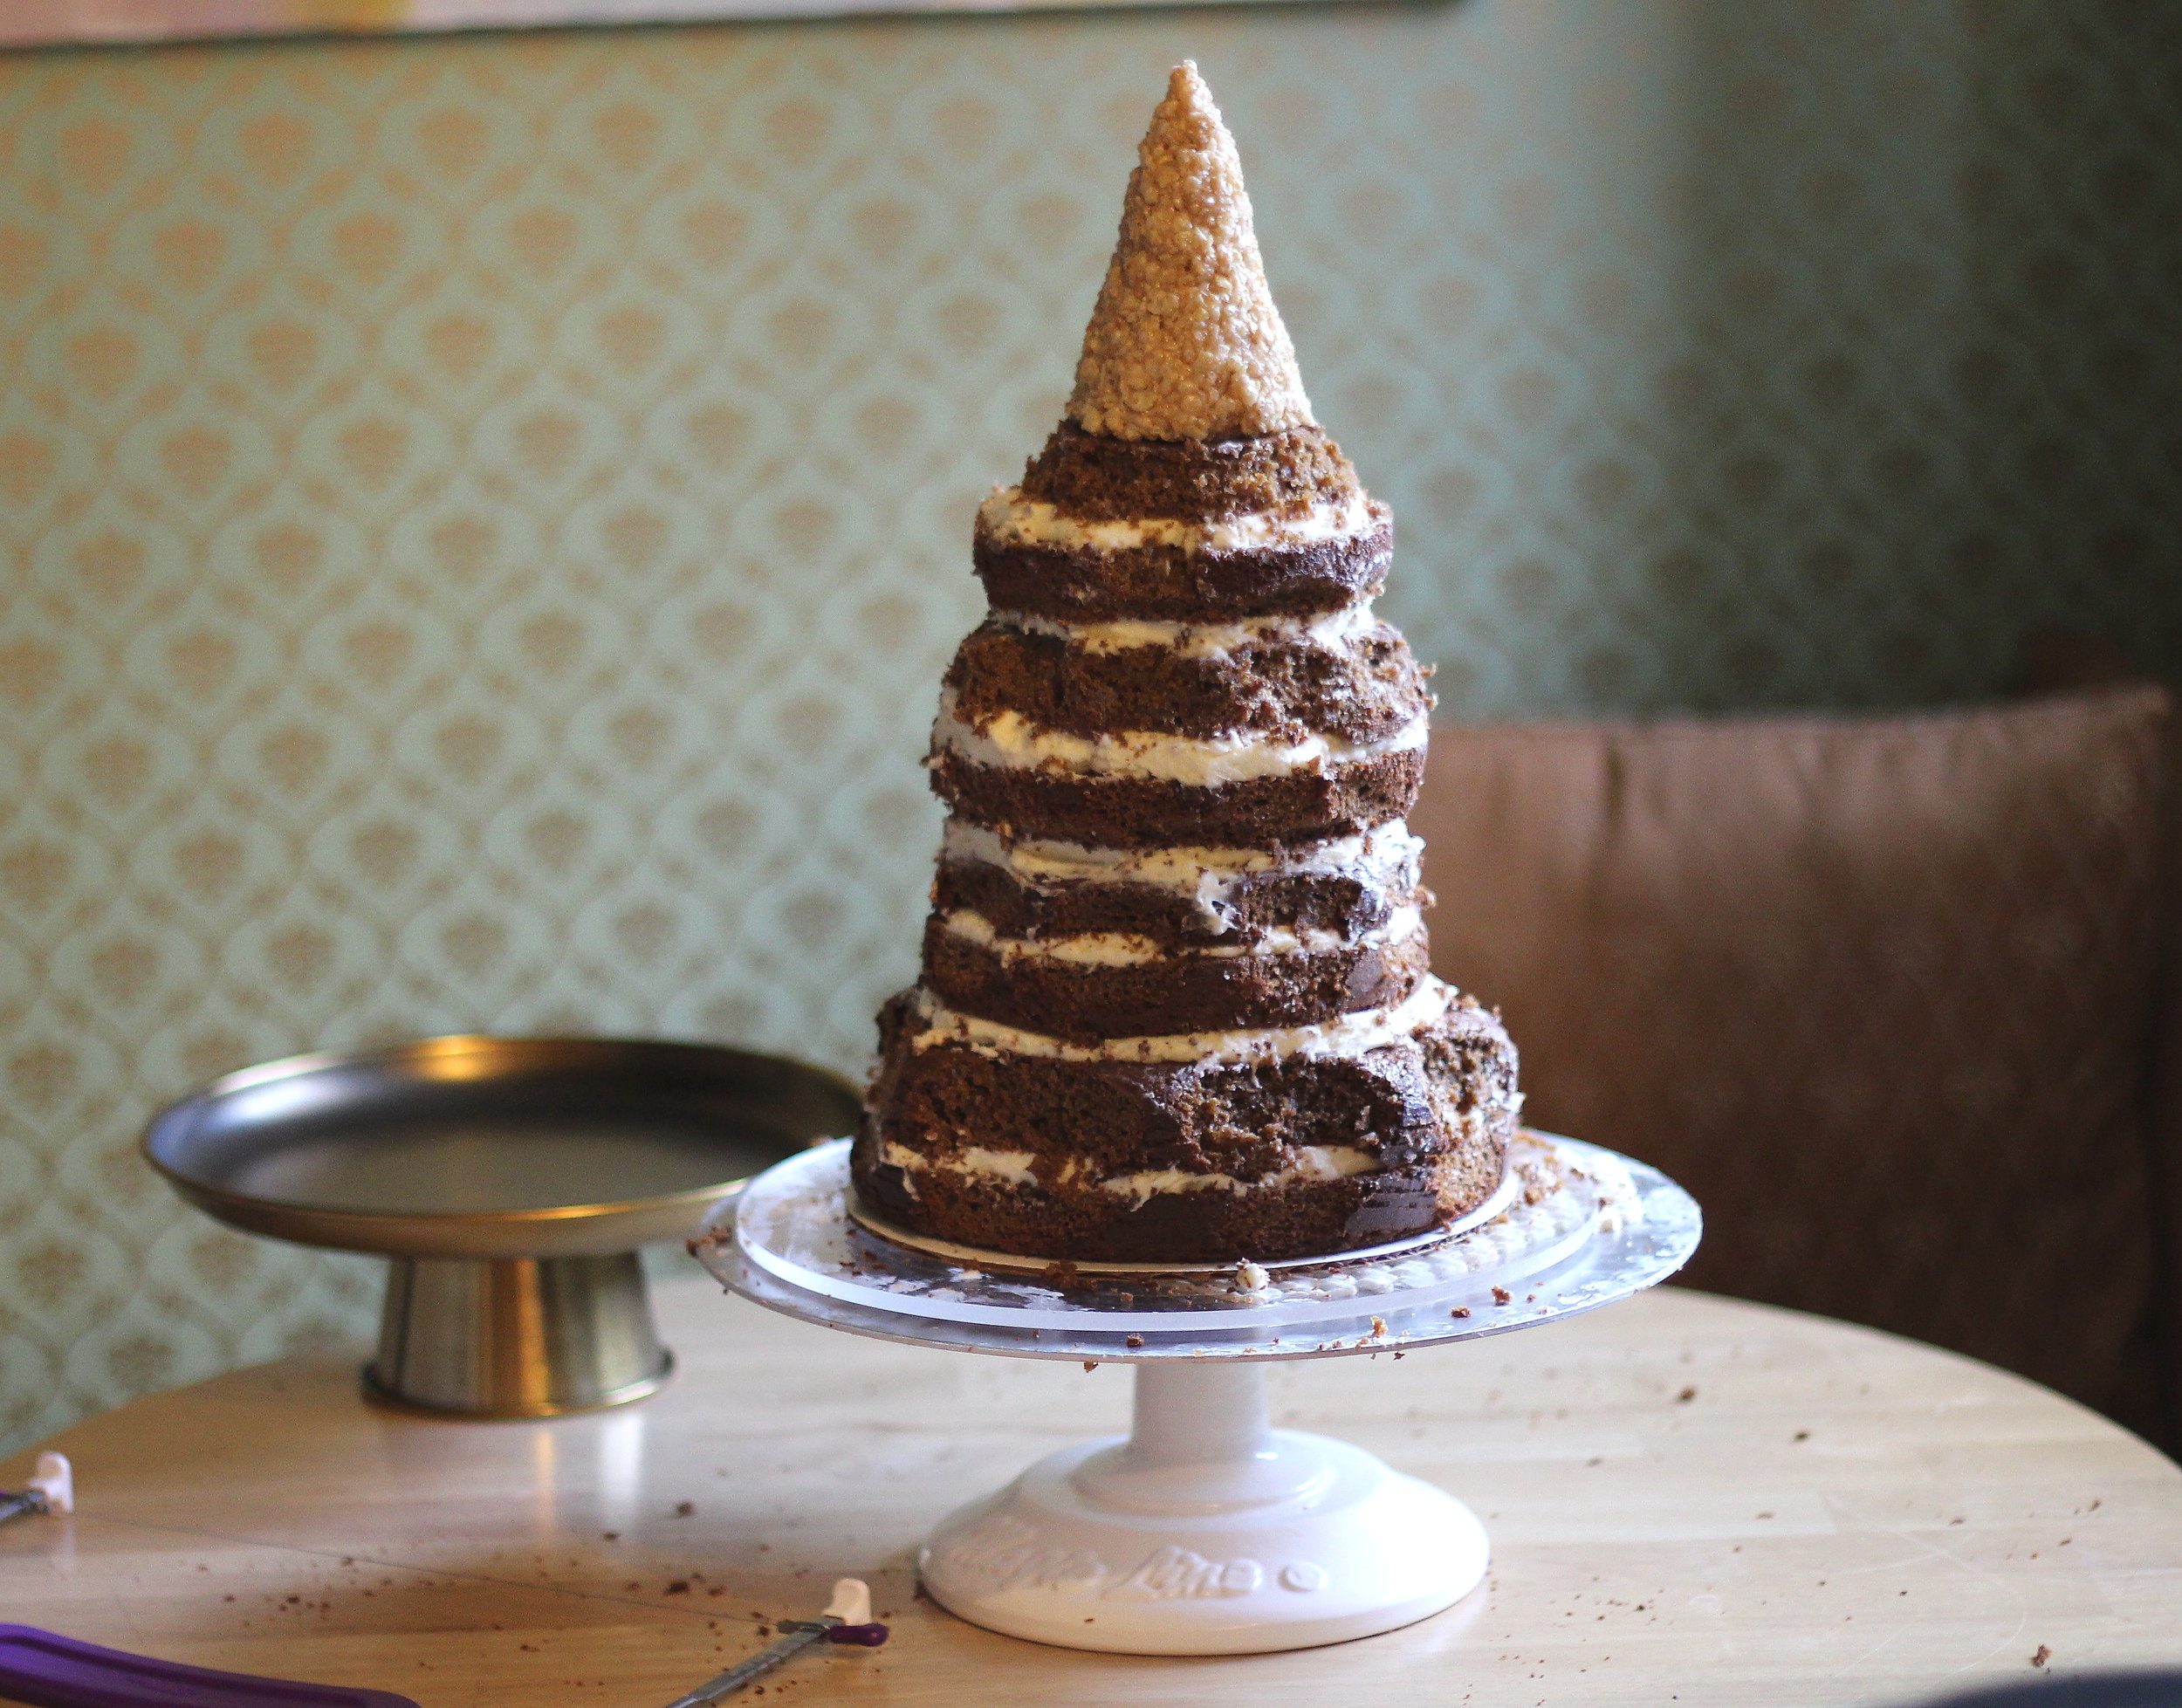
For chocolate poundcake, just add 1/2 c. of good quality cocoa powder. photo by Haley Sheffield, styling by Kristine Cholakian Cooke
PERFECT POUNDCAKE
1 1/2c. (3 sticks) very soft room-temperature unsalted butter
8 oz. very soft cream cheese
3 c. (600 g.) sugar
6 large eggs, room temperature
2 tsp. sea or kosher salt
1 Tbsp. vanilla extract
3 c. (375 g.) all-purpose flour
1/2 c. (114 g.) sour cream (not reduced fat)
1 lemon, orange, or two limes, zested and juiced
For the icing:
1 c. powdered sugar
2 Tbsp. heavy cream or whole milk
1 tsp. vanilla extract or other flavor
3 Tbsp. fresh lemon juice
1/8 tsp. citric acid
Preheat oven to 350 degrees F. Spray large bundt pan or two loaf pans with Baker's Joy if desired.
Mix butter and cream cheese with a hand mixer or in a stand mixer until completely combined and no chunks of cream cheese remain. Add sugar, salt, and finely grated rind of citrus fruit(s) and cream on medium high speed for about 4 minutes, until mixture is fully combined and fluffy. Add eggs, one at a time, beating thoroughly on high speed and scraping bottom. Once the last egg is added, whip for an additional 4 minutes until batter is pale and fluffy, scraping sides and bottom consistently.
Add 1/2 of the flour and mix on low until just combined. Add sour cream and extracts and juice and mix again on low until just combined. Add the remaining flour and mix until just combined.
Scoop batter into pan(s) and bake for about 60 minutes, or until tops are split. Allow to cool in pan for five minutes, remove, then level bottoms if desired, and allow to cool completely before icing.
To make the icing, add the liquids to the powdered sugar and mix until smooth. Pour over cakes and allow to set before slicing. Store cakes under a glass dome or an overturned bowl.
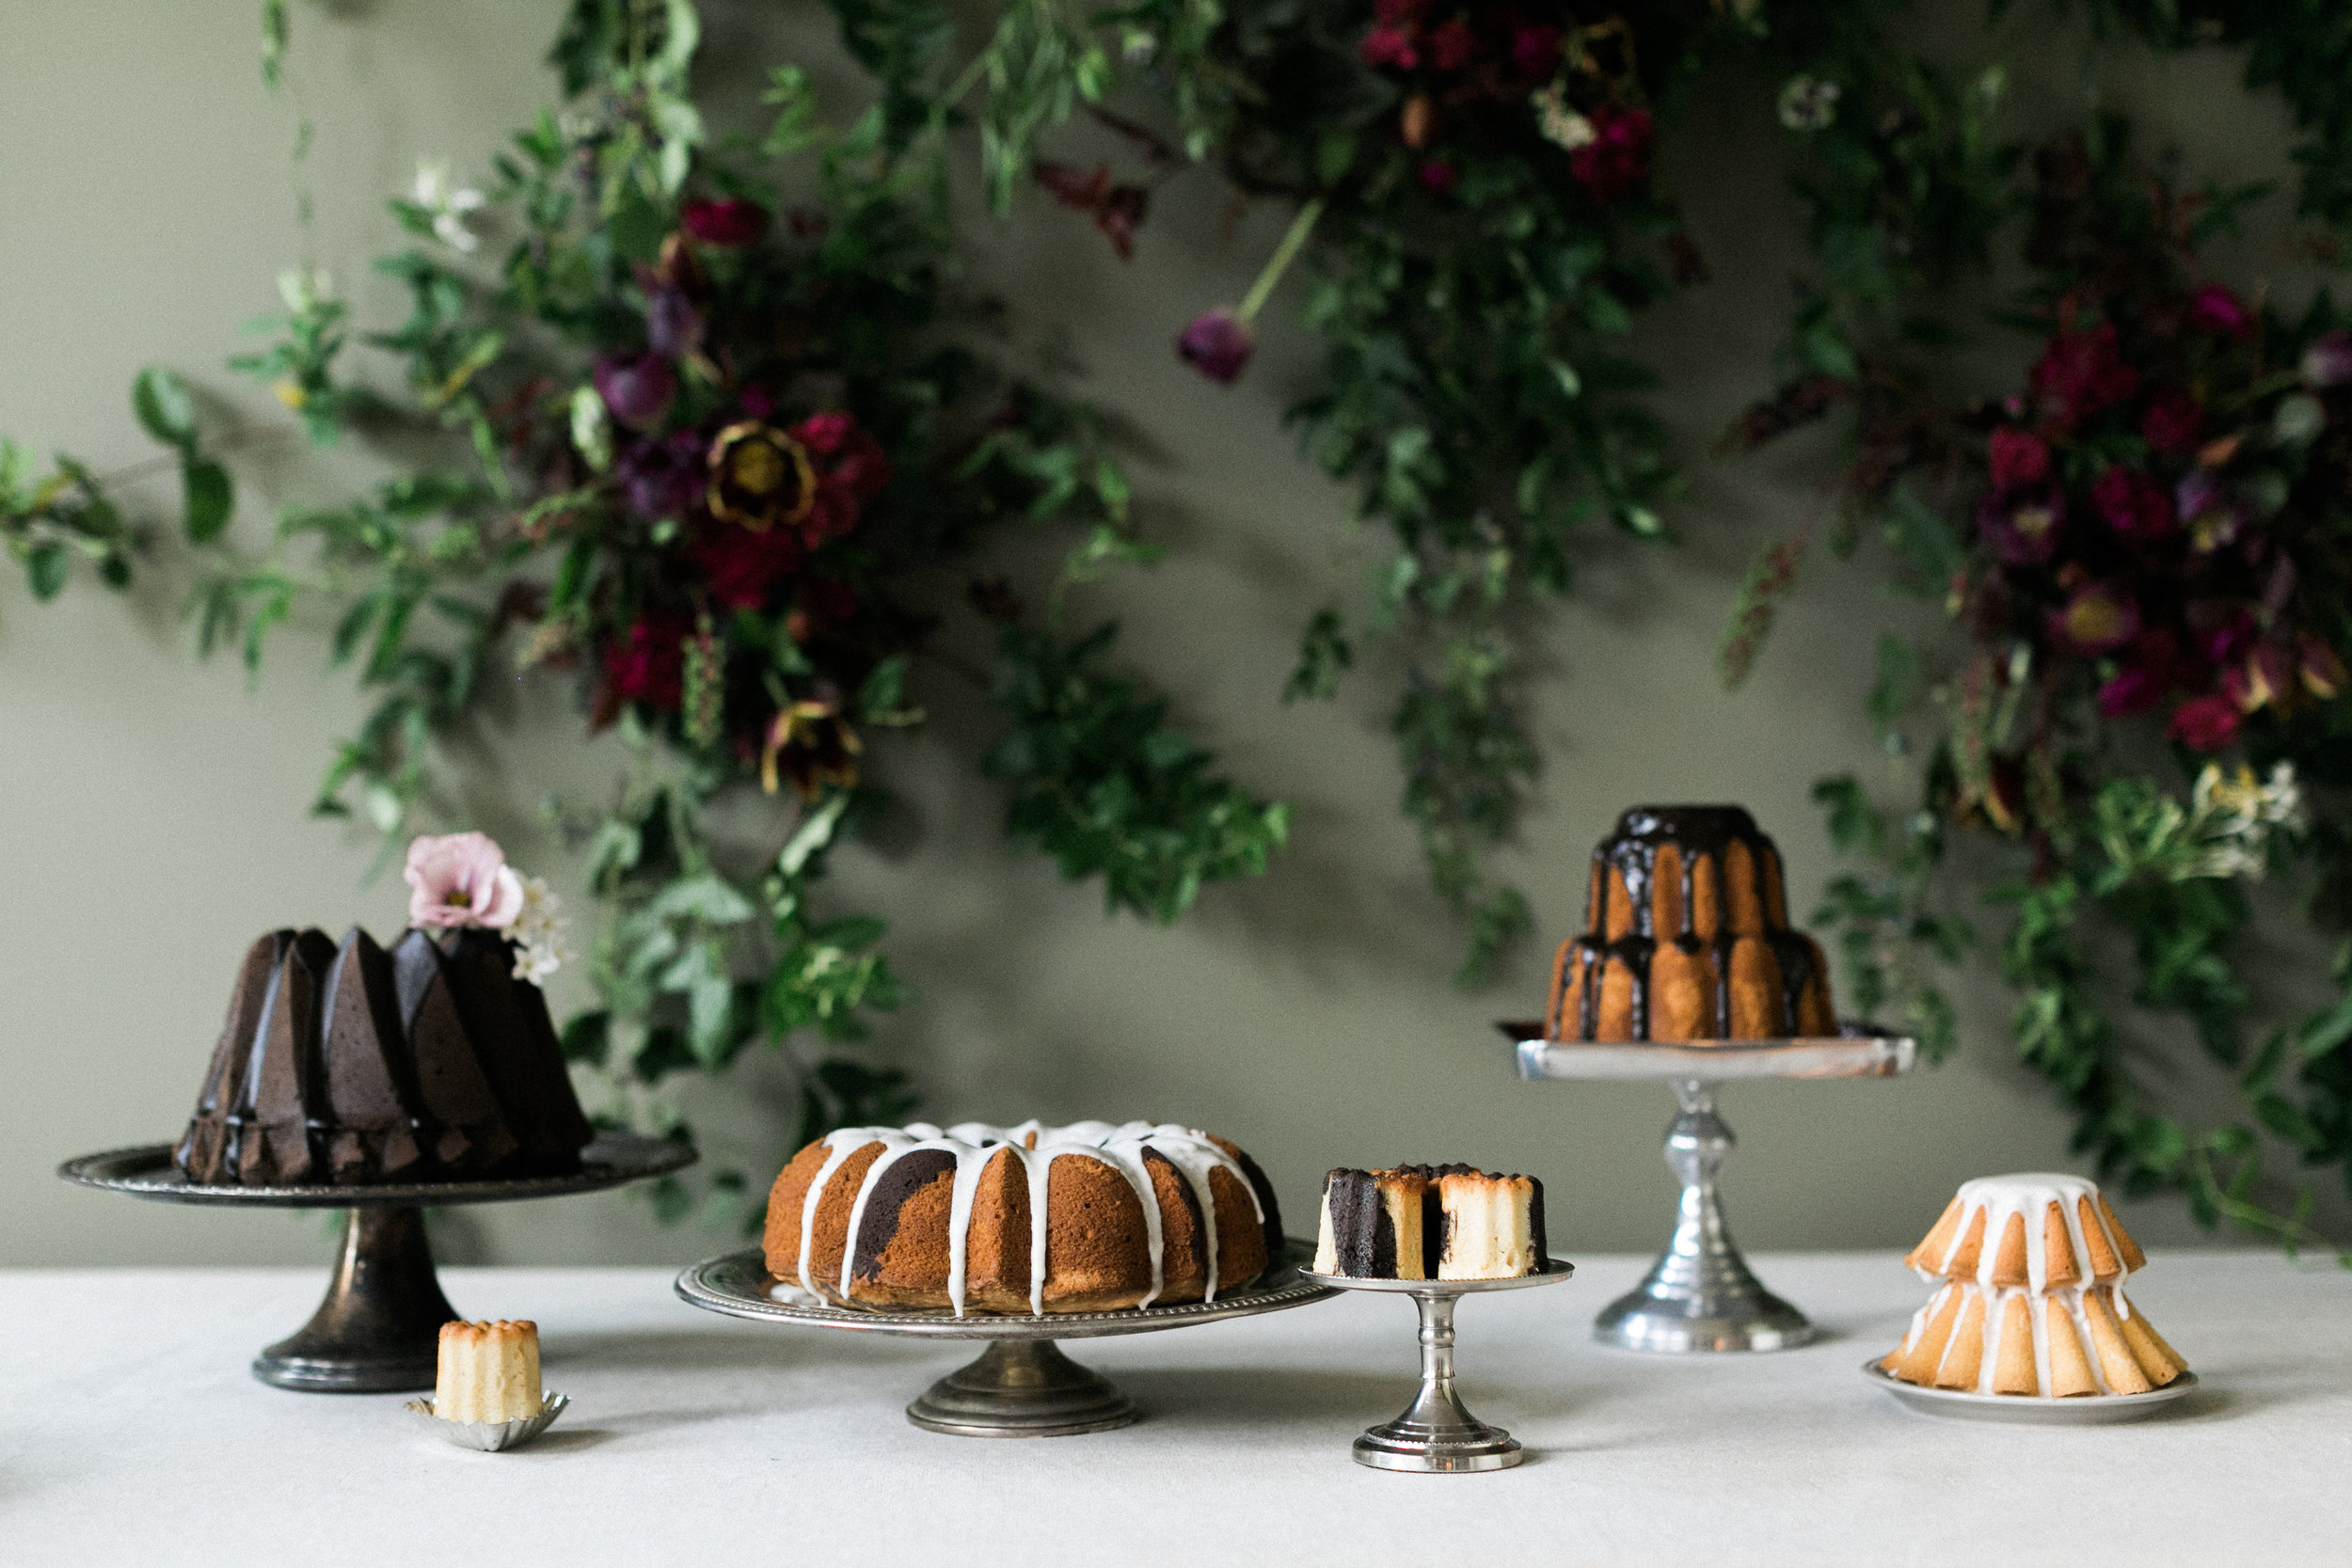
photo by Haley Sheffield, styling by Kristine Cholakian Cooke, flowers by Caroline Worth-Bruno