orange

Assam Cake with Blood Orange Italian Meringue Buttercream by Molly Brodak

IMG_6603.jpg


It's been a while since I have reminded you of how much I love tea, I realize. 

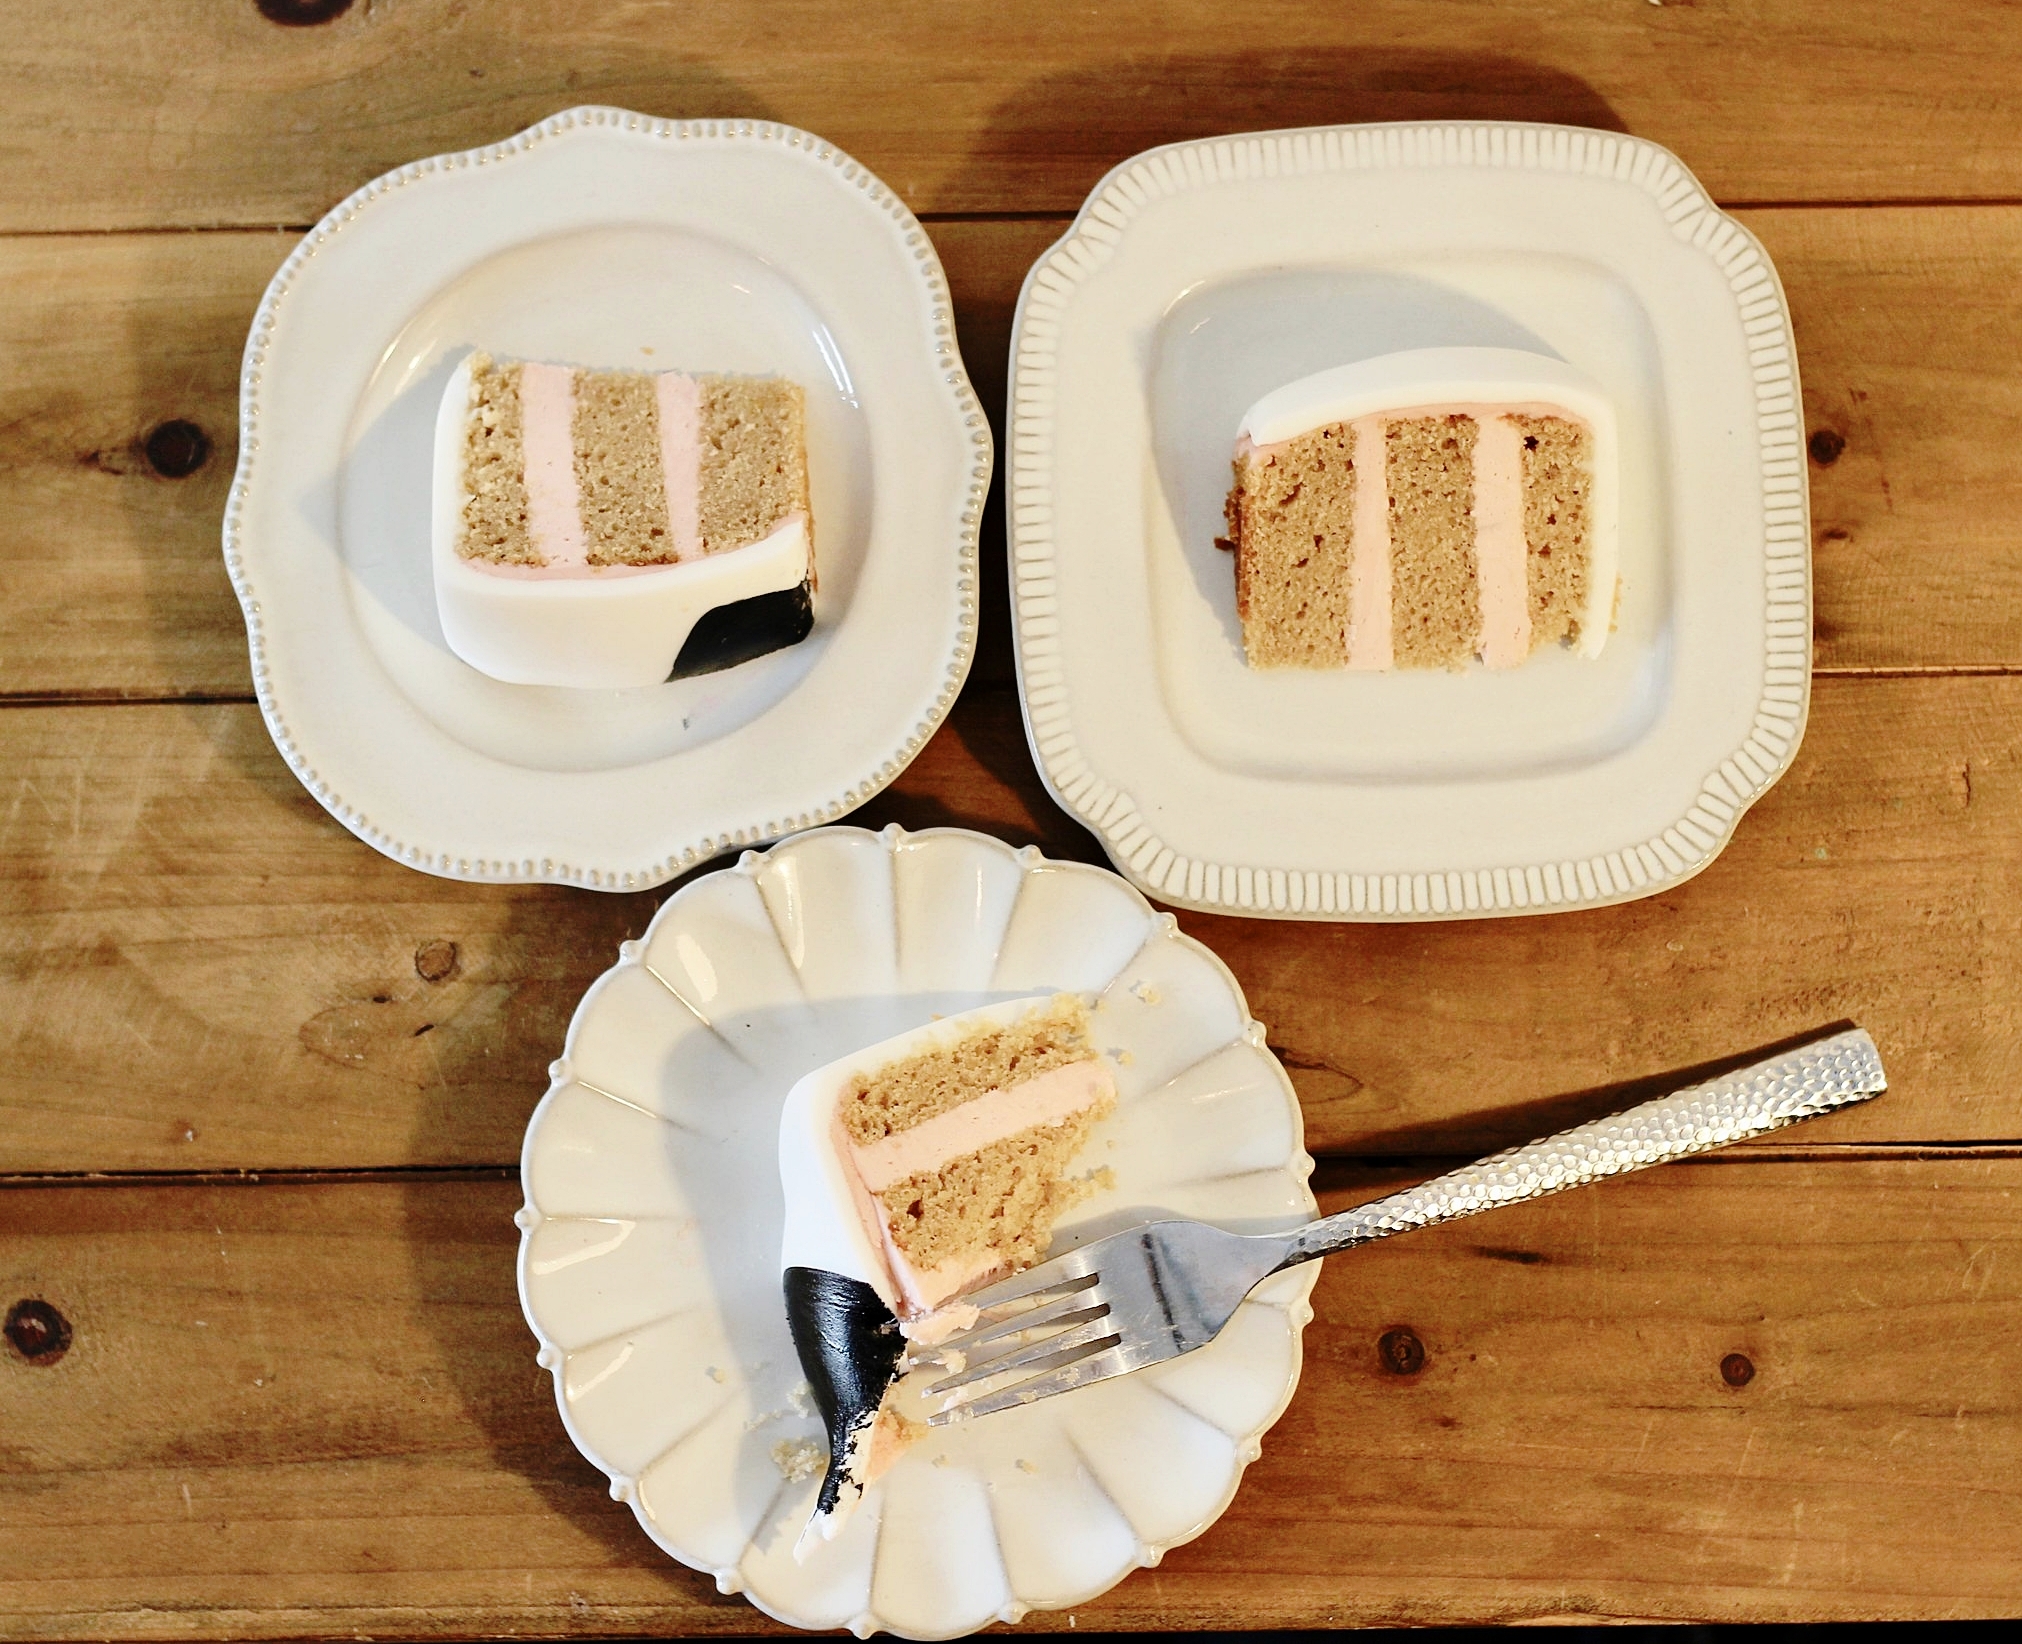
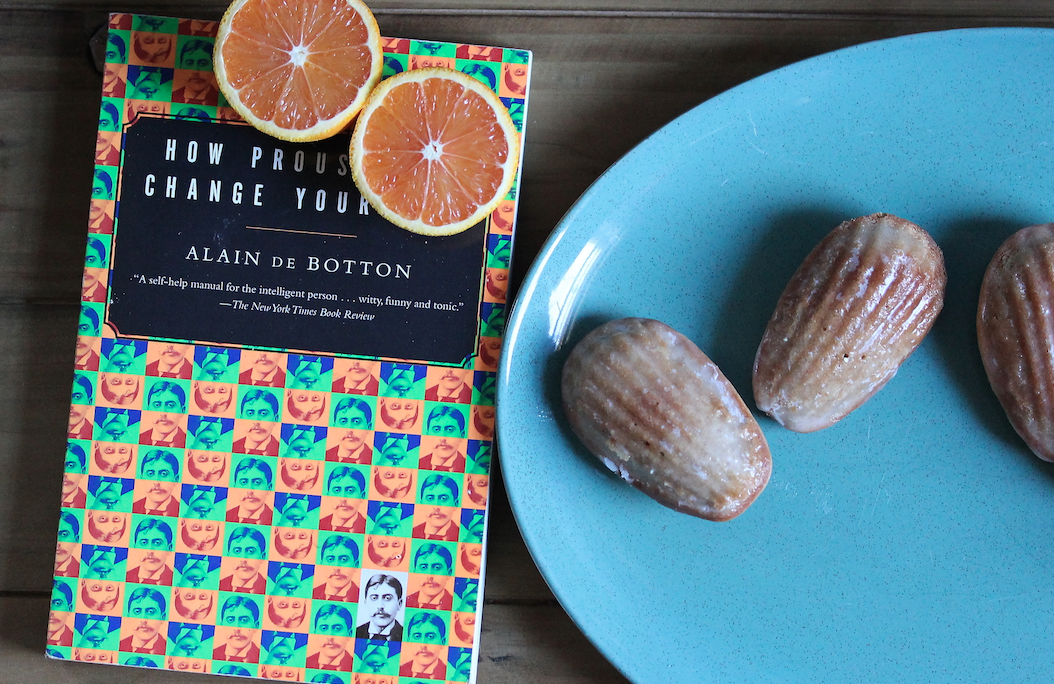
Assam tea in particular has such a rich, malty taste that I knew it would be delicious in a cake, especially paired with a bright, floral-ish citrus like blood orange. The flavor combination is delicate and interesting, one of my new favorites.

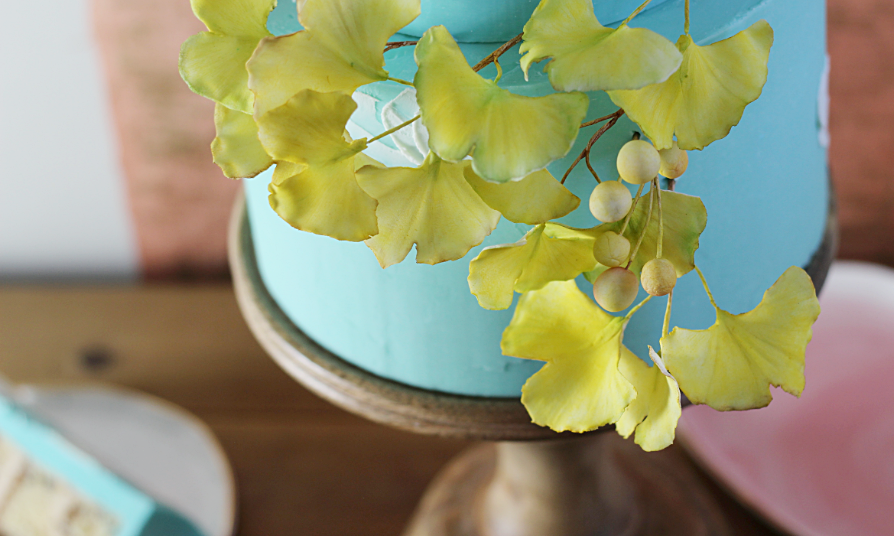
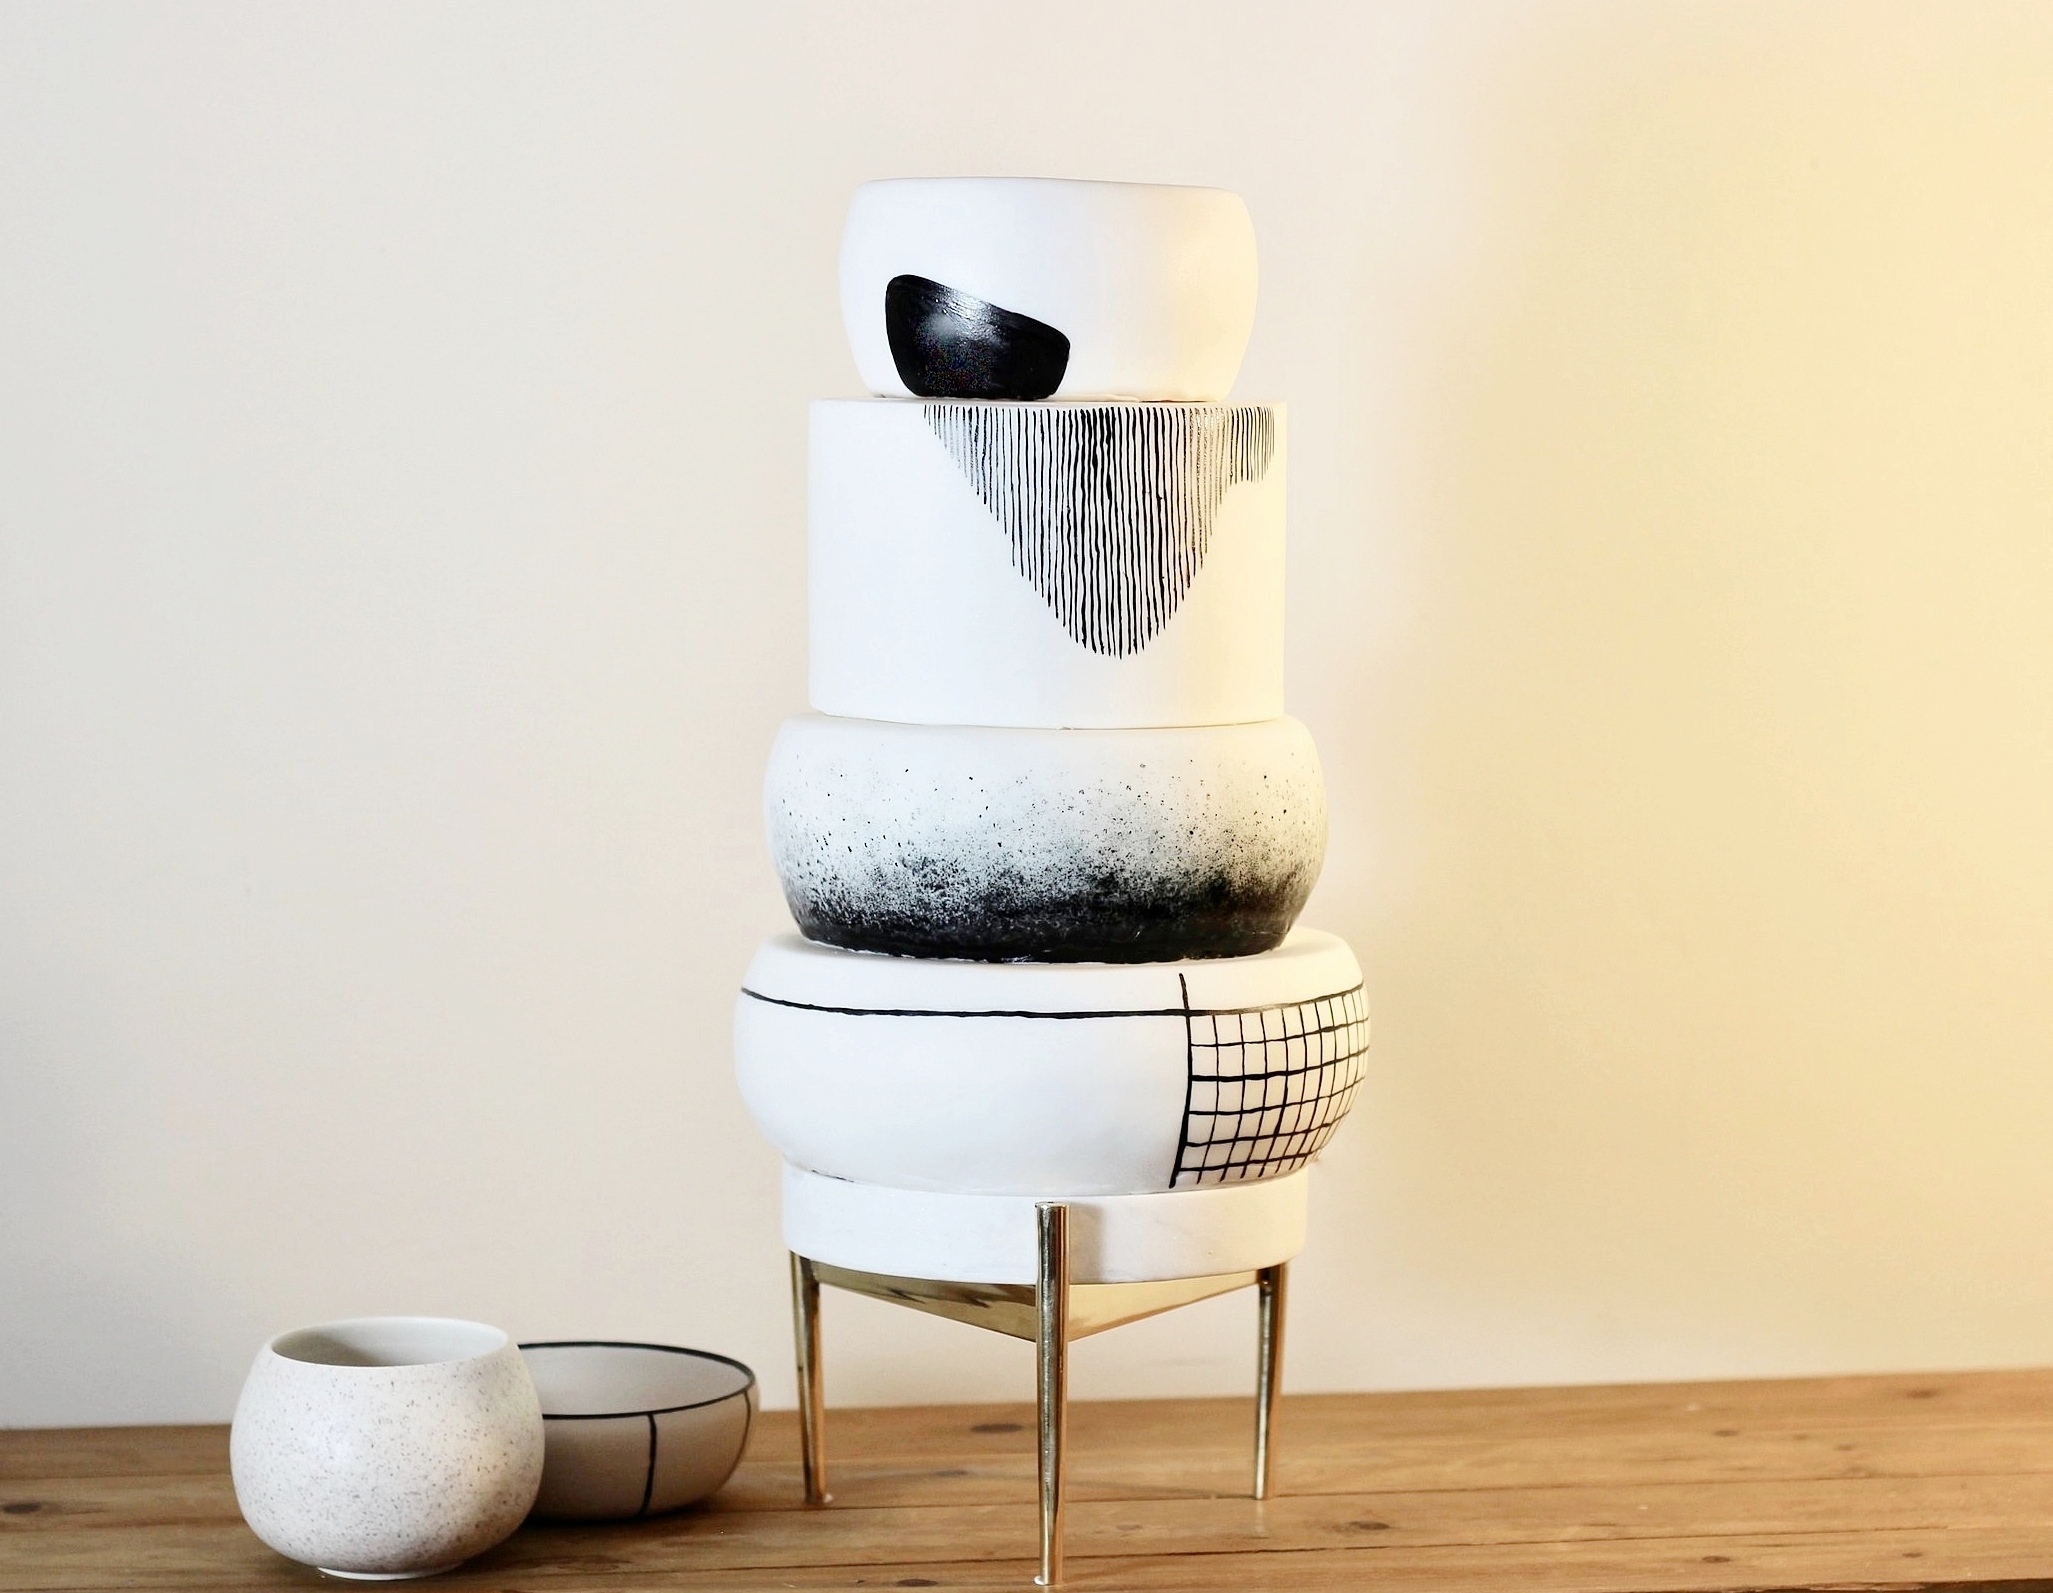
The design for this cake was inspired by one of my favorite local Atlanta artist, Charlotte Smith. I fell in love with her work when I purchased one of her tea cups (pictured above) from Young Blood Boutique and filled it with tea and held it in my hands. Her cups are transcendent vessels for tea lovers, just the perfect size and comfortable shape for cradling. I love her elegant minimal aesthetic, rendered here in these tiers with admiration.

IMG_6586.jpg

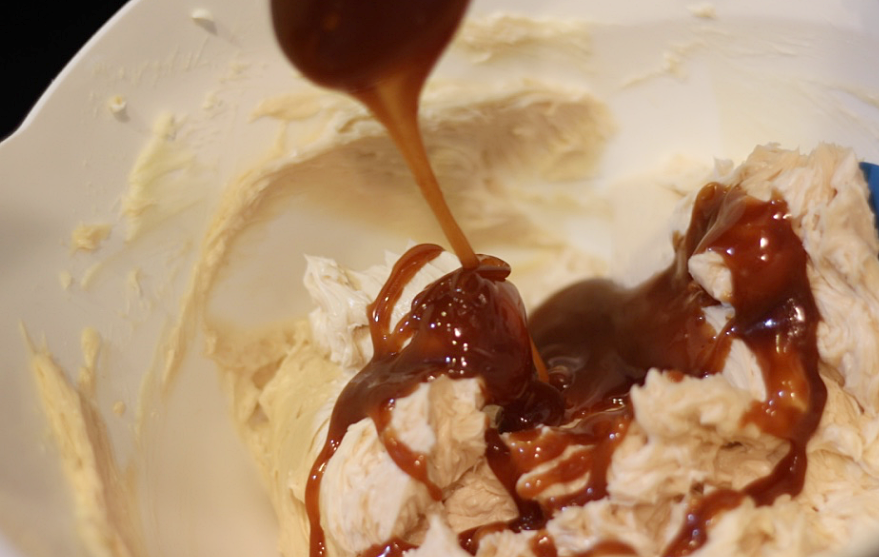
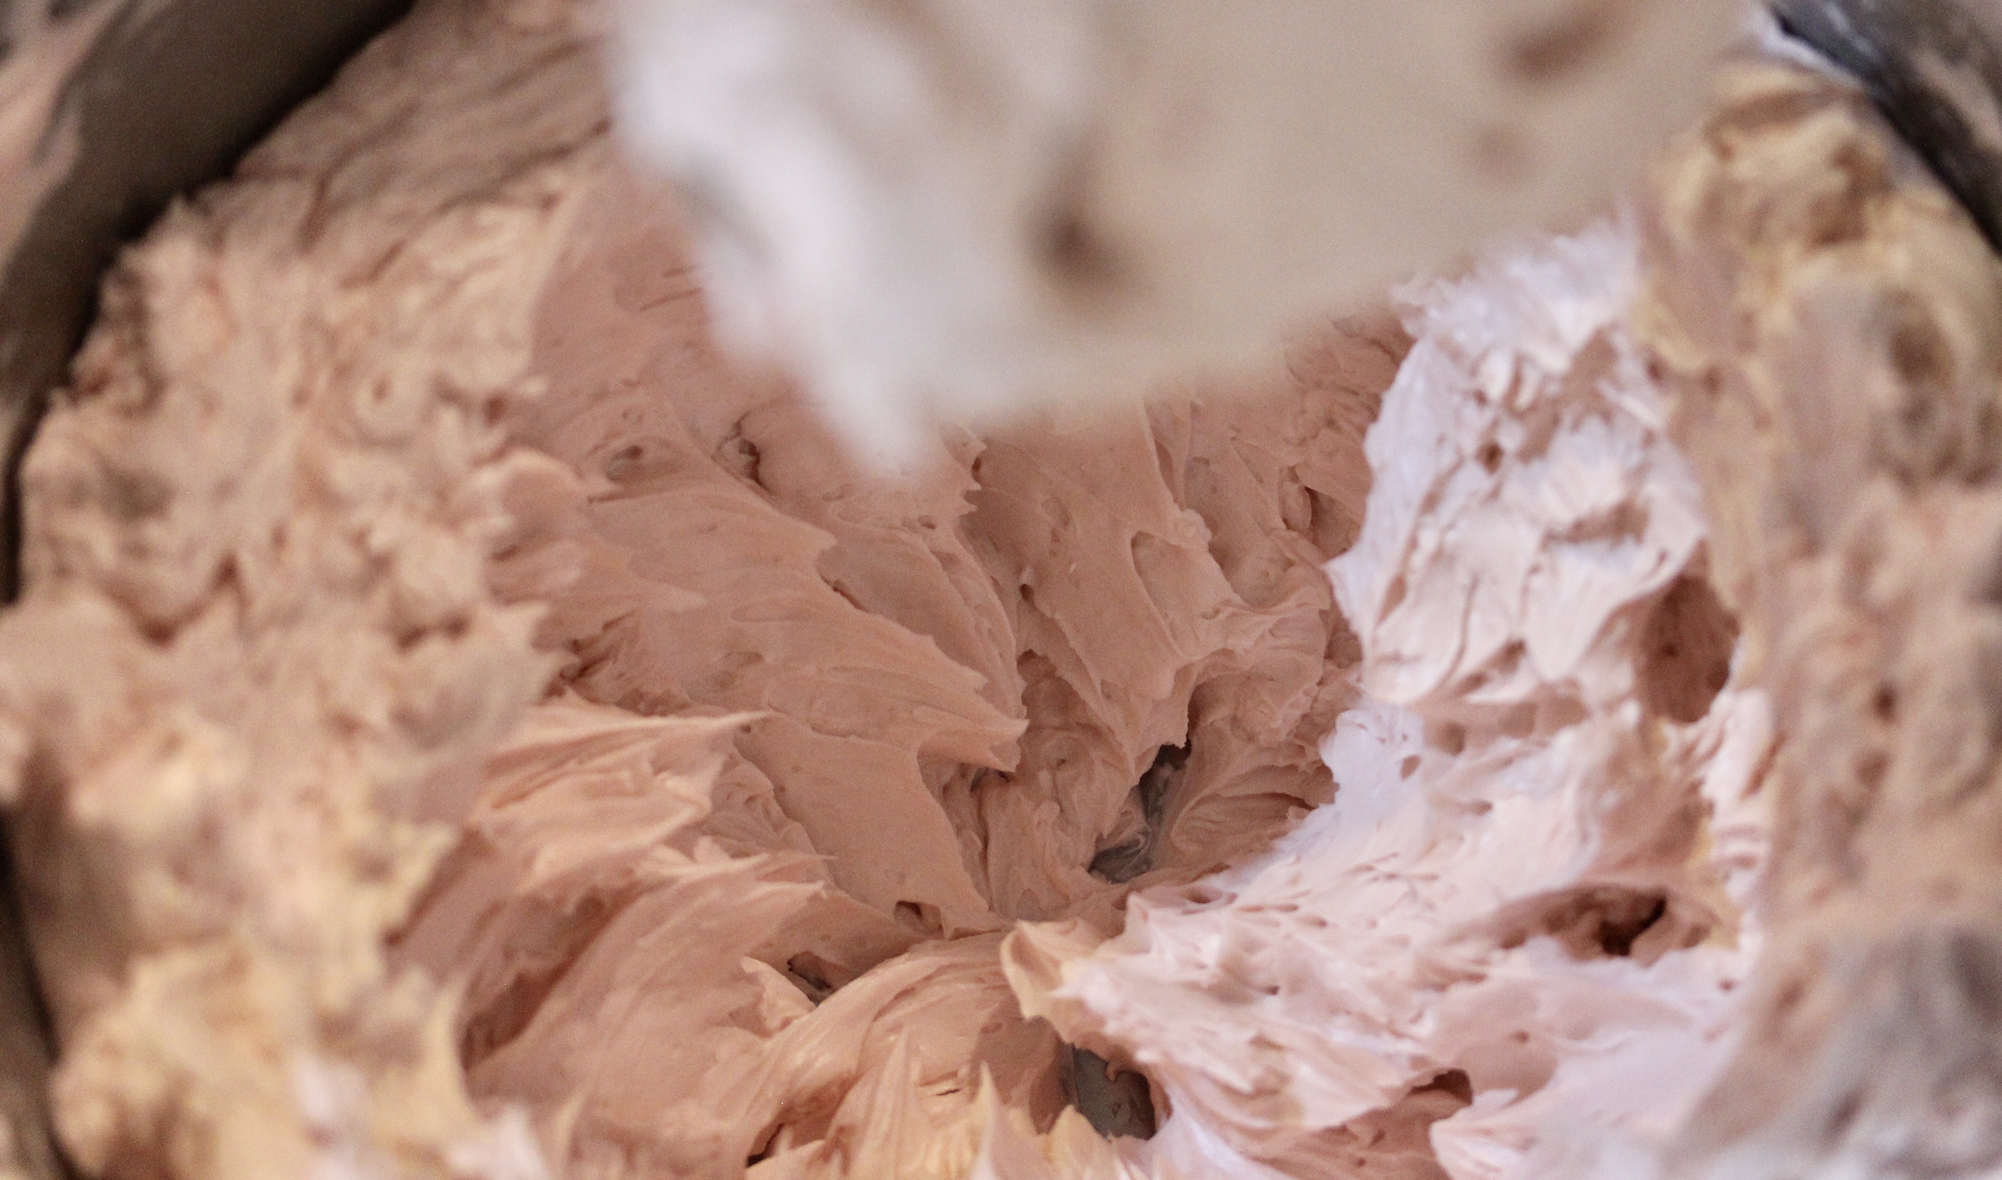
Italian meringue buttercream is probably, as we've been over before, the most annoying of all the buttercreams to make because it requires extra steps, precise temperature monitoring, and a long wait for cooling. But man, it is really worth it once in a while. If you've never made one before, set aside an hour or so and treat yourself to this incomparably silky treat.

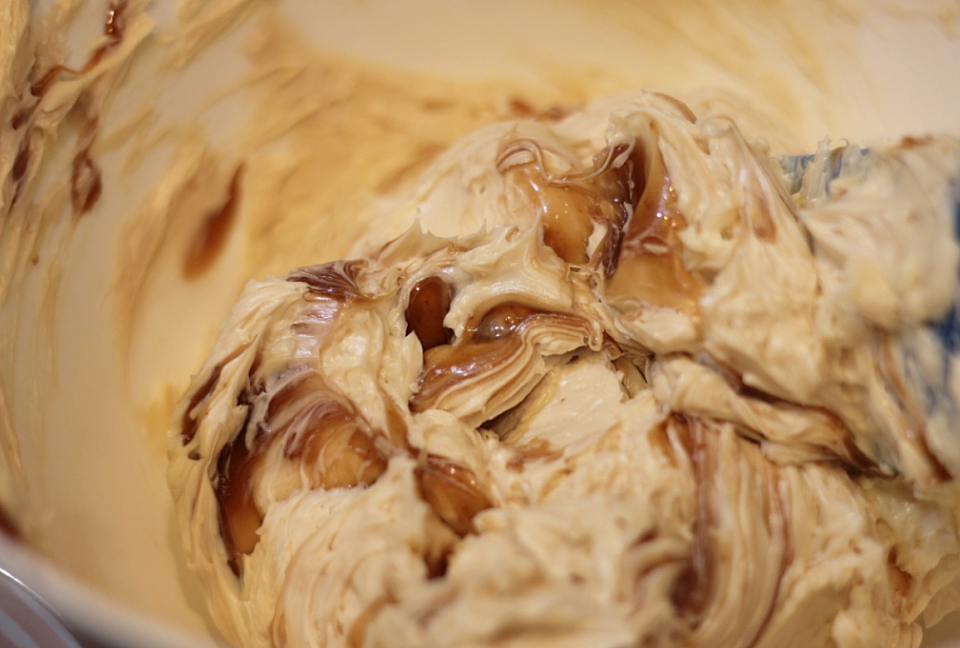
Now, one of the important things in making IMB is allowing the meringue to cool to 80 degrees F before adding the butter. BUT! If you are impatient and mess it up, as I have done many times, you will end up with a horrific cottage-cheese like mess that seems irredeemable, but it's not. Just keep letting it cool and whip, and it will come together into its true silky smooth form. I used fresh blood orange juice in place of the water used for the sugar syrup here, giving the buttercream a mellow citrus flavor and a light pink color. You could definitely use any other citrus here if you preferred, just be sure to strain the juice well to remove the solids. Blood oranges are less acidic and more floral than regular oranges and yes, add more sweetness to the buttercream but I didn't adjust the sugar since I find that often IMB can use a bit more sweetness.

I don't recommend trying to make this buttercream without a stand mixer.  You may actually die from trying to hold a hand mixer for a freaking hour. Plus trying to pour in the syrup with the other hand...just, no.

Read the instructions a few times in advance and be prepared to act fast when your sugar syrup reaches soft ball stage (240 degrees)--higher temps will result in stiff syrup that doesn't incorporate properly. I love my ChefAlarm thermometer from Thermoworks. You can set an alarm to beep at a certain temp so you don't have to stand there watching it.

IMG_6541.jpg

BLOOD ORANGE ITALIAN MERINGUE BUTTERCREAM

5 large egg whites, cold

1 lb (4 sticks) unsalted butter, room temperature, cubed

6 oz and 2 oz granulated sugar, separated

1/4 c. fresh blood orange juice, strained

1/2 tsp fine sea or kosher salt

pinch cream of tartar

1/4 tsp. vanilla extract

Place egg whites in a stand mixer bowl with cream of tartar. Whip with whisk attachment on medium speed, no higher, to soft peaks. Add 2 oz of sugar and salt gradually, beat to stiff peaks then turn off mixer.

Heat juice and 6 oz of sugar over low heat until sugar is dissolved, stirring constantly, then raise the heat to medium and clip in thermometer. Bring to a low boil until temperature reaches 240 degrees F. As soon as thermometer hits 240, remove from heat, turn mixer on low, and slowly pour a syrup in a thin stream between the mixer bowl and the whisk; do not scrape bowl or whisk if unincorporated syrup remains. Beat on medium until meringue is fully incorporated. Place mixer bowl in the freezer or fridge to cool for about 15 minutes, or until mixture lowers to 90 degrees.

Return mixer bowl to stand and mix on low until temperature reaches 80 degrees F. Add soft butter, one piece at a time, waiting until each cube is fully incorporated before adding more. This process can take up to 25 minutes. Once all the butter is added, beat until mixture is smooth and fluffy. Add vanilla extract or other extracts as desired.

If mixture breaks and looks curdled, allow to cool further then keep mixing until mixture comes together

Screen Shot 2018-04-11 at 11.51.47 AM.png

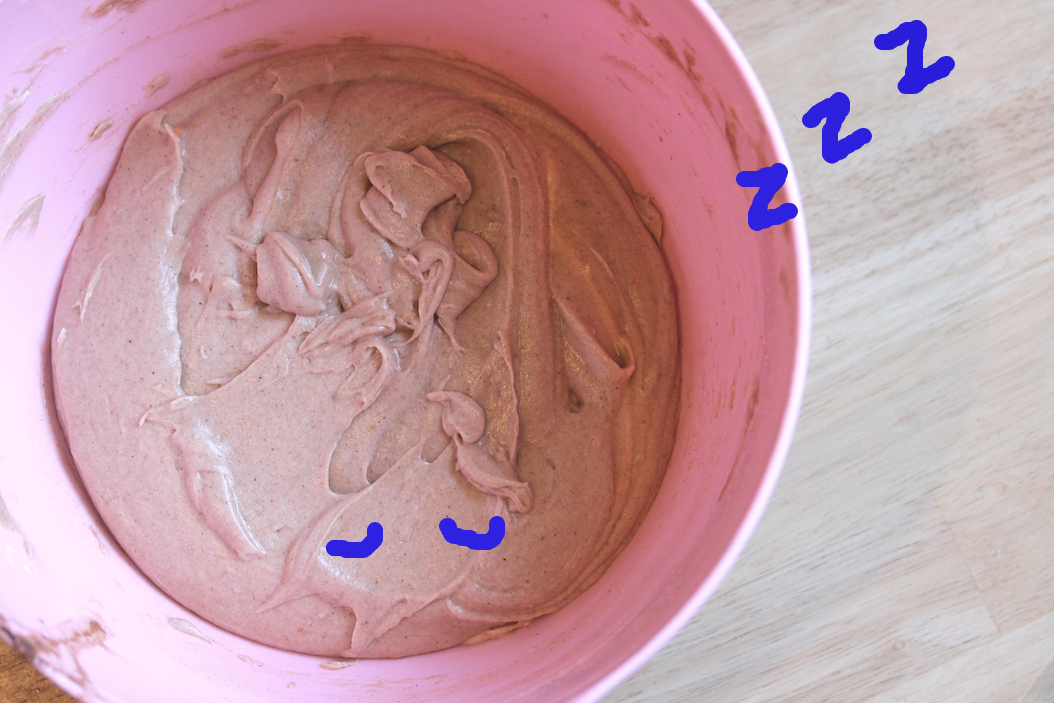
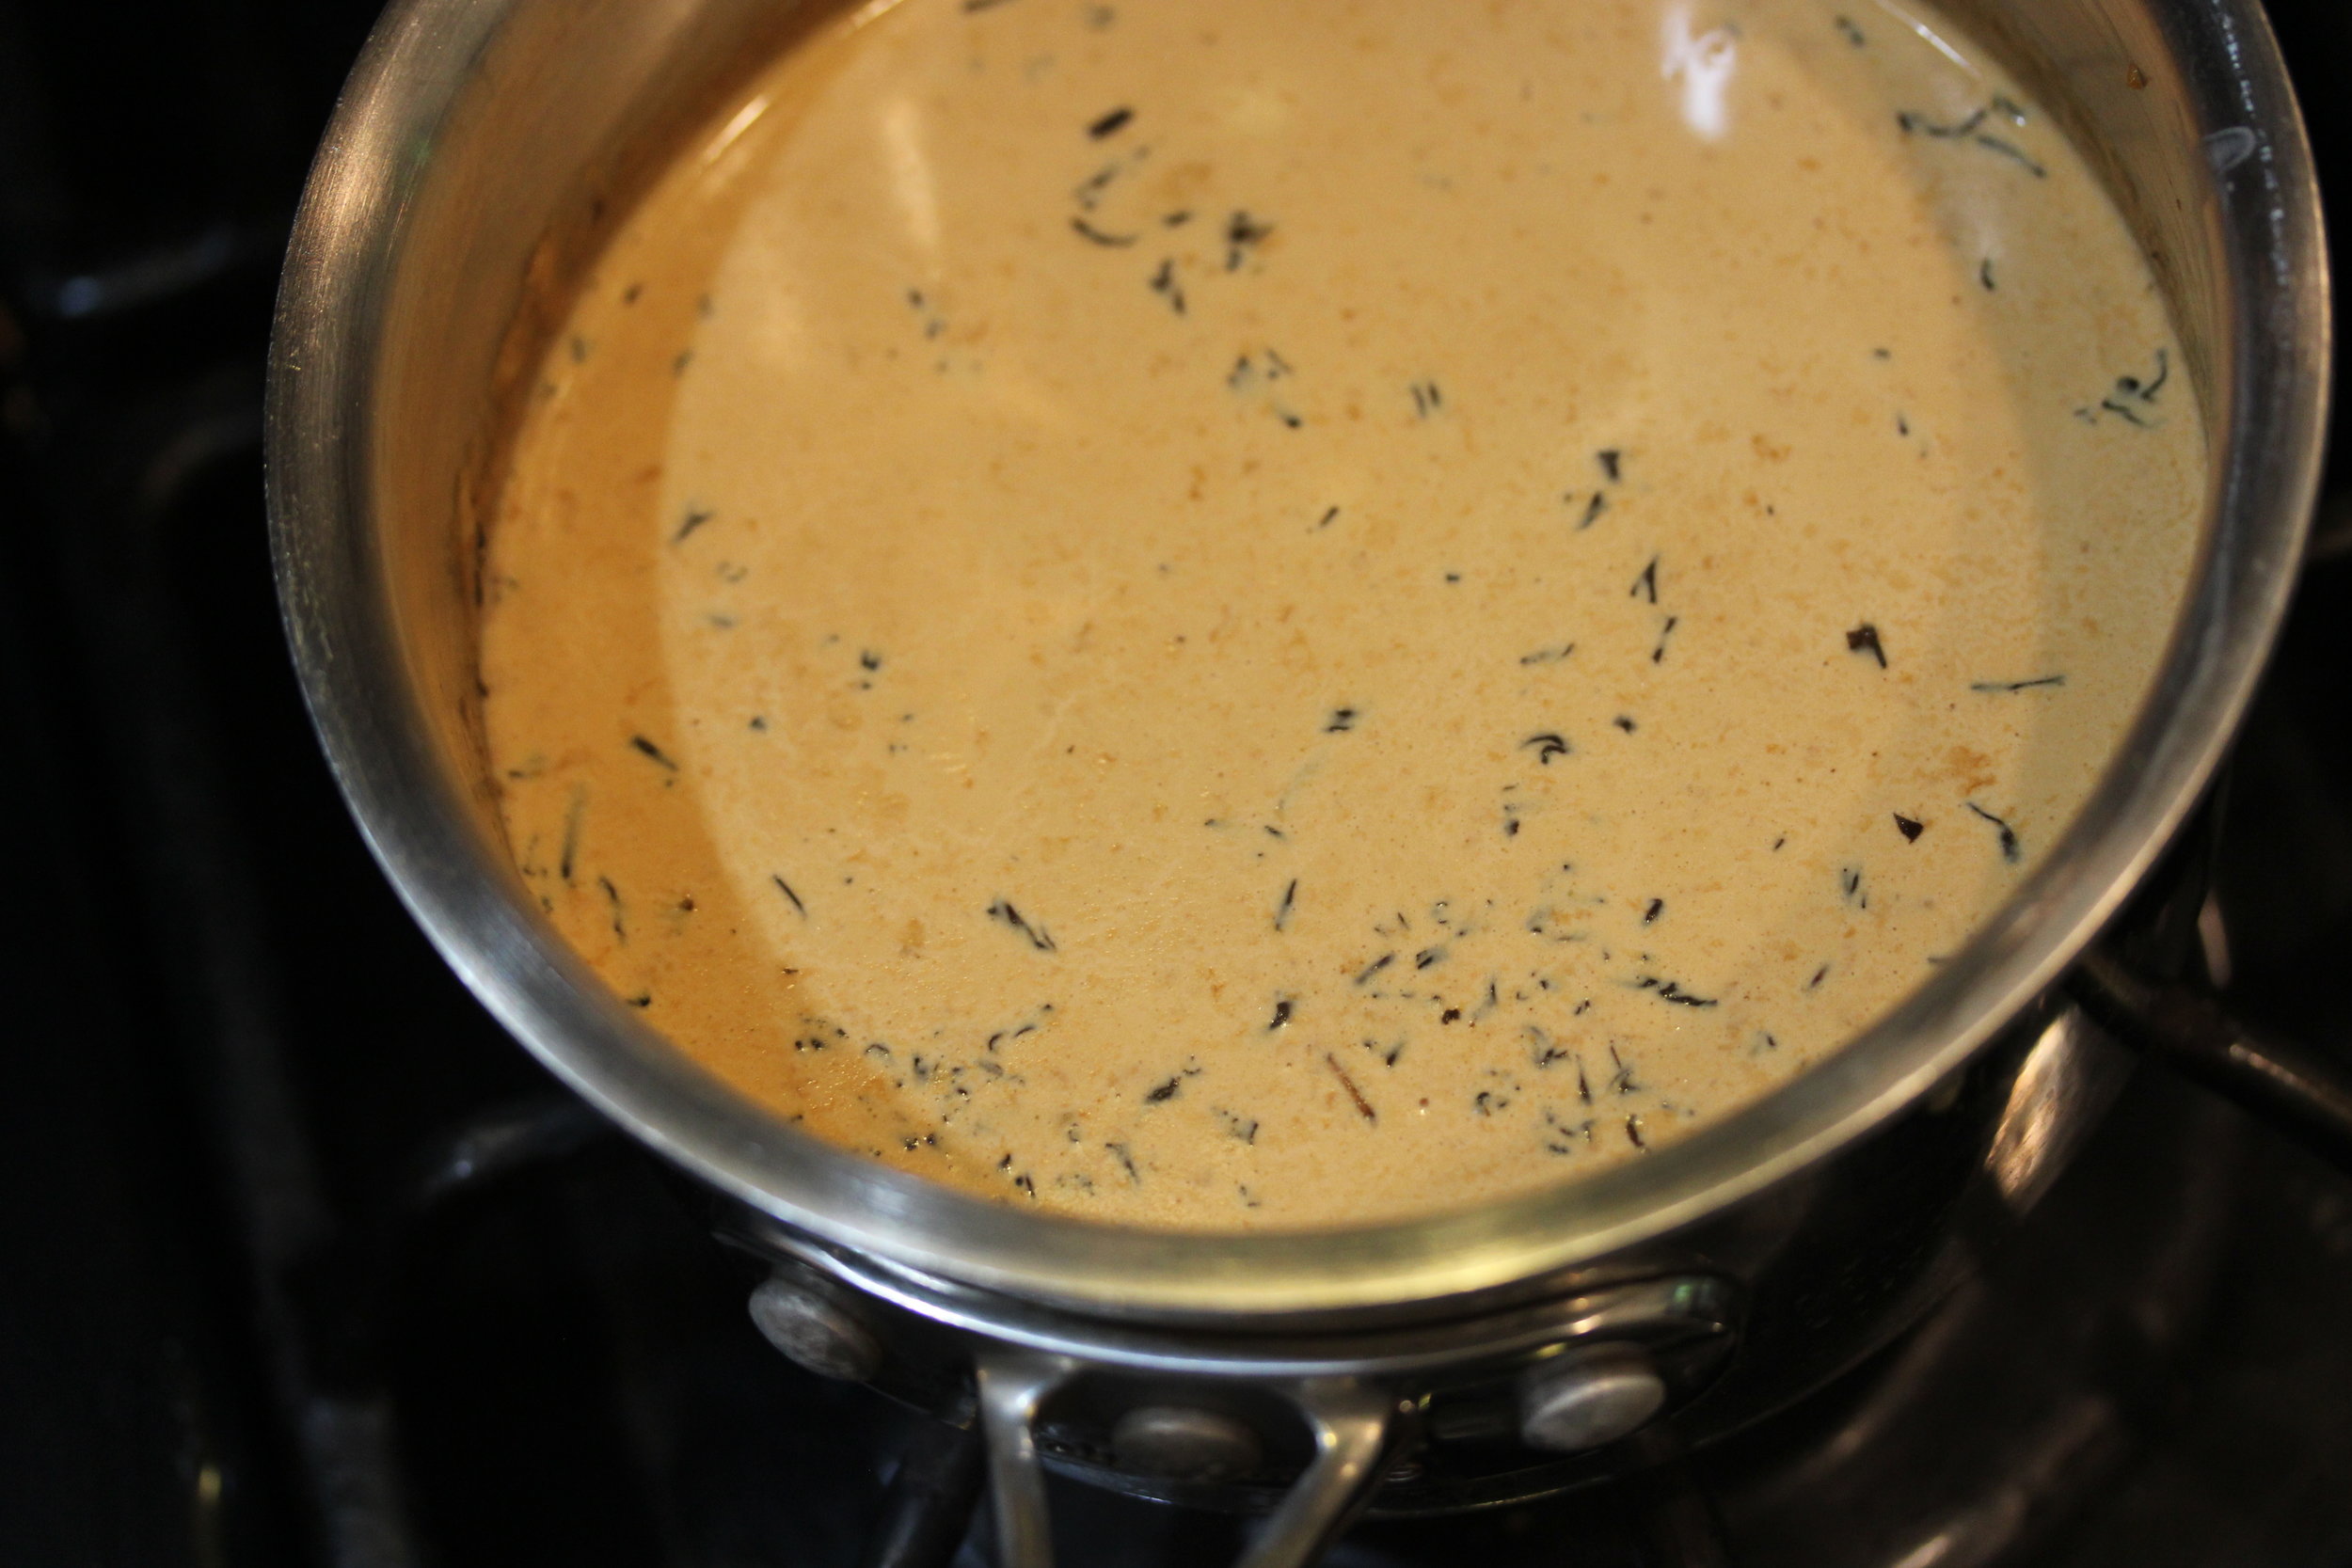
I had been making a Chai cake recently using a homemade Chai extract, and that was pretty good, but the flavor didn't have quite enough depth. Following the time-tested rule of putting flavor as close to fat as possible for maximum power, I decided to steep the tea in my heavy cream and boy oh boy did that work. The cream carries incredible flavor to the finished cake and the tea payoff is incredible. I thinned the cream a bit with water just to make it looser and easier for the tea to absorb. 

I doubled this recipe so was using a full half cup of tea in this cream, which seemed like a hilariously large amount of tea to use for anything, and with the intensity of the results, I almost felt like it was too much! But the day after baking, the cake had mellowed a bit in flavor and it seemed exactly right.

IMG_6613.jpg

Spring is now melting away into summer, aka berry season. But it might not be until late summer when I'll be posting again, undoubtedly with some transformation of the season's treasures into some little art project, as I'll be in Europe soon to do some writing for a few months. Find me on Instagram to track my progress on my next adventure!

ASSAM CAKE

3 c. (350 g.) cake flour (White Lily)

3 1/4 tsp. (12 g.) aluminum-free baking powder

5 large egg whites

2 c. (400 g.) sugar

1  tsp. white vinegar

1 tsp. fine sea salt or kosher salt

1/4 c. loose Assam tea

1 1/4 c. heavy whipping cream

1/4 c. water

3/4 c. (155 g.) sour cream

2 Tbsp. vanilla extract or one vanilla bean, scraped

2/3 c. canola or vegetable oil

Preheat oven to 350 degrees F.

Whisk flours and baking powder together thoroughly in a large bowl and set aside.

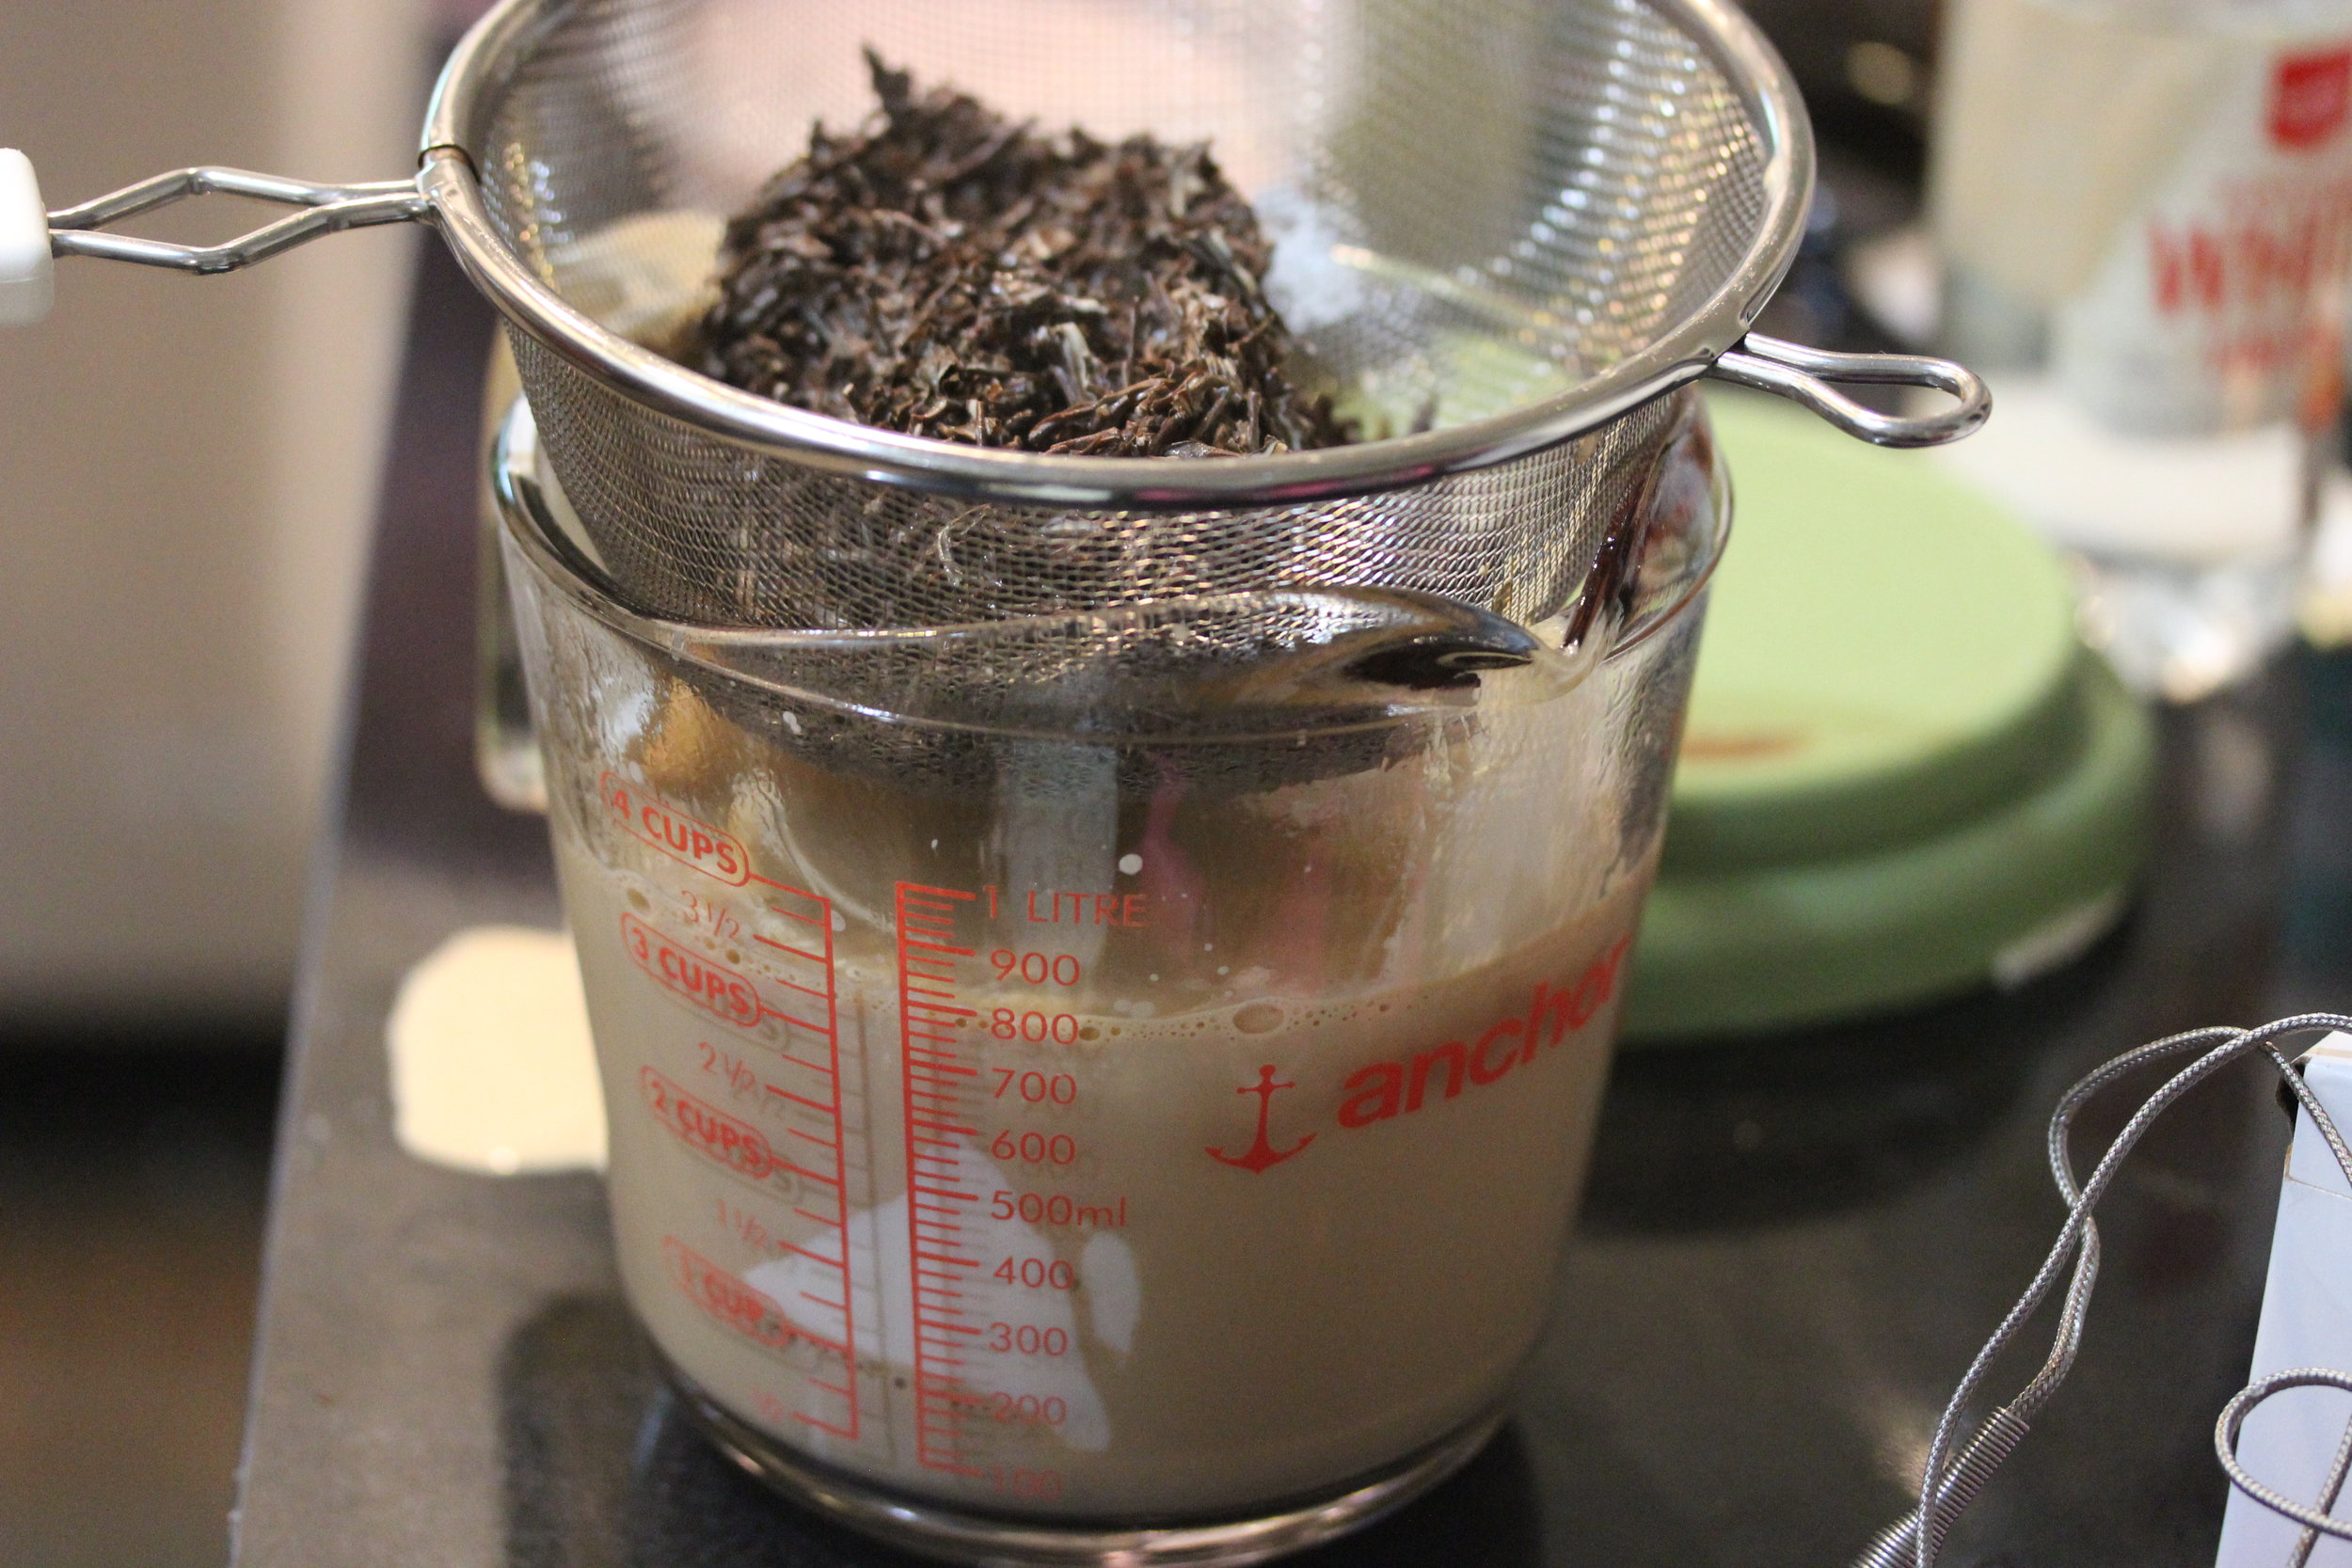
Bring cream and water to a simmer over low heat in a small saucepan. Add the tea leaves and turn off the heat, allowing the tea to steep for about 15-20 minutes, stirring occasionally. Drain leaves from cream and allow the cream to cool in the fridge for another 15-20 minutes.

Beat egg whites, sugar, salt and vinegar for one minute (use a timer) on medium high until mixture is thick. Add sour cream to heavy cream and beat until smooth. Add cream mixture gradually to sugar mixture, then vanilla, and beat until smooth for 30 seconds.

Add oil to the flour mixture and beat until a dough forms. Add 1/3 of the cream mixture and beat until smooth and lump-free. Repeat with the remaining 2/3rds, scraping the bottom of the bowl and making sure no lumps remain.

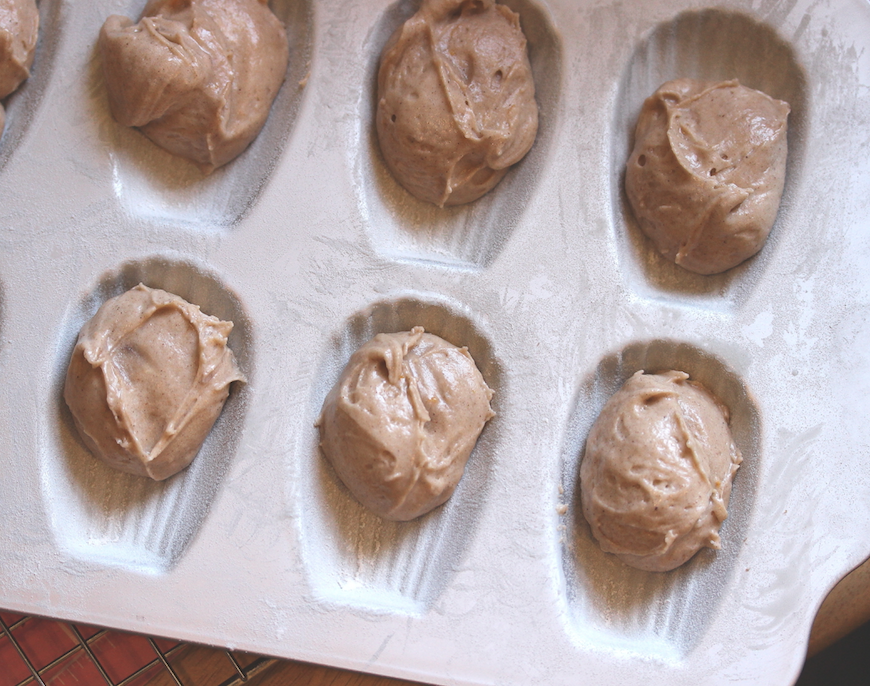
Divide batter among three greased and floured 8" or 9" pans and tap on the counter to remove large air bubbles. Bake for 15-25 minutes until centers are fully set and spring back when pressed. Allow to cool for 15 minutes in the pan, then level, fill, and frost.

IMG_6625.jpg

Browned Butter Pecan Cake with Orange Caramel Buttercream by Molly Brodak

main0.JPG

Under autumn's avalanche of spiced sepia-tone-pumpkin-chunky-knit-apple-picking razzmatazz is a favorite cool-weather memory of mine that doesn't quite fit the script. It's a color memory: looking up at the bright blue sky through feathery sun-yellow leaves. I think there was a stand of maple trees that turned vivid yellow for a short while in the fall near where I used to live in Michigan. But recently I found this gingko leaf veiner in my drawer of gumpaste flower stuff so I dreamed up this cake based around the butterfly-like yellow gingko leaves. Someday I'll start some tutorials on how I make my sugar leaves and flowers...

Screen Shot 2017-10-20 at 9.01.57 AM.png

This cake is a monument to my favorite comfort flavors. The earthy browned butter and toasty pecans ground the bright/tart flavors of orange caramel--the whole thing works together like a gorgeous flavor machine designed for palate-slaying bliss. Or something.

Screen Shot 2017-10-19 at 6.31.01 PM.png

Anyway here's the deal, there are a lot of fiddly little steps to this one but I am straight up and down telling you they are worth it and don't be intimidated. And don't burn your damn nuts. Watch those guys. They are expensive!

This cake is covered in vivid sky-blue white chocolate ganache (just add food coloring to your heavy cream, then make the ganache as normal) with some palette knifed-on clouds made with white chocolate ganache. Of course you can just cover the whole thing in delicious orange caramel buttercream instead.

Smearing on clouds is super fun

Smearing on clouds is super fun

I got the idea for this buttercream from my pal Hector when I tried one of his macarons that was filled with a similar orange caramel buttercream. My first attempts at orange caramel weren't satisfyingly orangey enough because they relied just on orange juice so I messed with the composition to up the flavor. So let's start with the caramel. If you stop here and just make the caramel I will 100% forgive you, because this stuff is absolute gold and you don't even need a cake to pour it on--just dip apples in it, drizzle it on ice cream, or just eat it with a dang spoon as I myself did as soon as it was cool.

This will make twice as much as you need for the buttercream, so the rest would be great to use as a drip/drizzle over the finished cake.

Caramel is all about timing. You want to let your sugar get a bit dark so your caramel will have a slight bittersweetness to it, but you don't want to burn it. I say err on the side, though, of dark instead of light. Too light and there is no flavor at all, just sweetness. Remember, you're adding cream to this caramel so it will end up lighter than it looks in the pan.

Screen Shot 2017-10-19 at 6.04.16 PM.png

ORANGE CARAMEL SAUCE

One large orange, juiced and zested

1/3 c. water

1 1/2 c. (305 g.) sugar

2 TBSP. (25 g.) corn syrup

2 TBSP. unsalted butter

About 3/4 c. heavy cream

1 tsp. kosher or sea salt

Strain orange juice into a cup measure, and fill the rest with cream to make a full cup (usually you get about 1/4 cup of juice from a large orange). Add this, along with the orange zest, to a small saucepan and allow to gently simmer on low heat while you make your caramel. In a larger saucepan, pour the water in and then add the sugar and corn syrup to the center of the pan, avoiding the sides. Stir gently so the mixture is even, and allow to boil over medium high heat. Make sure you have a large metal fine mesh sifter/strainer ready. As the sugar caramelizes, swirl or stir it so the browning is even, and pull it from the heat as soon as the mixture is a deep mahogany color. Strain the orange cream mixture into the caramel--be careful, it will steam and bubble up. Mix thorough and return to low heat. Add butter and mix until melted. Stir in salt and transfer to a heatproof bowl and allow to cool at room temperature.

To make the orange caramel buttercream, simply whip up 2 cups (4 sticks) of softened unsalted butter with about a cup (to taste) of powdered sugar and add about half of this caramel. I whipped some in and then folded the rest in so there would be lovely delicious streaks of caramel running through the buttercream. 

Next, this cake! I made, oh I don't know, at least 15 different iterations of this cake until I landed on a texture/flavor I liked. Mostly I was messing with eggs and egg yolks and flour proportions. You see, whole eggs add structure but the whites tend to dry cakes out, while yolks add velvet moistness but too many can lead to a dense, heavy cake. On top of that, you have your pecans, which are going to weigh your rise down, so all of this had to be maddeningly calibrated just so with a jillion test cakes. You're welcome.

If you've never browned butter before, first of all who are you, and second of all don't worry it's super easy. You just cook the butter until it is browned--but watch it carefully....like caramel, nothing happens for a long time and then suddenly everything browns very quickly. I've noticed the bubbling sound of the butter dies down as it starts to brown (the water is all evaporated at that point so less bubbling sounds?) so that's a good cue you are getting close. Sometimes the foam on top makes it hard to see what's going on with the bottom of the pan, so feel free to stir as it starts to brown so you don't let it burn. 

bae

bae

This is such an incredibly flavorful cake. Browned butter just adds and extra nutty oomph to the toasty pecans and the texture is dense and rich. It's really great just on its own, without frosting, if you're into that kind of thing. Now, I like just a drop of natural butter flavor added to this cake for a true butter pecan flavor, but it is optional (this one is great). If you layer your extracts with subtlety the flavor can be wonderful (not artificial tasting). This makes enough for two 8" pans but you can double this easily for a lovely tall cake, which I recommend. 

BROWNED BUTTER PECAN CAKE

10 TBSP. salted butter

300 g. sugar

1 tsp. fine kosher or sea salt

1/2 c. heavy cream

3 large egg yolks, room temperature

2 large eggs, room temperature

1 tsp. vanilla extract

1/4 tsp. natural butter extract

150 g. cake flour (I use White Lily)

50 g. all-purpose flour (I use Gold Medal AP)

1 1/2 tsp. baking powder

1 c. toasted pecans, chopped finely (or use pecan chips)

Prepare pans by greasing and flouring sides and lining bottoms with parchment. Toast pecans and set aside to cool. Sift flours and baking powder into a small bowl. I know sifting is annoying but you really have to do it for this recipe--do not just stir with a whisk. Add sugar and salt to a large bowl, set aside. In a large saucepan, add the butter and cook over medium heat until butter browns. Remove from heat and pour over sugar and salt, scraping the saucepan to get all the delicious browned butter solids. Use a hand mixer to whip for about one minute, then add cream and mix until fully incorporated. Place this mixture in the freezer for about 10 minutes or until room temperature/cool (do not allow to freeze).

Remove from freezer and continue to whip the butter and sugar mixture until thick, light and fluffy, for about 4 minutes. Add yolks, one at a time, then the eggs and the extracts, beating until the mixture is light and fluffy. This should take about 10 minutes total. Add flour in two batches, mixing on the lowest speed until just incorporated. Fold in pecans. Divide evenly among pans and bake for about 18--22 minutes or until center springs back when touched. Trim cakes, then fill and frost.

Glazed Orange Cinnamon Madeleines by Molly Brodak

Madeleines seem like a good place to start. Both a cake and a cookie, they satisfy on all counts. And these delicate Orange Cinnamon beauties are the most tender, melt-in-your mouth madeleines you will ever taste.

Yes bring me this tray


And at once the vicissitudes of life had become indifferent to me, its disasters innocuous, its brevity illusory...

writes Proust in that famous bit of In Search of Lost Time reflecting on the power sensory objects have to flood us with vivid memories. While I have no specific Sunday mornings at Combray to relive, I certainly can relate to the part about the vicissitudes of life becoming indifferent to me when I bite into a perfect madeleine.

Made with cake flour instead of all-purpose, these skirt the debate between the no-baking-powder-purists and those who prioritize the authentic underside bump via some very non-authentic baking powder altogether by adding a different ingredient for lift: whipped cream. The whipped cream also adds a rich, milky tenderness that is simply transcendent.

(For my treatise on whipped cream--one of my favorite things in the world--see this post over at Real Pants.)

There are a million varieties of madeleines, but for my money the warmth of cinnamon underneath fragrant fresh orange in both the cookie and the glaze cannot be beat. You can omit the glaze if you prefer your madeleines slightly less good.

Side note: Alain de Botton? Are you listening? I love you. Your Proust book is too great. Readers, if Proust is really all too much for you, at least read this by de Botton.

Ok. Onto it then. By the way, you don't really need a madeleine pan here, you can make these in muffin tin bottoms if you want to. But if you are going to buy a madeleine pan, buy two, since cleaning then re-buttering and re-flouring your pan after the first batch is a pain in the...underside bump.

Orange Cinnamon Madeleines

makes about 24

3 large eggs, room temperature

2/3 c. (130 g.) sugar

1/4 tsp. salt

1 1/2 c. (170 g.) cake flour (I use White Lily)

1 Tablespoon cinnamon

9 Tablespoons butter, melted and cooled to room temperature

zest of one large orange

1 teaspoon vanilla

1/3 c. (2.7 fl. oz.) heavy whipping cream

for the glaze: 3/4 c. (150 g.) powdered sugar + 3 Tablespoons of strained juice from orange

Grease and flour madeleine pans thoroughly and place them in the freezer. Melt butter in the microwave or on the stovetop and set aside to cool. Whip cream in a small bowl with a hand mixer or with a whisk to stiff peaks, cover, and place in fridge (whipping such a small amount of heavy cream can be awkward, just tilt the bowl and scrape with a spatula occasionally to maintain consistency). Sift flour and cinnamon together into a small bowl. 

In a large bowl with a hand mixer or in a stand mixer, beat eggs, sugar and salt until thick and frothy, about 6 minutes. Gradually add the flour mixture, gently folding with a spatula as you add it. Add the orange zest and vanilla to the butter and dribble in the butter mixture gradually, folding carefully until it is incorporated. Fold in the whipped cream until no streaks remain. Resist the urge to mix it; be patient with your folding and remember you are trying to preserve the delicate air bubbles in the whipped cream. Cover batter and let rest in the refrigerator for at least one hour (can rest for up to 24 hours). 

Preheat oven to 425 degrees F. Mix together glaze ingredients and set aside. Fill the molds with batter to about 3/4 full; do not spread or press the batter into the pan. A 1" ice cream scoop works well for this. Bake for 8-9 minutes, or until the centers are set. Loosen from molds by gently shaking pan. Allow to rest on a wire rack for a few minutes until just cool enough to handle, then dip each side of each madeleine in the glaze.

Glazed madeleines are best eaten the same day, but can be stored uncovered for several days. Unglazed madeleines can be stored sealed in an airtight container for two weeks, or frozen for up to three months. 

I accept your offer