
I did it, I solved your holiday dinner party dessert problem.
This is a showstopping dessert that is also very easy to make. Most importantly, it tastes like heaven. Truly, it is one of my favorite desserts to eat and I have never served it to someone who didn't like it. It's also gluten-free and relatively low fat, for a dessert anyway.
If you've never had pavlova before, brace yourself. You are in for something completely new. It's an iridescent dessert--shifting, dazzling, impossible to capture from just one angle. What looks at first--if you glance at the recipe--like a simple meringue is totally different from either the dried crunch puffs of meringue cookies or the foamy mounds of pie-topping meringue. It transcends all that noise.
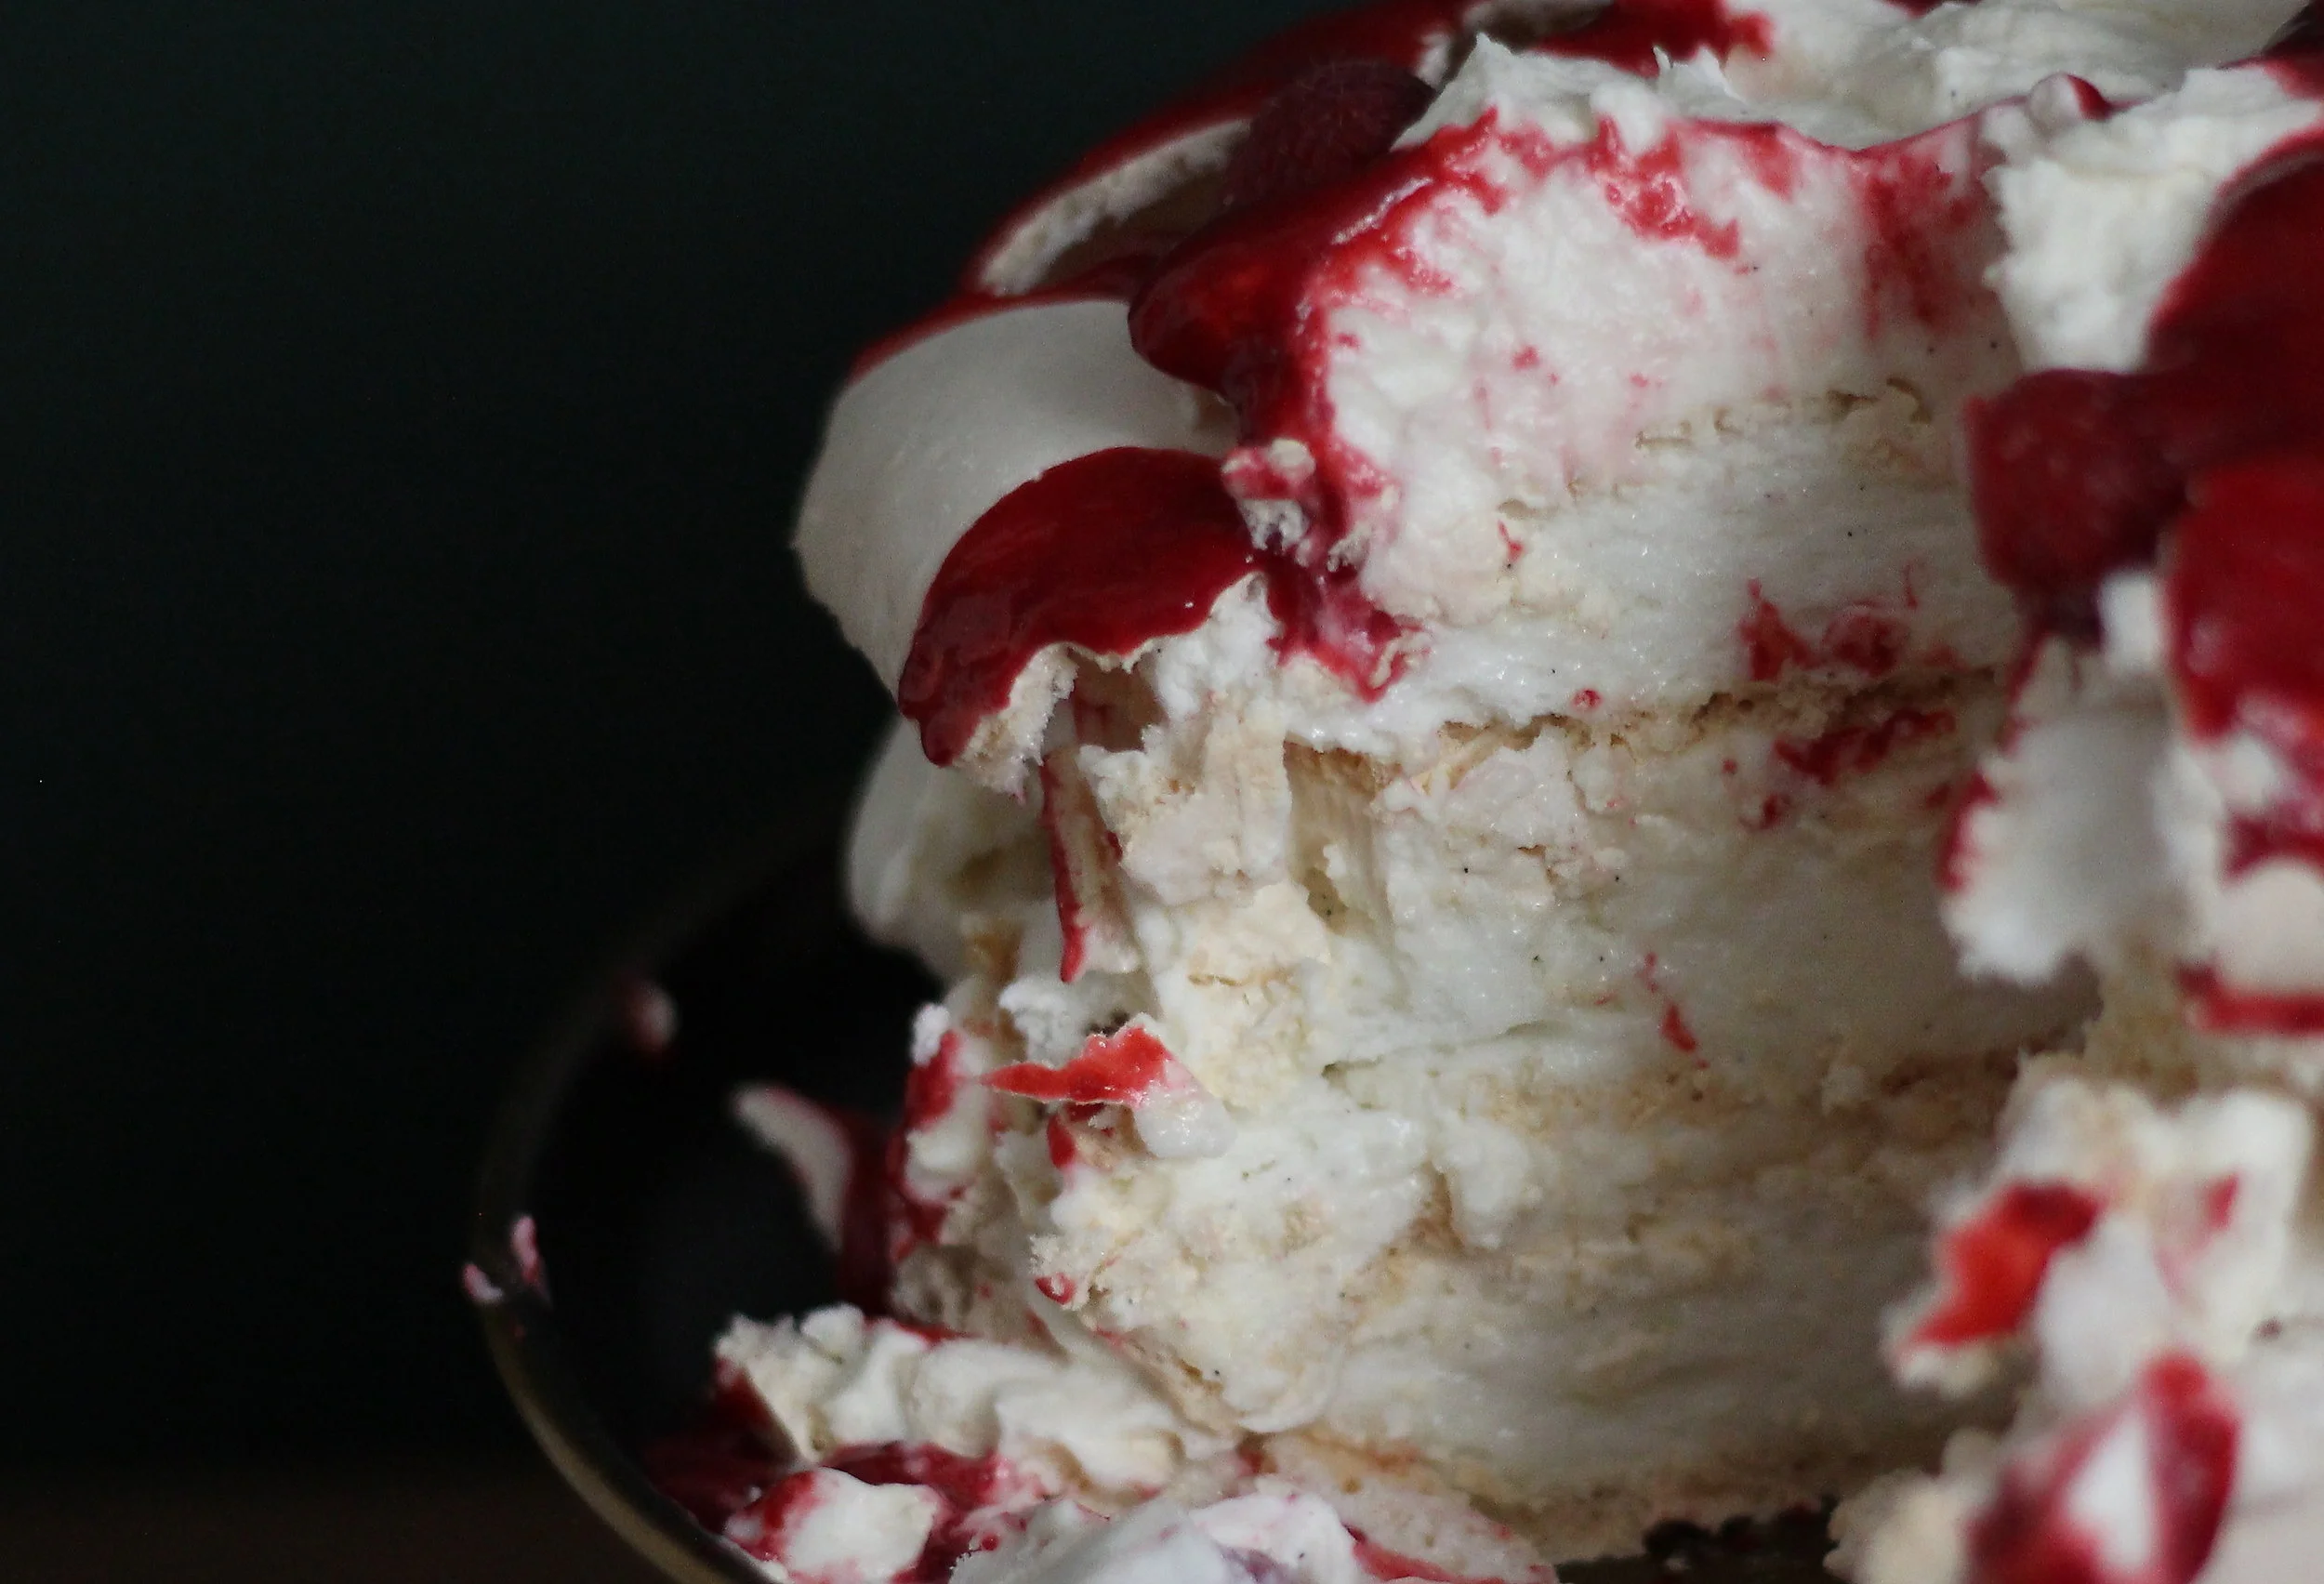
this photo should be ILLEGAL
Let me try to describe it. You have a crisp, delicate shell that might remind you of a meringue cookie, but not even a touch of denseness or chalkiness. Under the shell, a marshmallowy center that serves as the perfect foil to the wisp of crunch from the shell. Combined with a thick, tart raspberry sauce and an unexpected warm spice note from the cinnamon whipped cream, the dessert has a heady dose of flavor to match the otherworldly texture. It all melts in your mouth in a delectable instant, the best instant of your dinner, if I do say so myself.
The secret magic? A bit of cornstarch. And vinegar. Oh vinegar, you miracle worker! Is there nothing you can't do?

A touch of vinegar helps egg whites whip up nice and firm. But add more than a touch, and you've got real structure here, a density builds as the egg whites begin to shrink and tighten, while a crust from the heat forms and pulls away from the moist center. tl;dr version? It's a miracle of science.

delicious plate of science miracles
Pavlova recipes are a dime a dozen as they are common treats in the UK, New Zealand, and Australia. The recipe has an intriguing and much debated history; how it came to be associated with the ballerina Anna Pavlova is still hotly contested by food historians. In order to elevate this pav from everyday to transcendent, I tinkered with the recipe until I struck upon the perfect sugar and vinegar ratios and restyled the finished product into an impressive cake-like centerpiece.
A few notes on planning this dessert: you can make the meringue cakes up to a day in advance as long as you keep them tightly sealed in a container--any moisture from the air and you will lose the crunch of the shell. They are also definitely delicate, and are very likely to break in moving them, but don't worry--if you plan to stack them, no one will notice the cracks since it's all going to be cut apart anyway. Assemble everything at the last of all possible minutes, since the raspberry sauce and whipped cream are going to work to soften the crunch of the shell. It's great to even assemble it at the table immediately before serving--quite the spectacle.
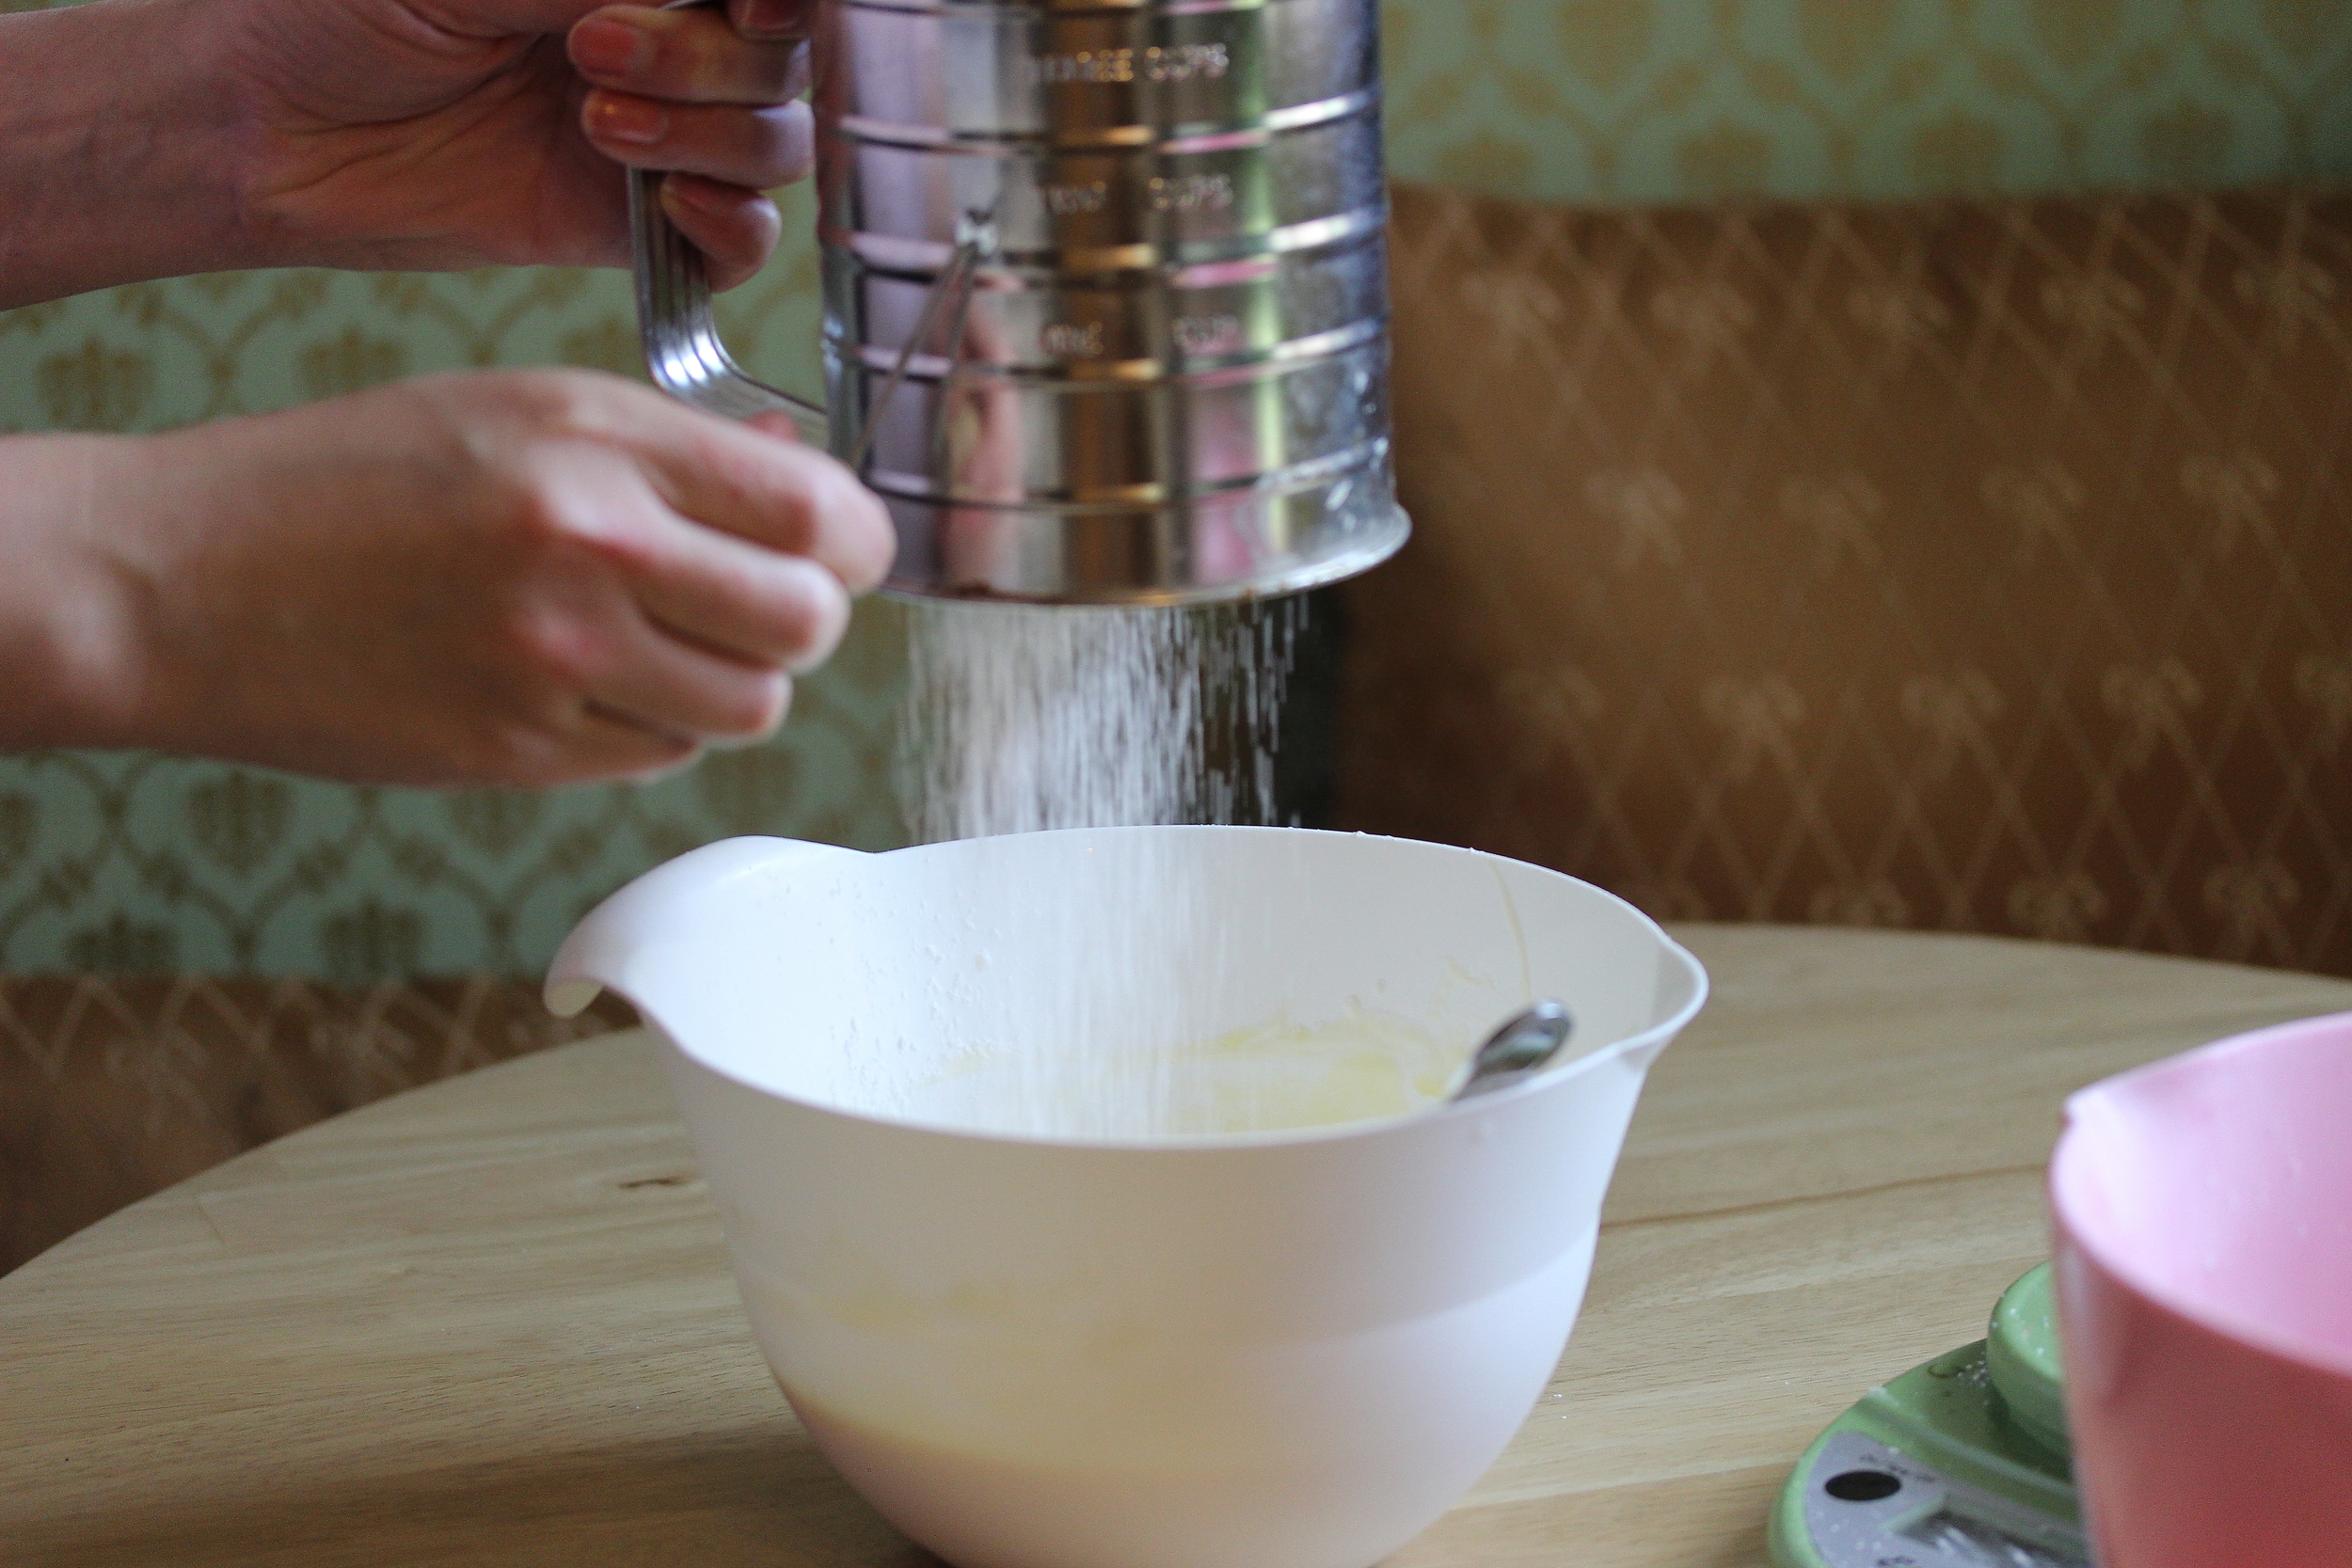
You don't need any special ingredients for this recipe, except for maybe caster or superfine sugar, although that can be easily made by whizzing granulated sugar in a food processor for about 30 seconds until fine.
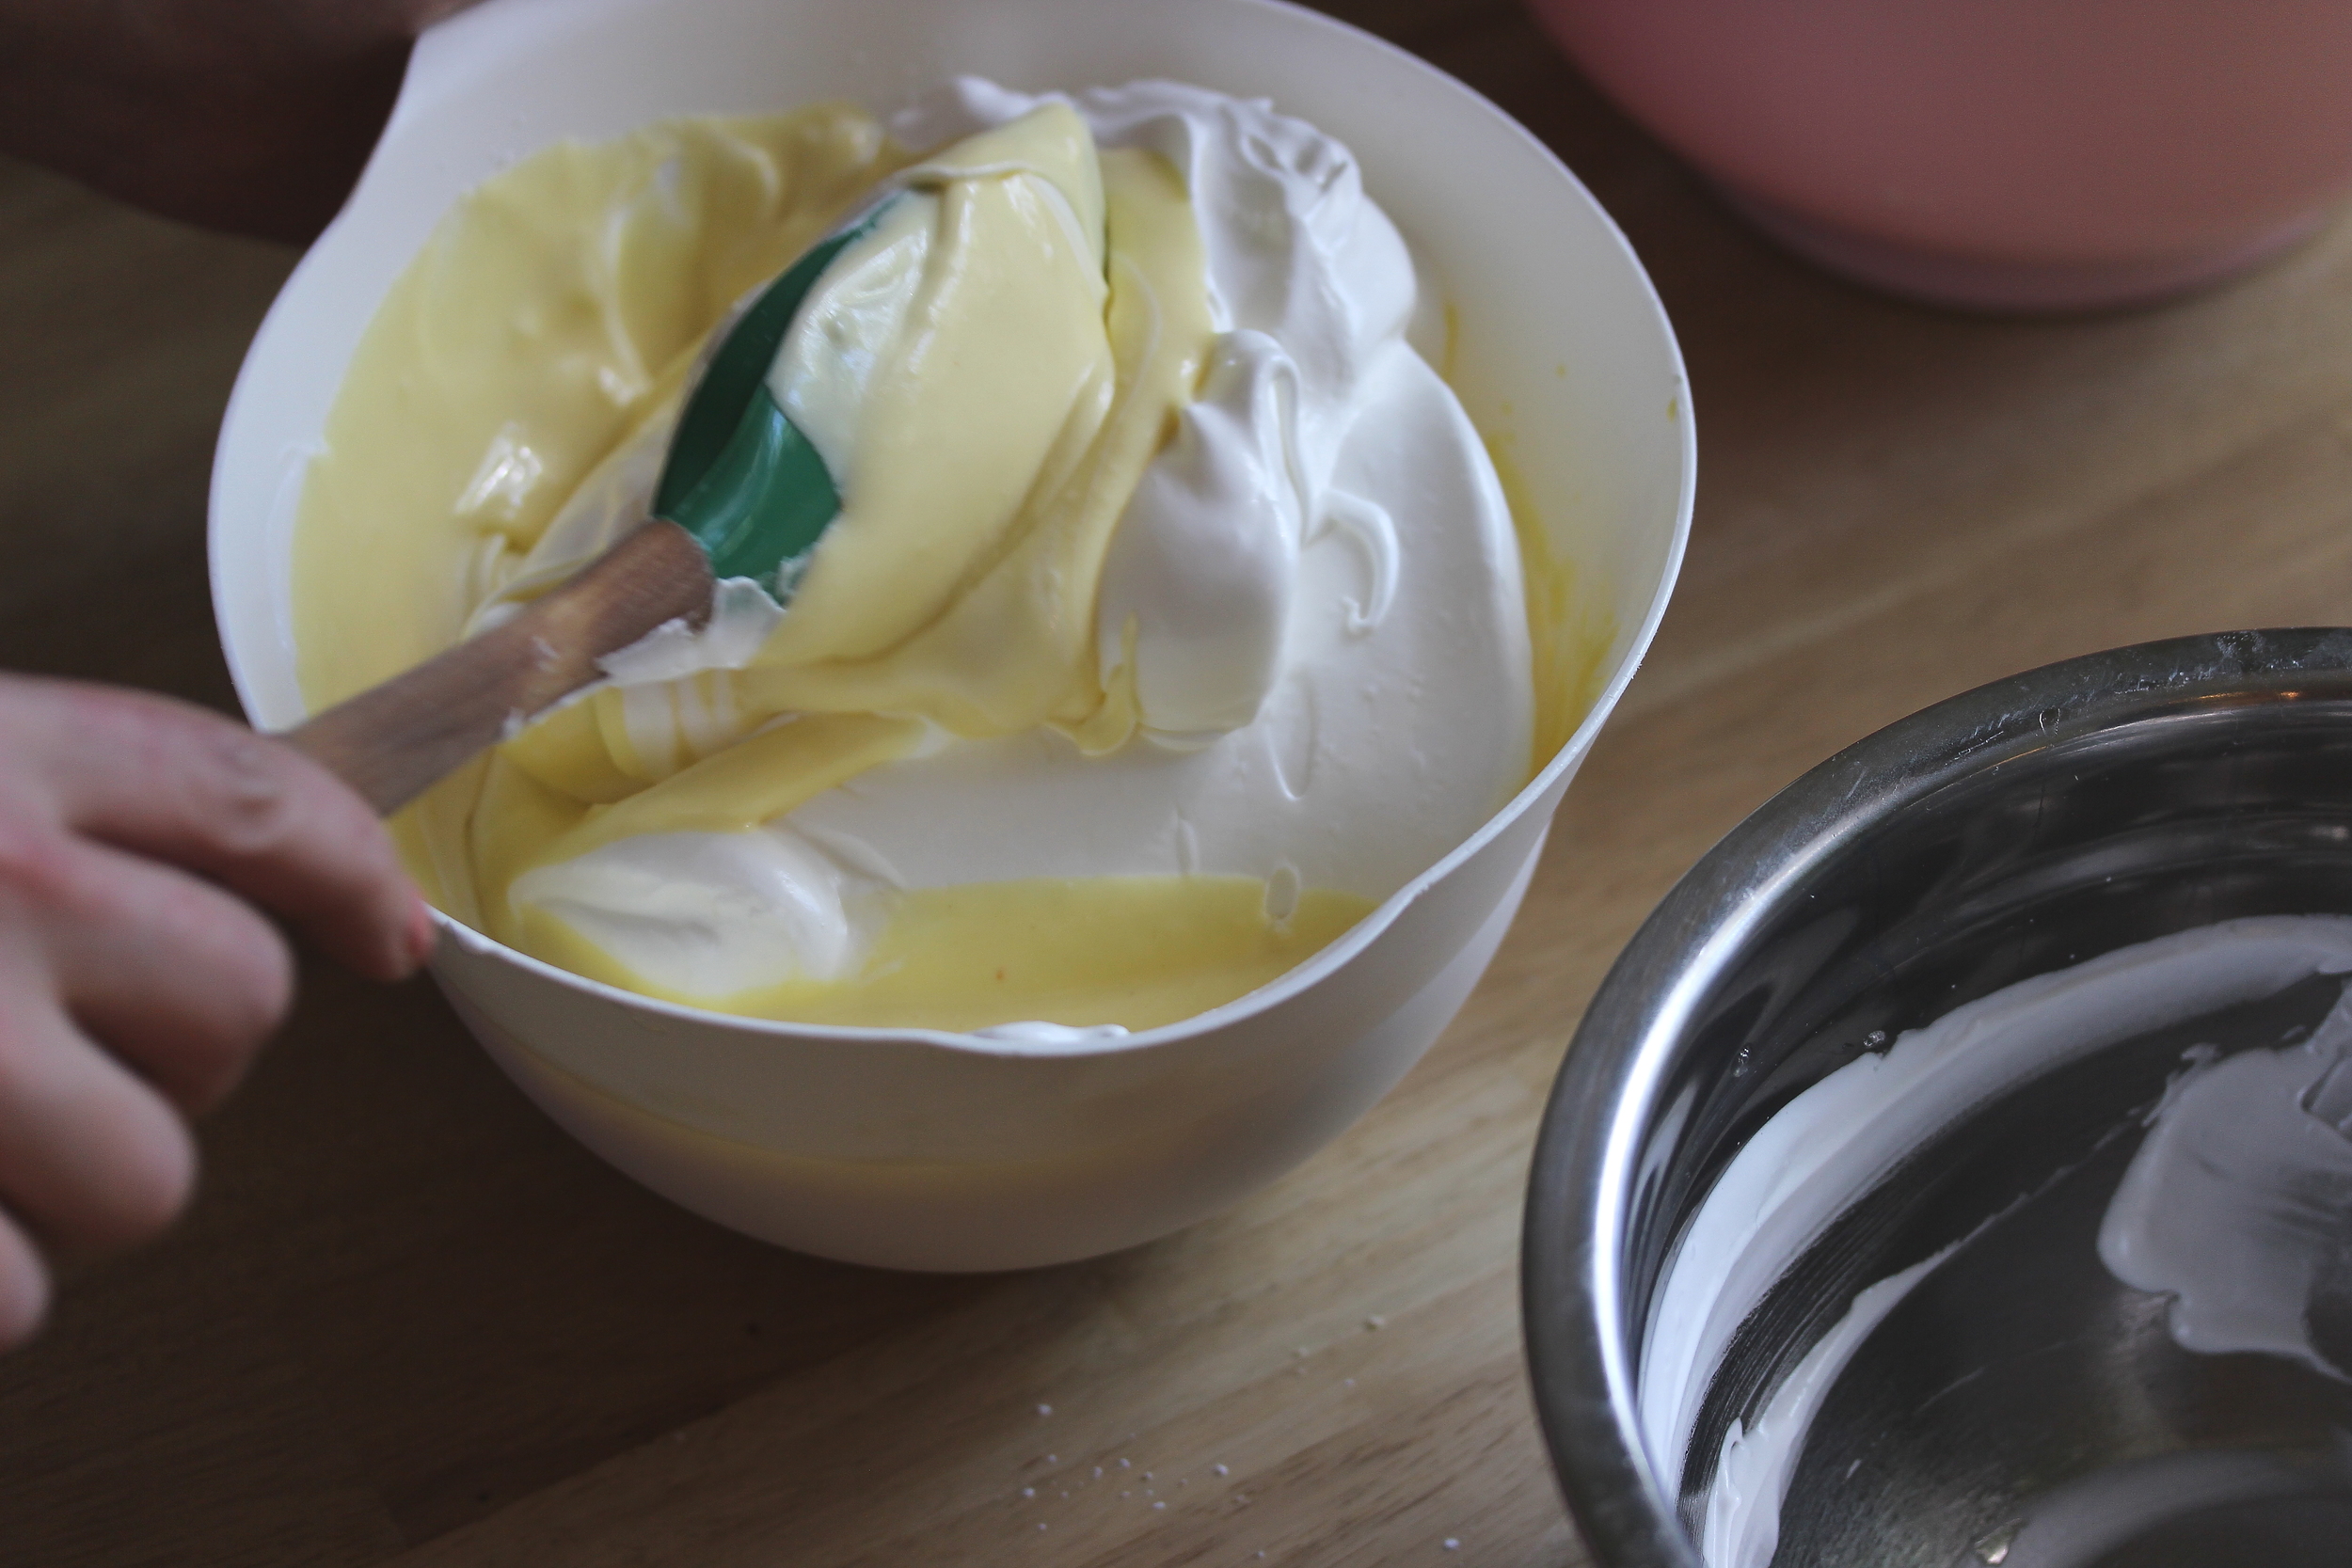
The whipped cream I've paired with this pav is infused with flavor by gently simmering cinnamon sticks in it which produces a far superior texture and taste than if one were to just dump ground cinnamon into the cream. Super simple, super tasty. Same goes for the raspberry sauce, which is as easy as tossing a bag of frozen raspberries into a food processor, et voila.

simmer until cinnamon-y enough for you
To get smooth pavlovas, you've got to beat your meringue low and slow at first to create an even foam structure in your whites. Skipping right to high speed whipping will result in large bubbles in your egg whites which will cause cracks and gaps in your pavs. Don't rush through the process. I always make this with a handheld mixer but it certainly could be made in a stand mixer if you think your arm will get tired after holding it up for 15 minutes or so.

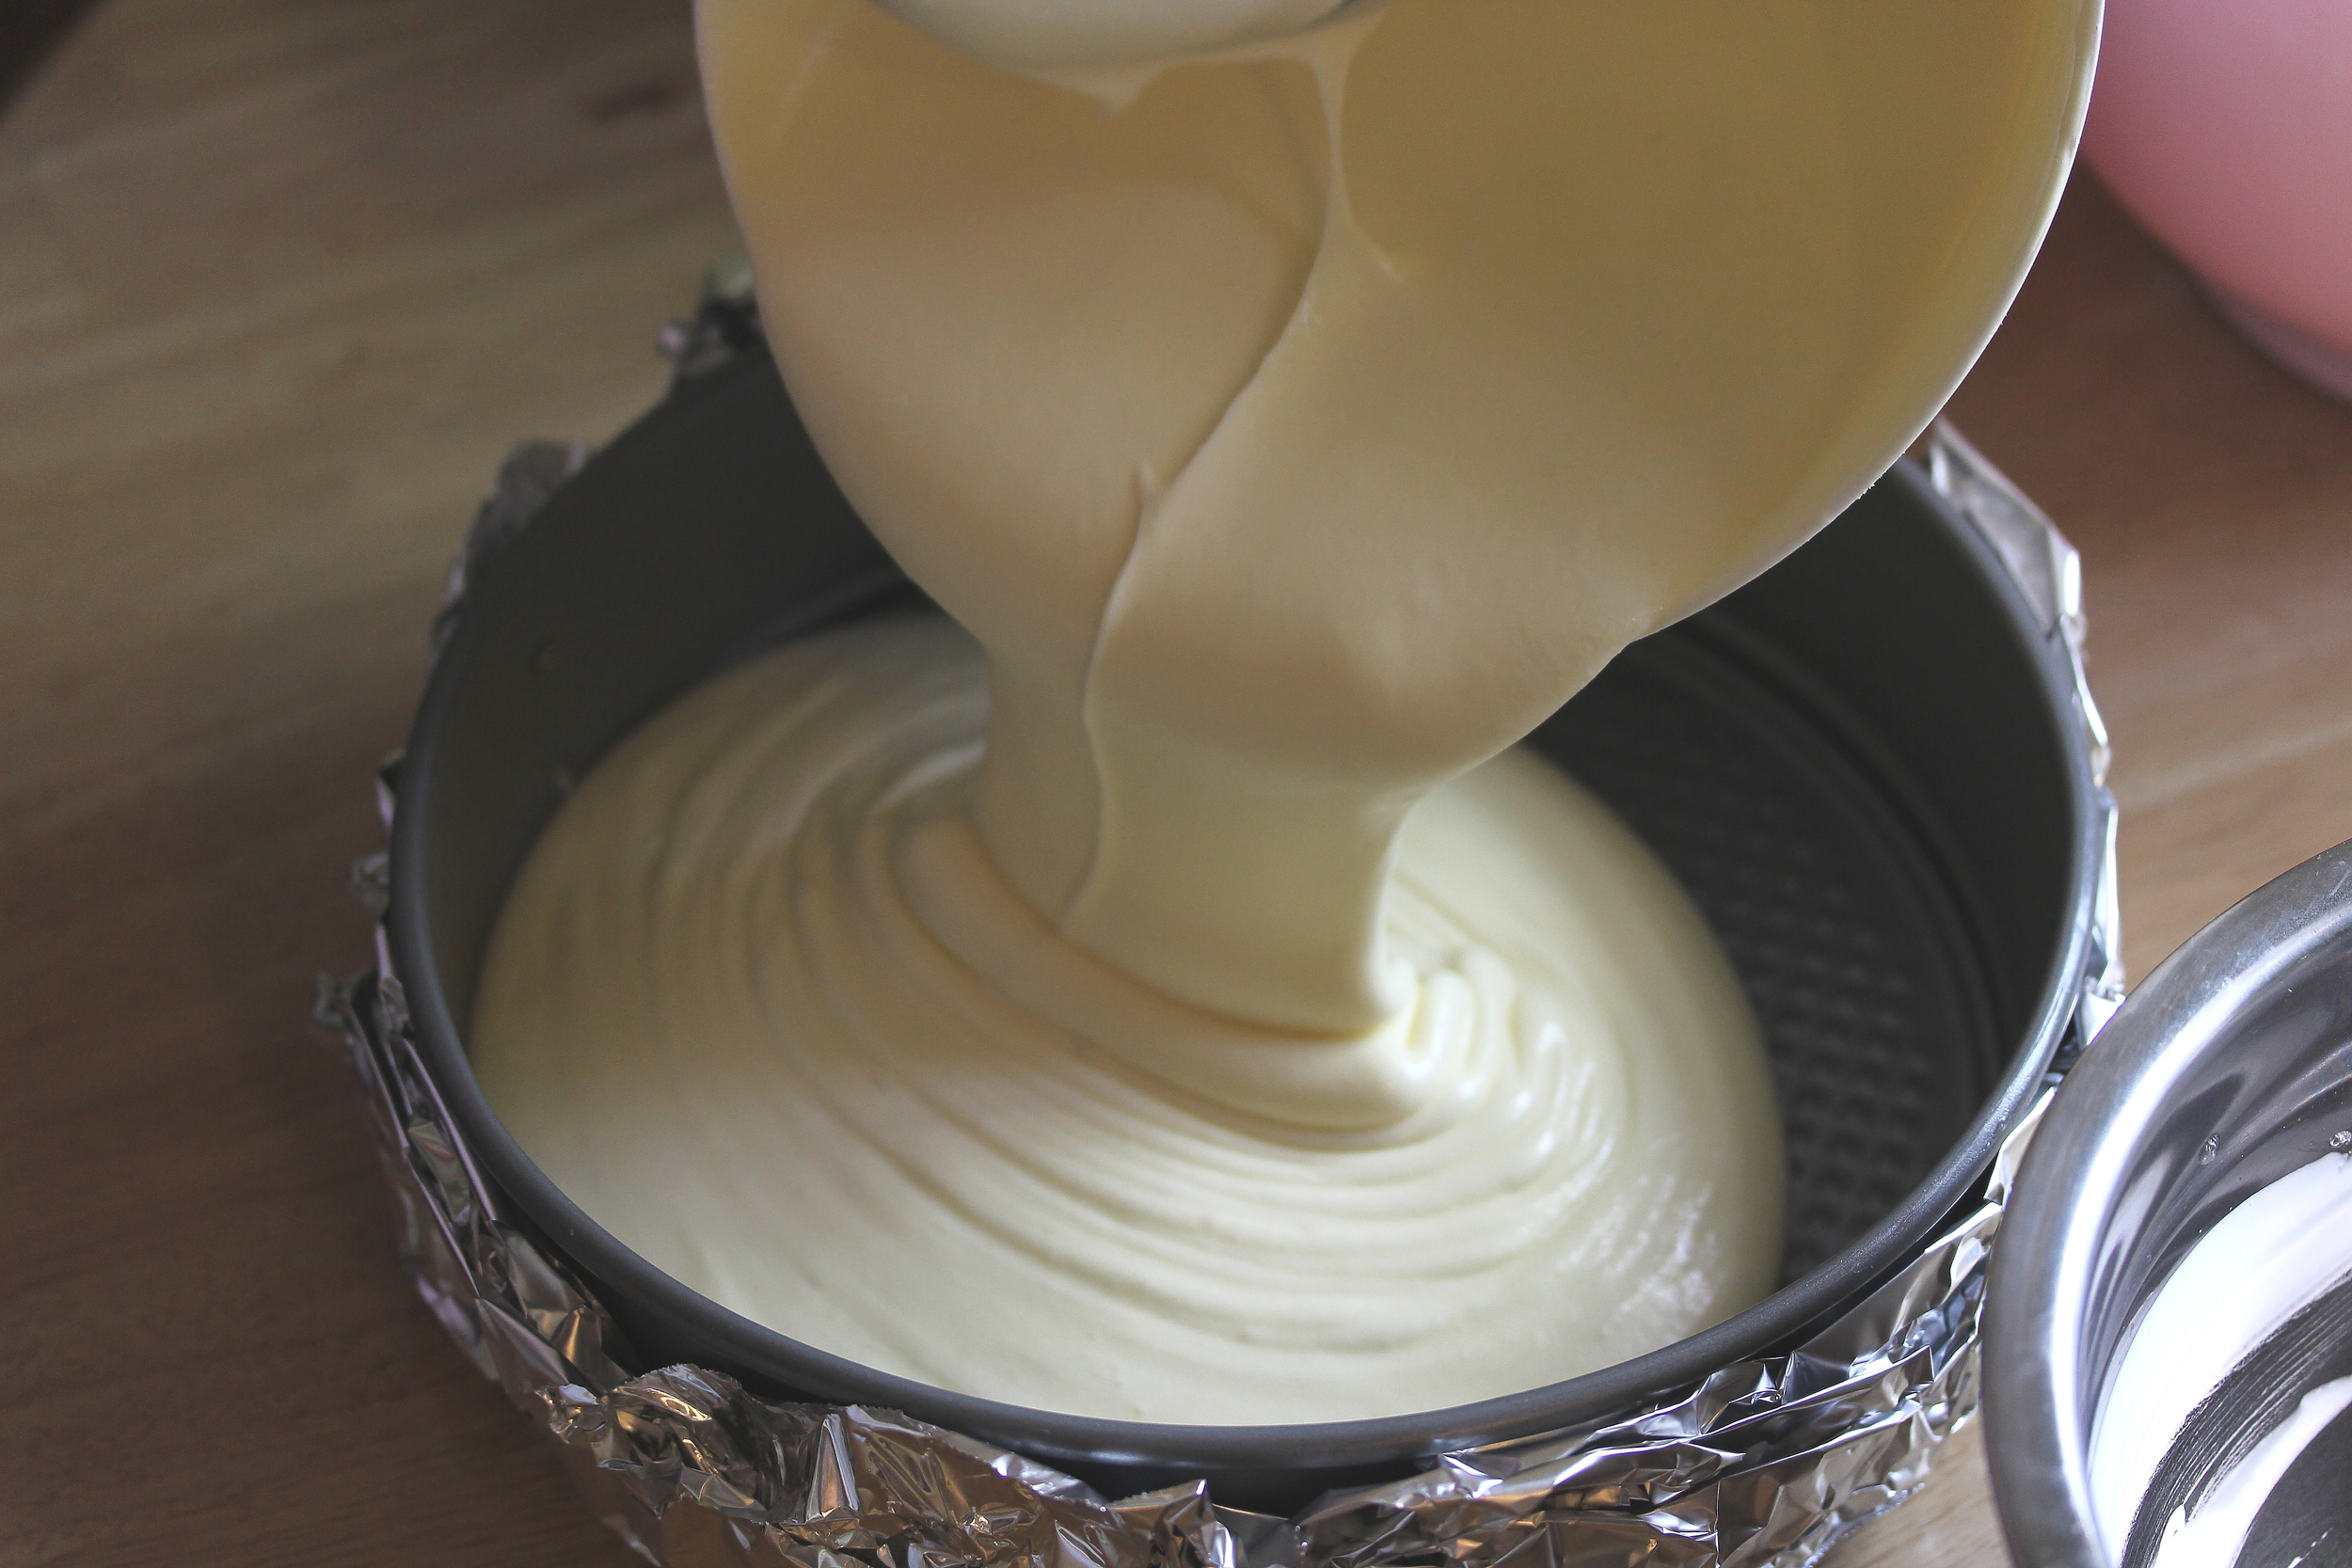
it's ready to bake when it is as thick as marshmallow creme
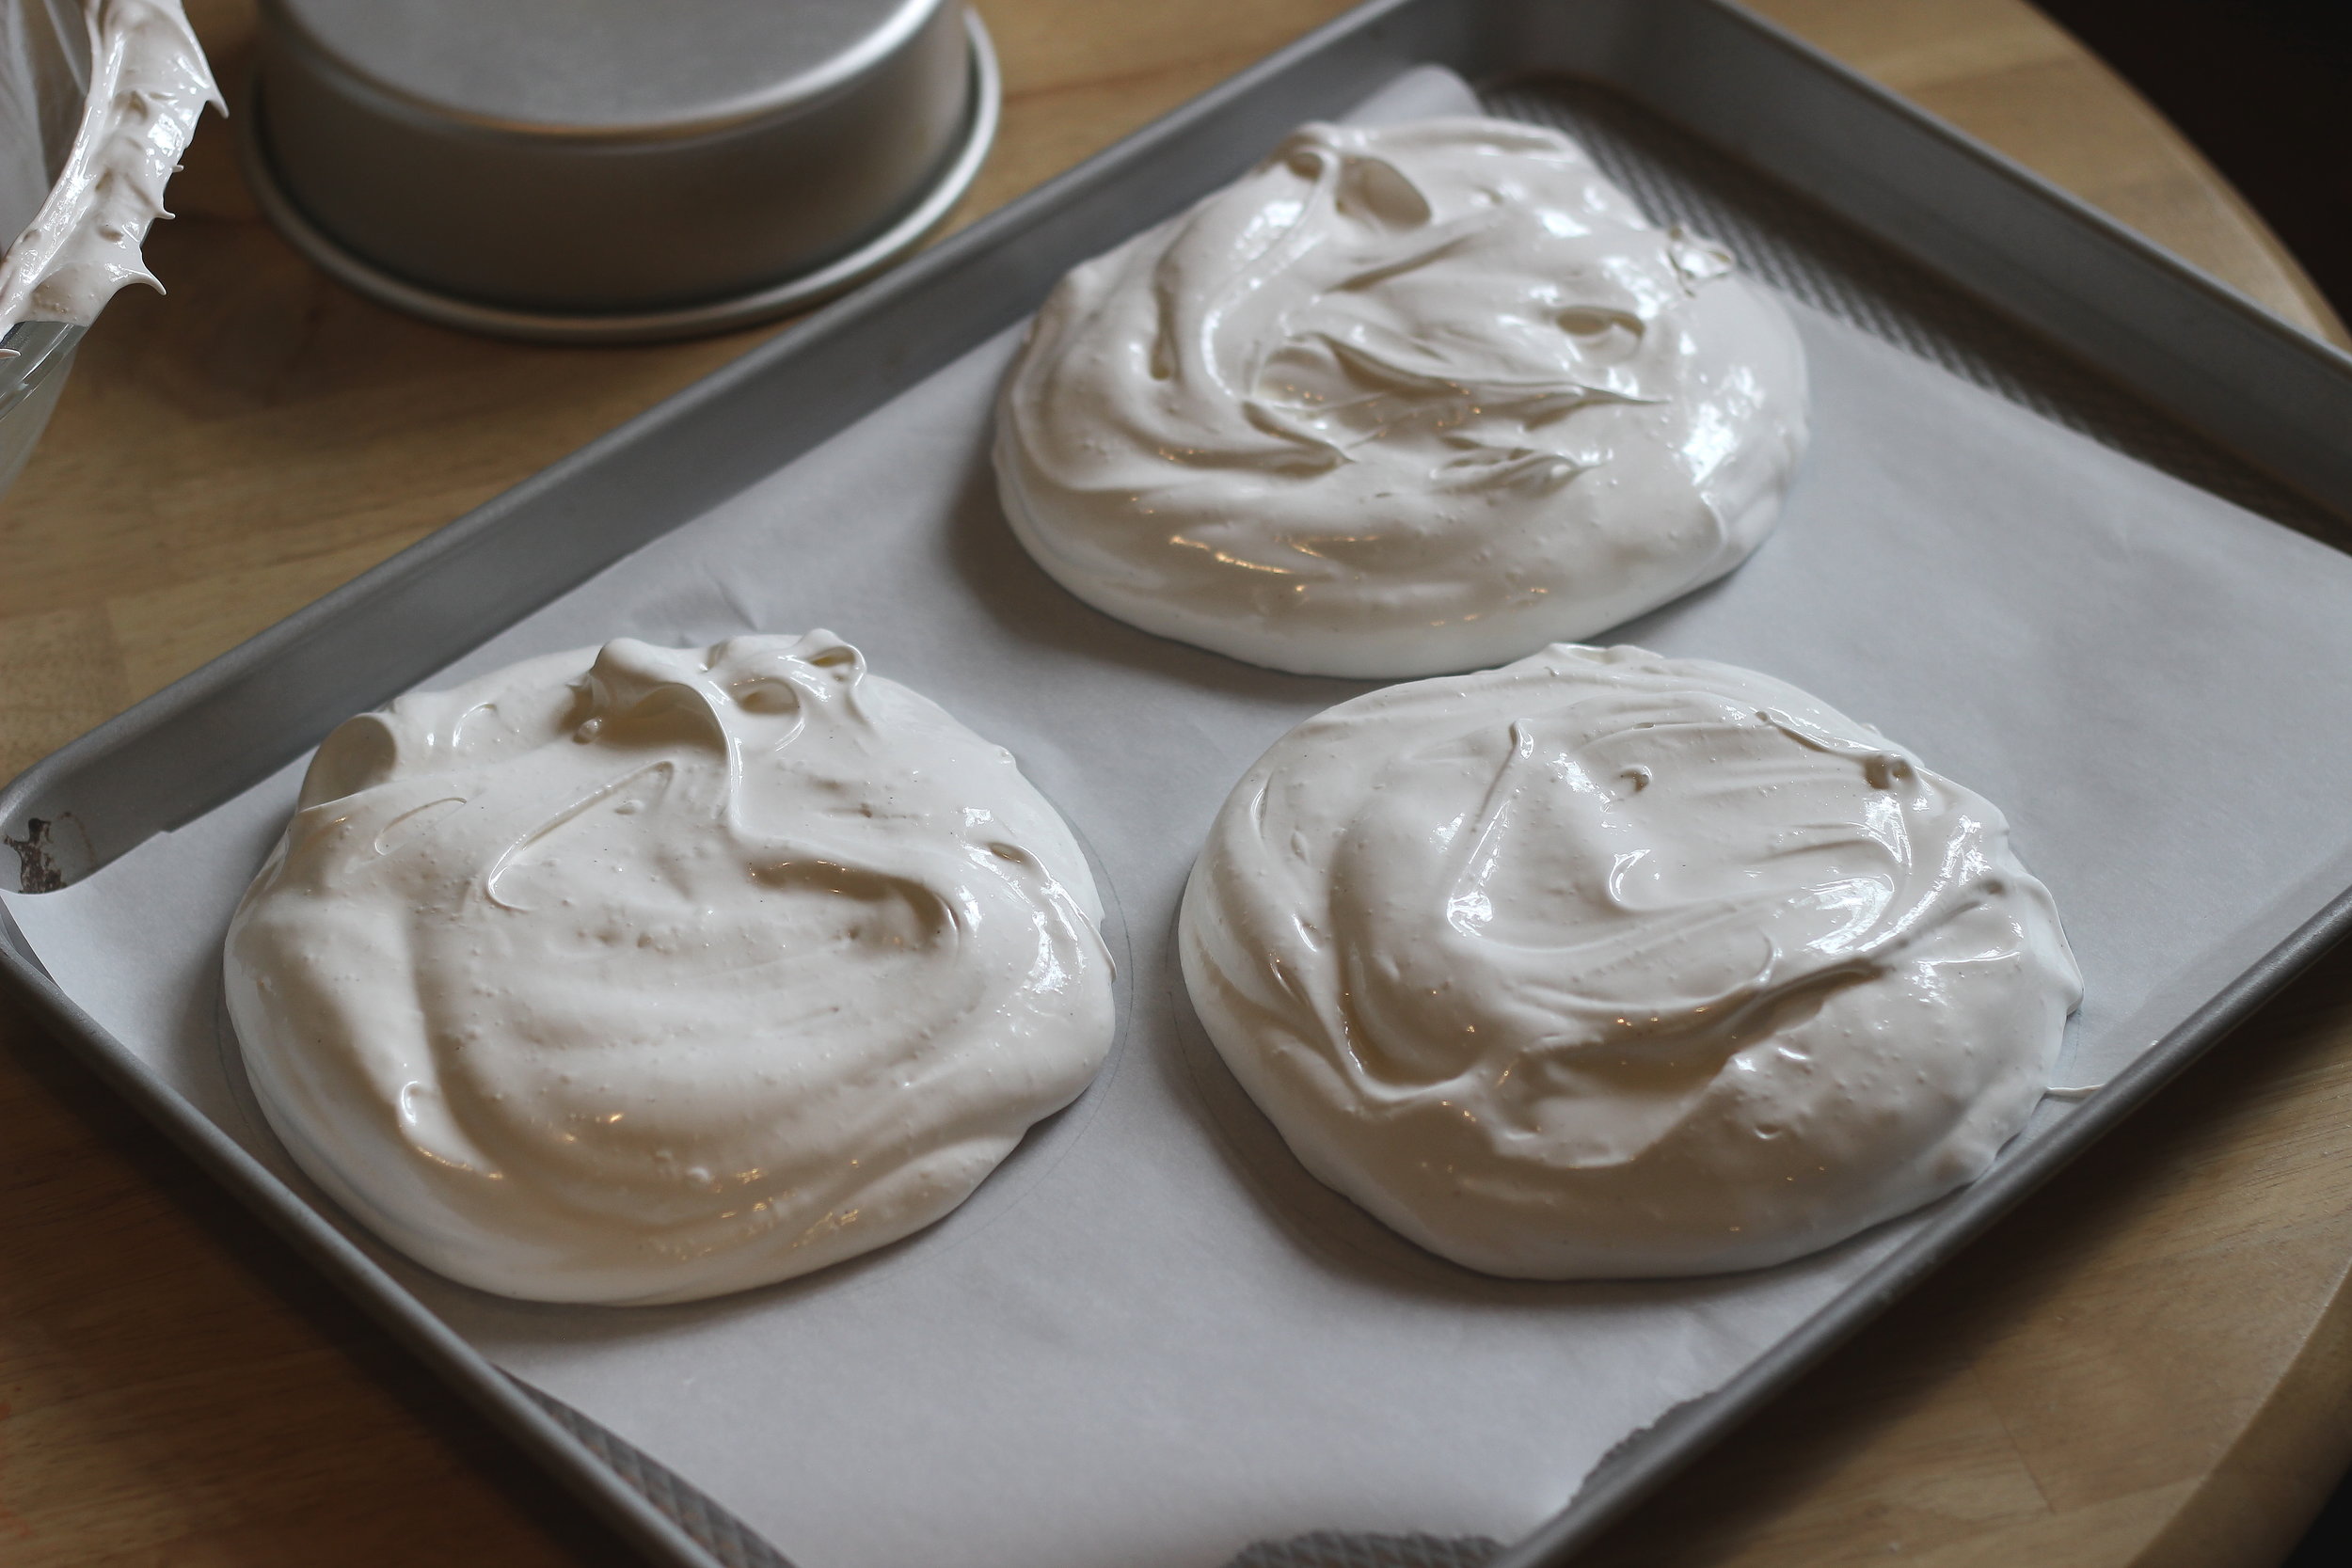
I traced three 6" circles onto the back of my parchment to make 3 rounds for my "cake," although two larger circles is just as nice. There's also nothing like individual servings for everyone at your dinner party--all are wonderful.

poof babies
This is one of those set-it-and-forget-it recipes. Bake for about 1 hr 20 min, then turn the oven off, and just forget it. You can just leave those puppies in there for hours while you get the rest of your holiday party together.

Just one more nearly-indecent photo if you are not convinced yet to make this beauty tonight.

Raspberry Pavlova with Cinnamon Spiced Whipped Cream
8 large egg whites, cold
pinch salt
2 tsp white vinegar
2 tsp vanilla extract or one vanilla bean, scraped
2 c (400 g) caster sugar
1 1/4 tsp cornstarch
for the raspberry sauce:
12 oz. bag of frozen raspberries
sugar to taste
fresh raspberries for garnish
for the whipped cream:
1 quart heavy whipping cream
3 to 4 cinnamon sticks
pinch nutmeg
pinch cloves
2 Tbsp. caster or superfine sugar
1/4 c. powdered sugar
Preheat oven to 250 degrees F and line a baking sheet with parchment paper with circles traced on the back as guides for pavlova layers or individual cakes.
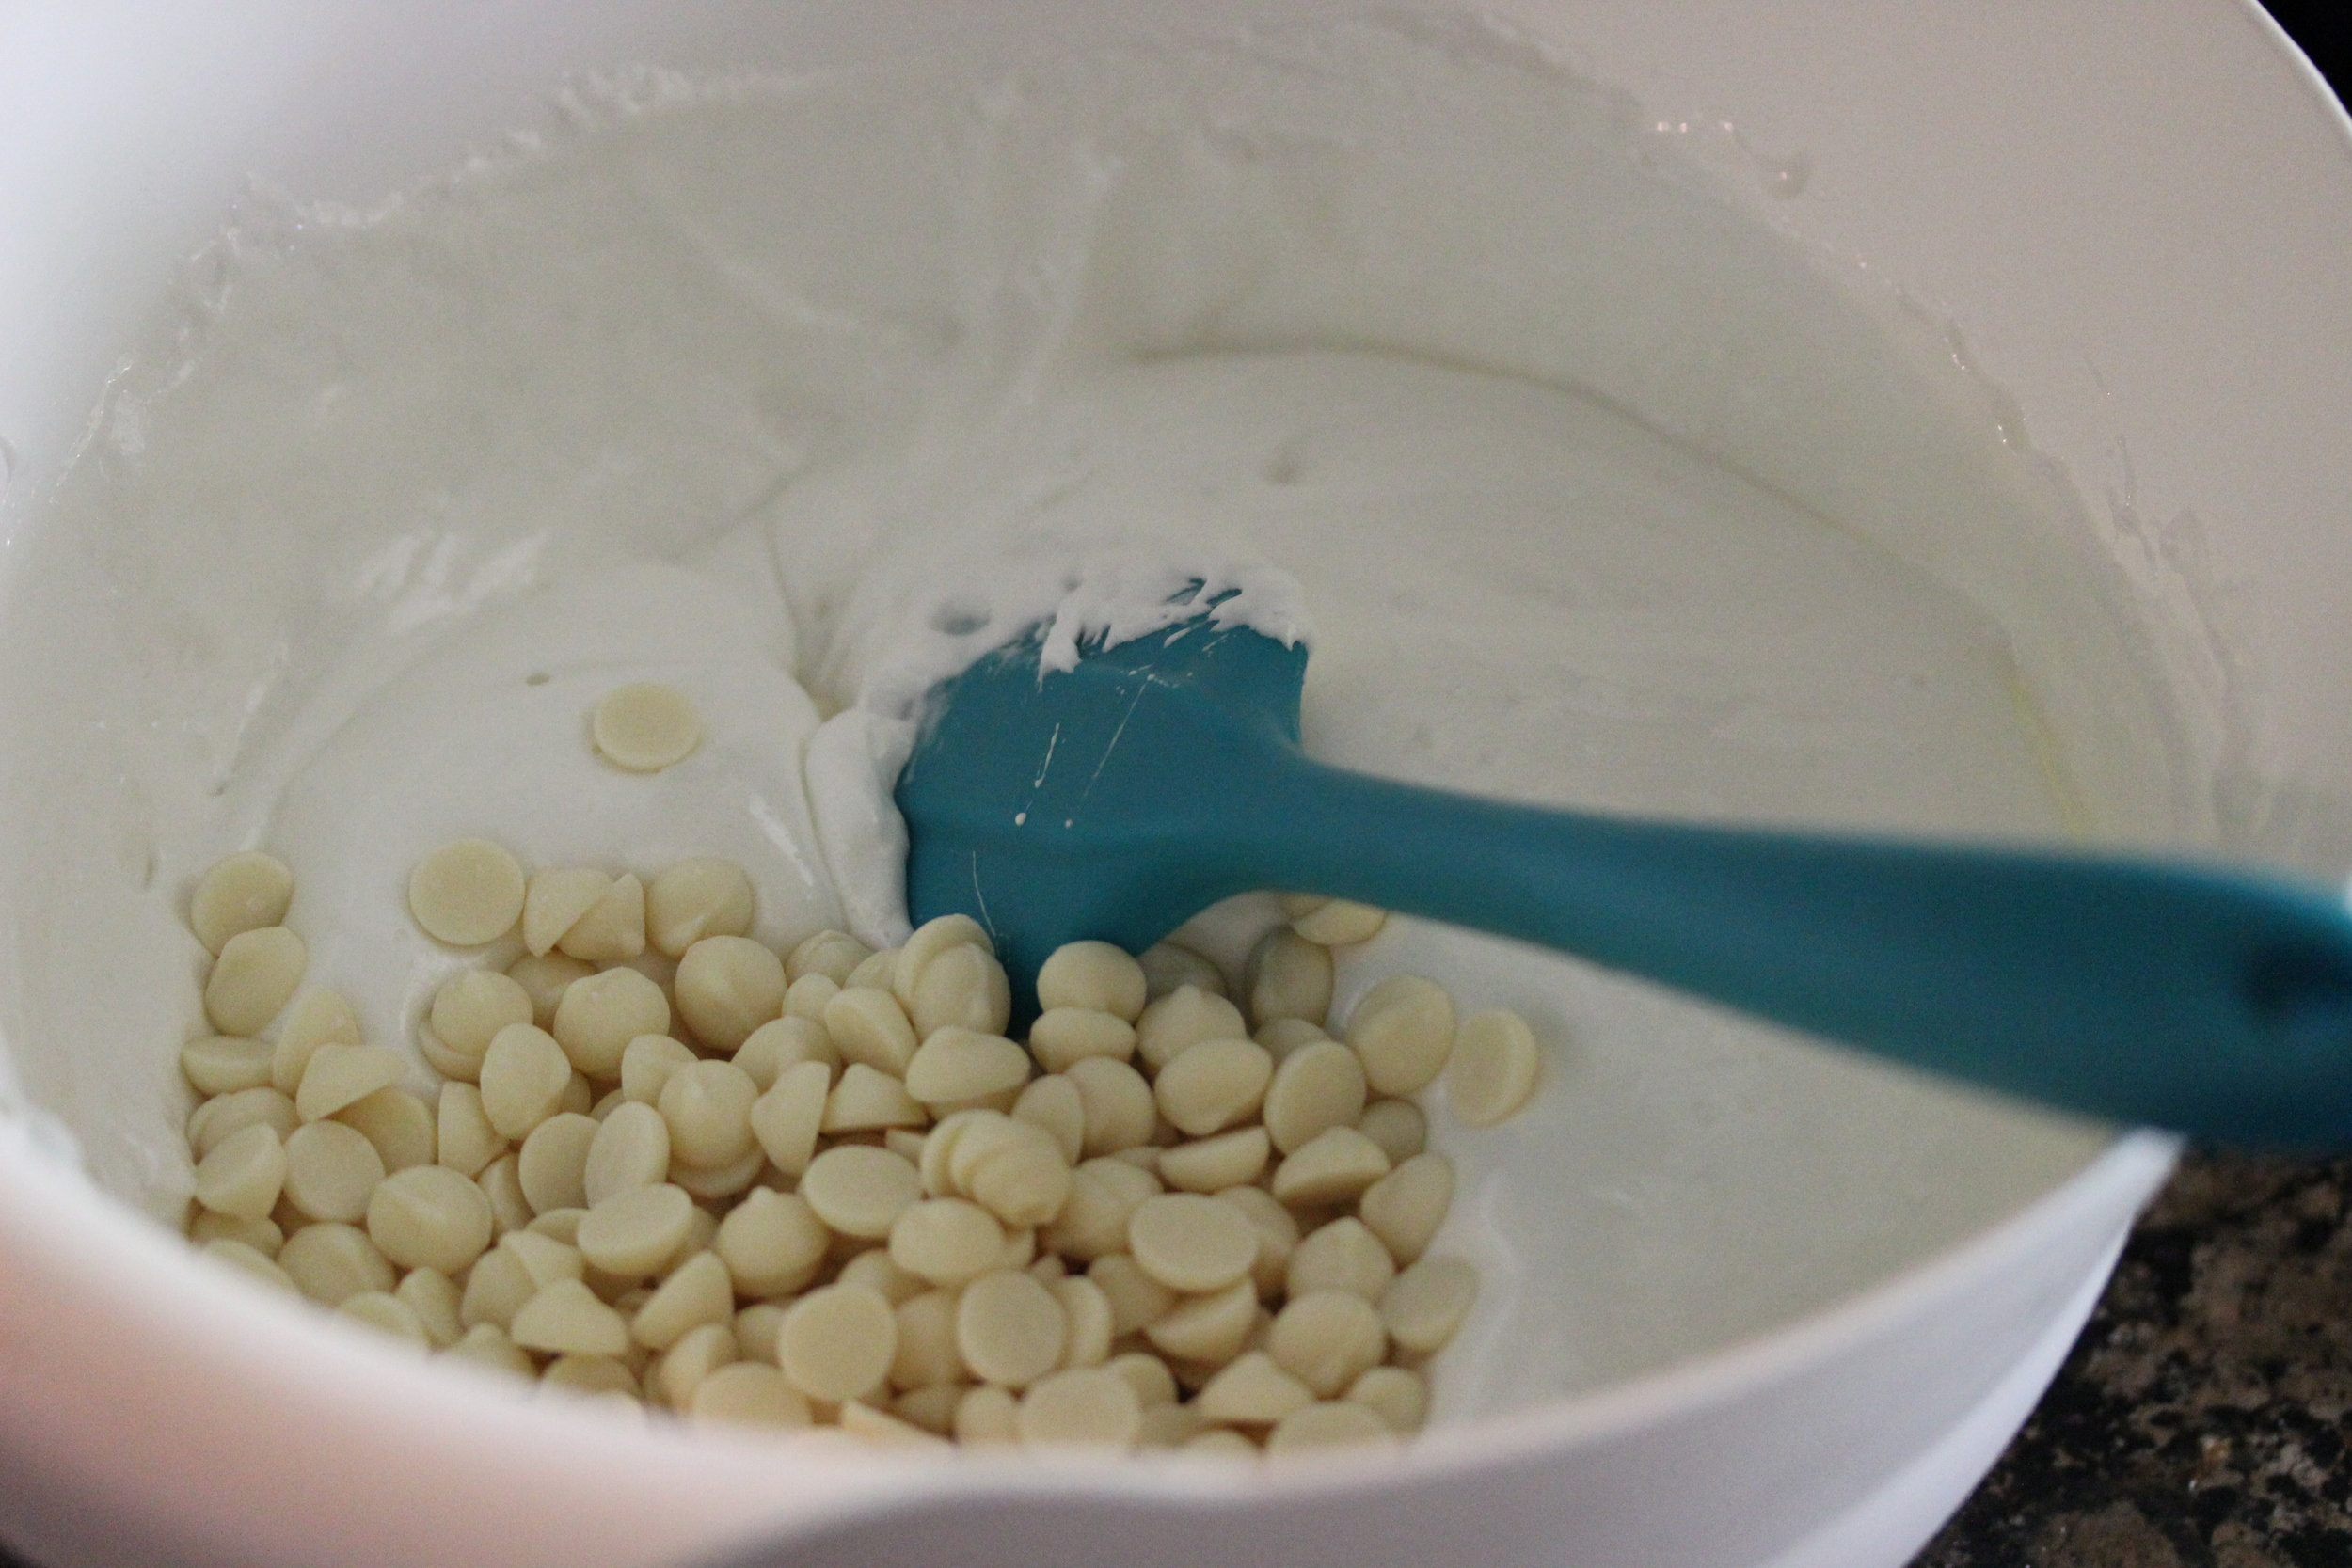
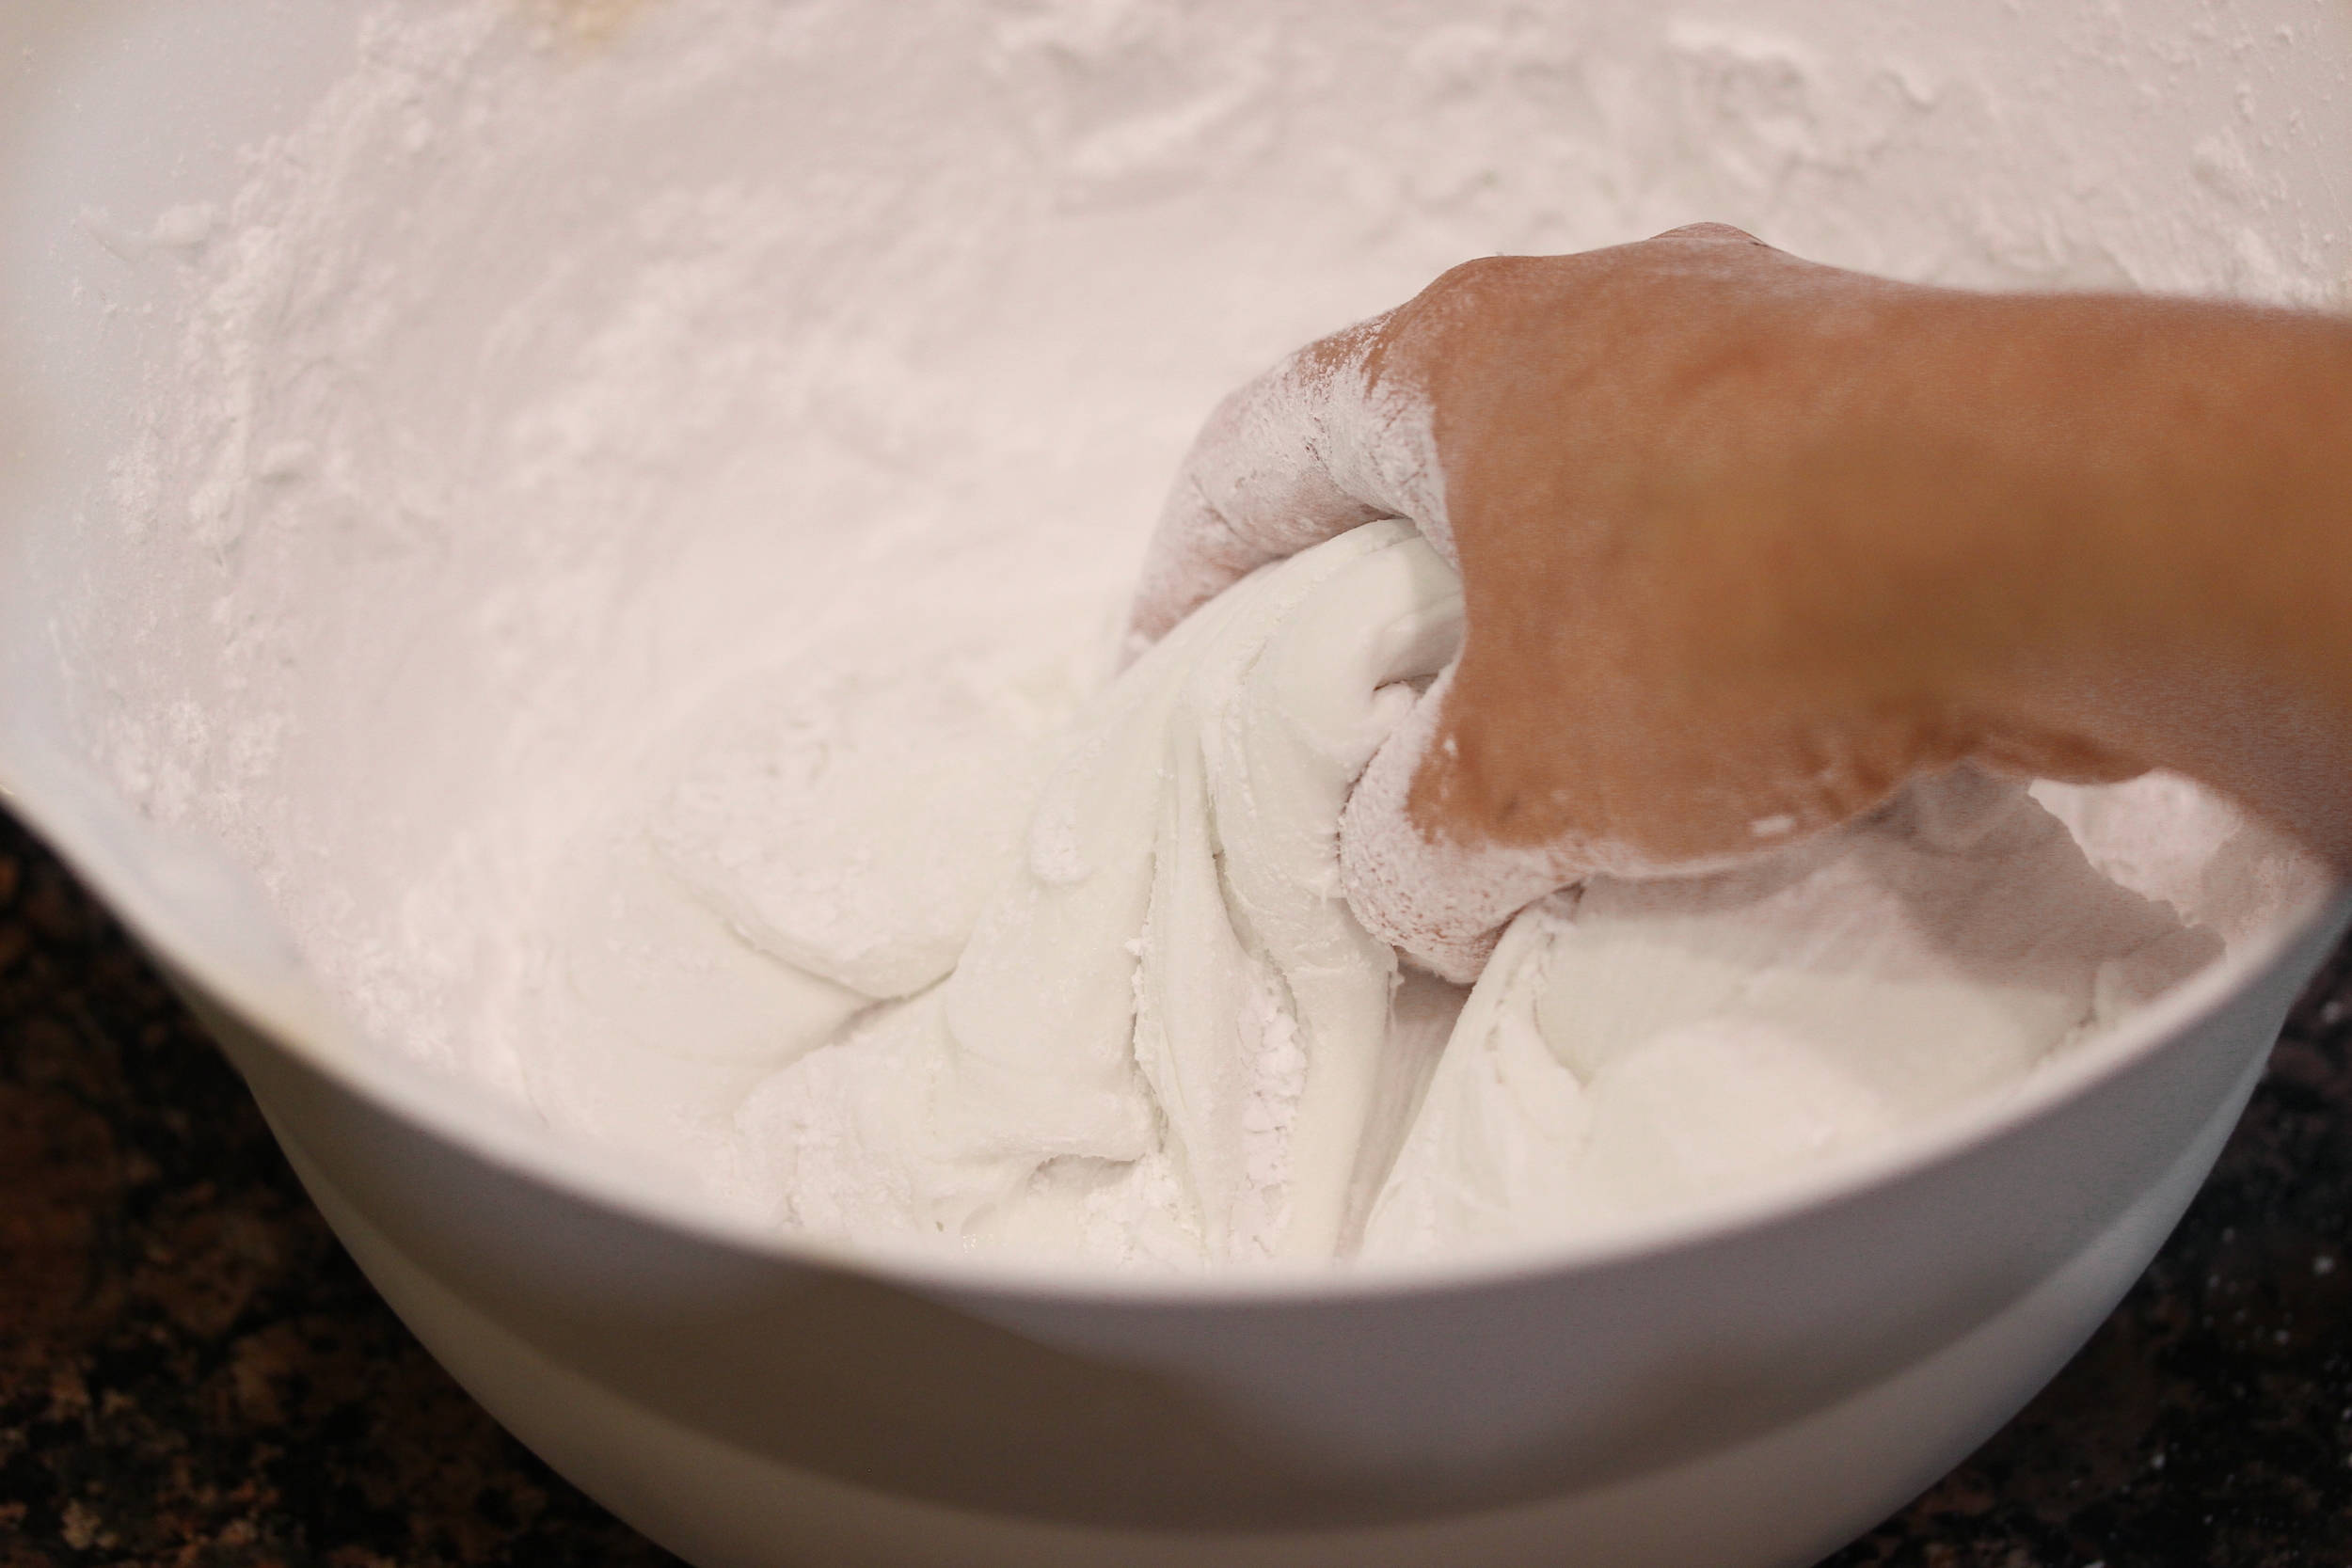
Whisk sugar and cornstarch in a small bowl until evenly mixed. Combine vinegar and vanilla extract or bean scrapings in a small bowl. Wipe a large glass or metal bowl and beaters with a paper towel soaked with a bit of white vinegar. Whip egg whites with a pinch of salt on low for three minutes, and increase to medium speed until whites become a uniform foam with minimal large bubbles. Increase speed to high and gradually add sugar mixture until mixture is thick, glossy, and holds medium-soft peaks (this can take up to 15 minutes). Add vinegar and vanilla, mix until combined. Scoop mixture onto sheet and smooth tops. Bake for 1 hour and 20 minutes for 6-8 inch circles, or 1 hour for smaller circles. Once time is up, turn off the oven and allow pavlovas to cool completely before removing from the oven (at least two hours).
To make the raspberry sauce, allow frozen raspberries to thaw about halfway and pulse in a food processor or blender until smooth. Add sugar to taste. Strain most of the raspberry seeds out through a fine sieve.
To make the whipped cream, simmer cream and spices on the stovetop for about 20 minutes. Remove and discard cinnamon sticks. Remove from stovetop, pour into a clean metal or glass bowl, cover, and refrigerate until completely cold. Add caster sugar and vanilla extract or vanilla bean scrapings and whip to soft peaks, then add powdered sugar and whip to firm peaks.
Assemble pavlova by dolloping whipped cream on each layer and drizzling with raspberry sauce. Garnish with fresh raspberries.

those beautiful pink ceramic bowls by Lenneke Wispelwey
jfc