Hazelnuts are the diamonds of the nut world. My beloved pecans come in at a close second for baking purposes, but no other nut can touch the level of flavor that hazelnuts provide. They hold their own against the powerful flavor of chocolate, as any nutella lover knows, and have the brightest, sweetest, almost fruitiest flavor of any nut.
This hazelnut cake, y'all, I have to admit--it's absolutely my favorite cake at the moment. It's secret? Three words for you: double-toasted hazelnut butter.
smells like angels
I was experimenting with hazelnuts for days before making this cake. I tried toasting them at different temps--high and fast, then low and slow--but the difference was minimal. I tried grinding them finer then coarser and adding the differently-sized chunks to the cake batter--the flavor was basically the same. I tried pan-frying them in butter, dry roasting, brining, candying--everything I could think of. But only one move gave me the intense flavor I was looking for, and it was so simple.
I ground the lightly toasted hazelnuts in a food processor until a butter/paste formed, then spread that hazelnut butter onto a bit of foil and popped it in the toaster oven to toast again. The toasted hazelnut butter was otherworldly. Hazelnut butter is great on its own, but still had that dull raw nut flavor I dislike so much. This stuff was exactly what I was looking for--sweet, toasty, insanely flavorful--like someone had turned the hazelnut dial up to 11.
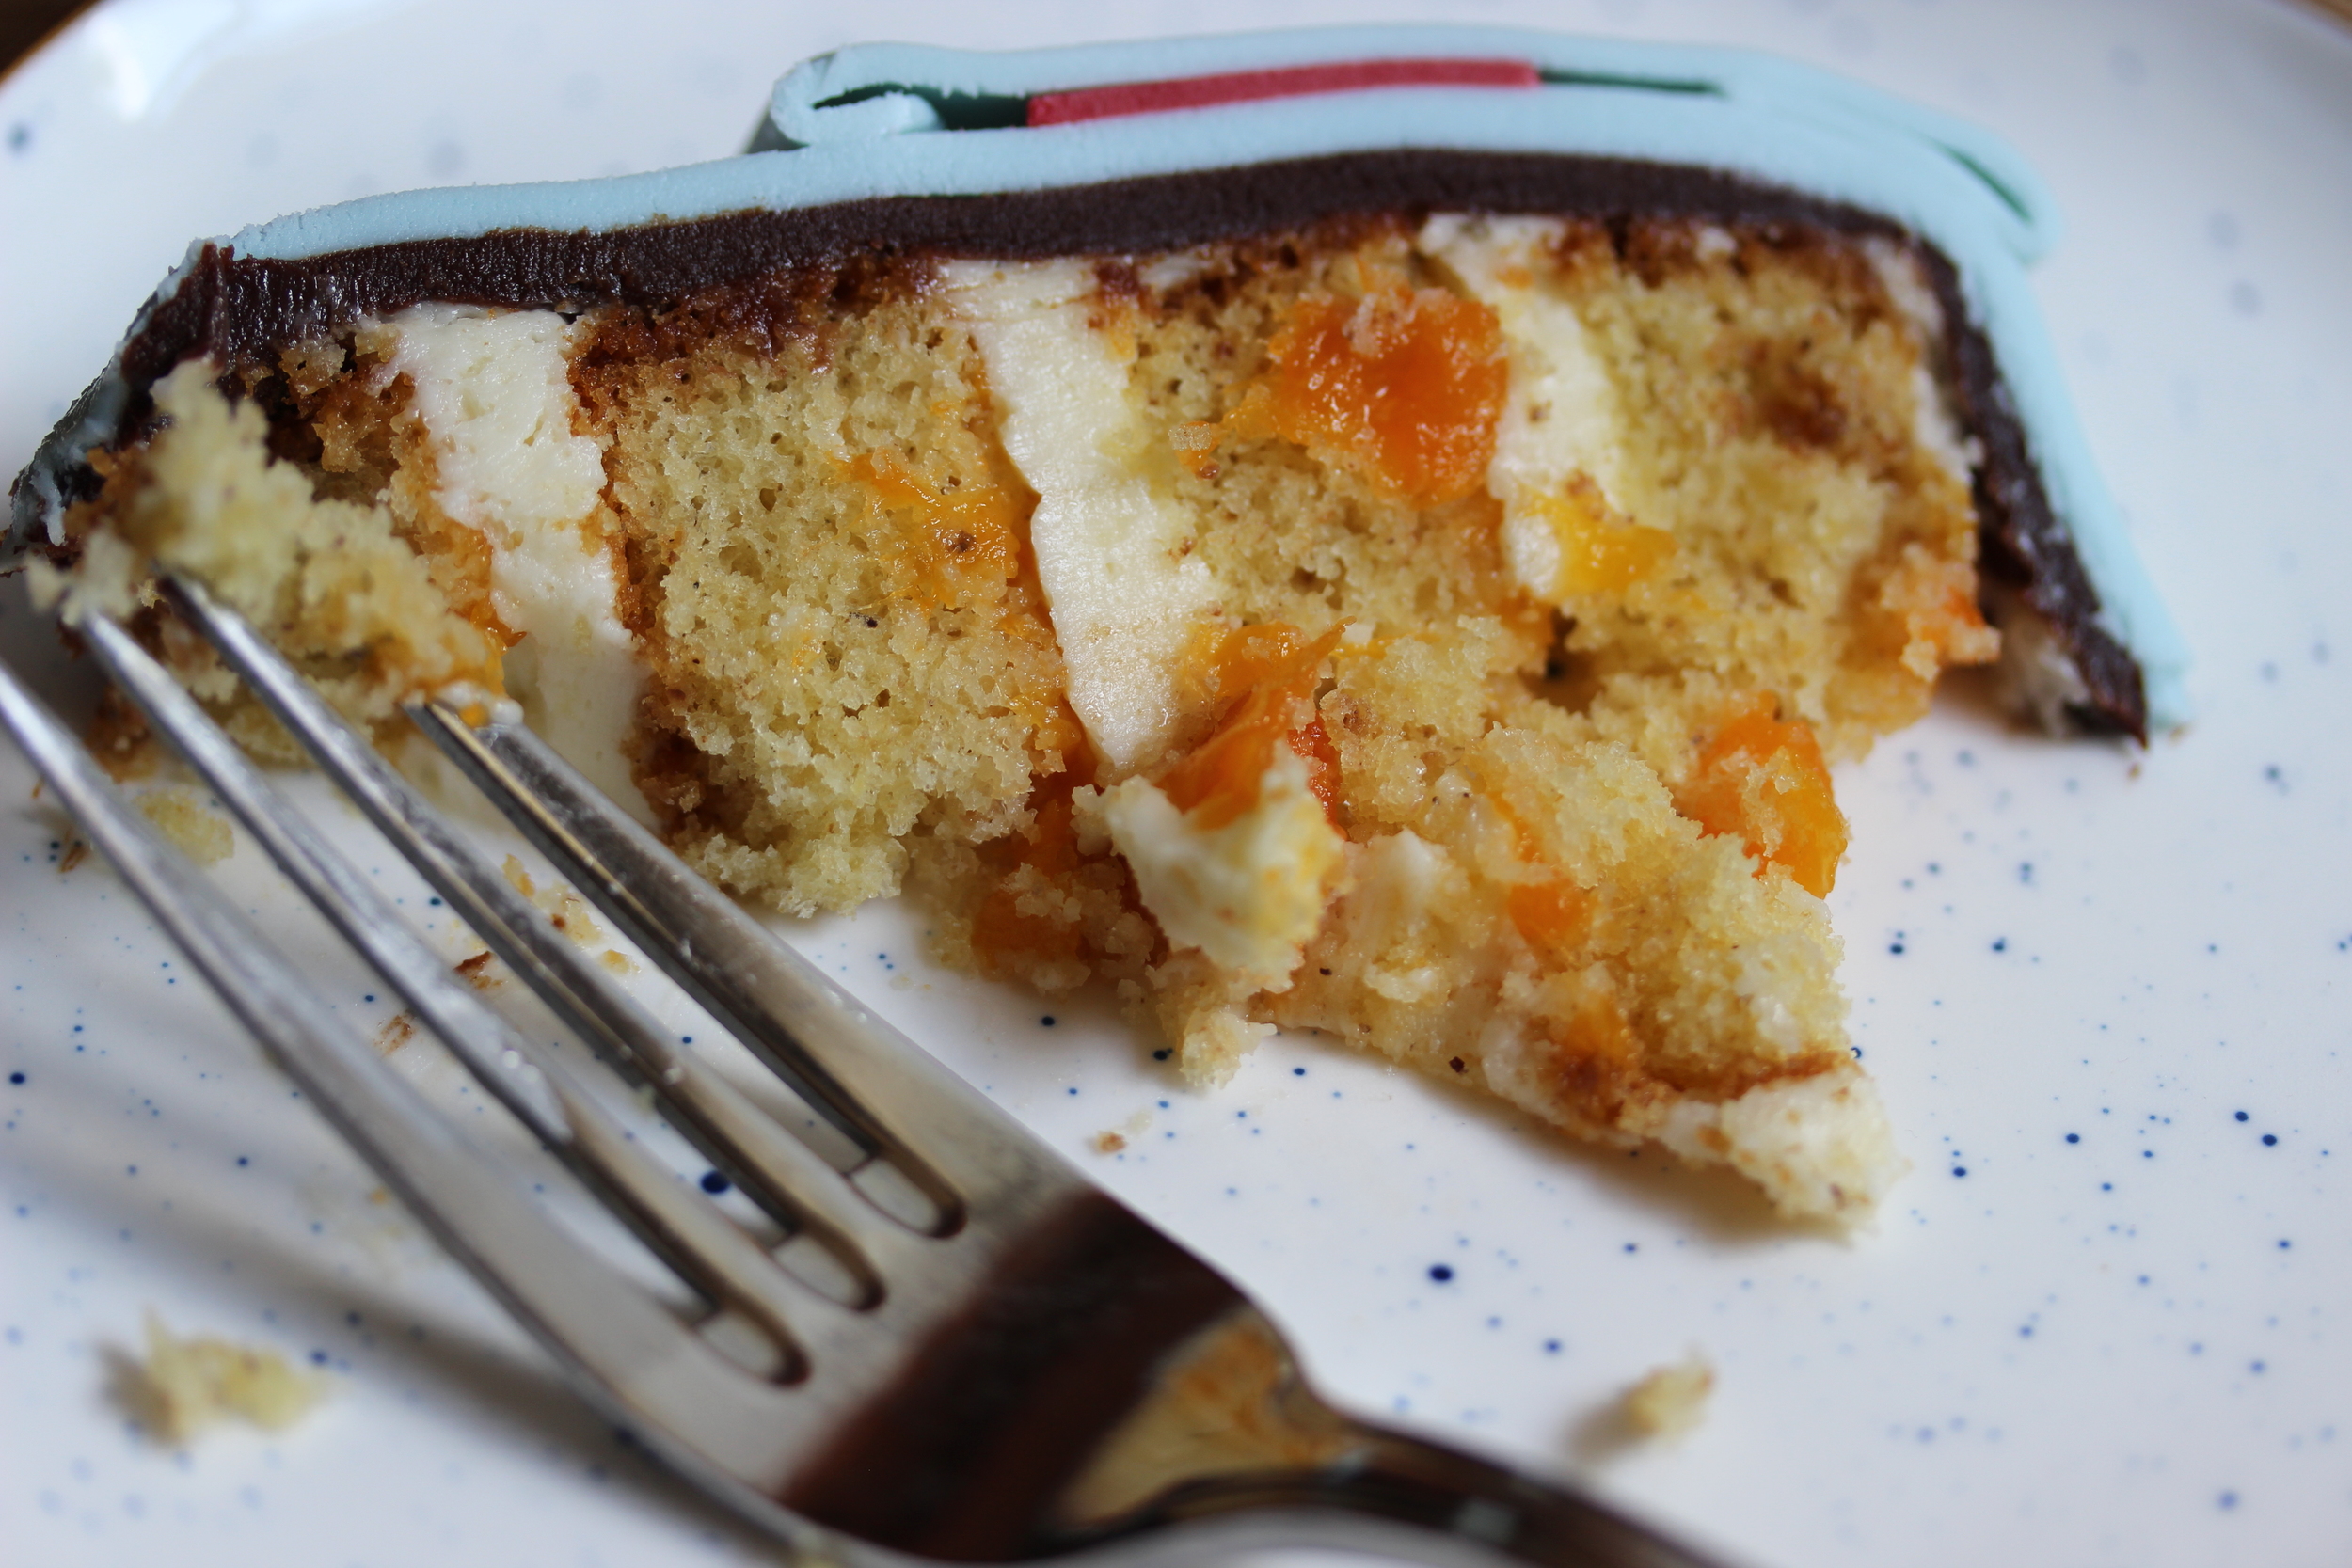
I added it to the cake batter, then paired the resulting hazelnut cake with an easy apricot compote. And honestly, I think you can just stop right there. The buttercream and ganache and fondant were necessary here to build the cake I wanted to make, but flavor-wise the hazelnut and apricot were perfect together. Although a very old-fashioned staple of Continental patisserie, apricots really have an almost tropical flavor, with more acid than the other stone fruits and the kind of brightness that works so perfectly with heavy, dark flavors.

With a hearty amount of double-toasted hazelnut butter, I knew this cake would have plenty of structure going for it, so I wasn't going to need the butter portion of my usual butter-oil ratio that keeps my cakes both stable and moist. But I really wanted a toasty, buttery flavor here--clarified butter was the obvious solution.
Ridding our butter of those pesky milk solids and the water leaves us with pure butterfat, which will function as the perfect oil in our cake and add a buttery, toasty flavor.
Of course you can buy clarified butter, or ghee, to cut down your prep time, but homemade is better here since you can keep your butter cooking until the solids are cooked very dark, almost burnt, and the clarified butter will have that fantastically nutty browned-butter flavor to add even more depth to this cake. I highly recommend making a large batch of clarified butter and saving the remainder in the fridge for other purposes since it is such a flavorful and versatile cooking oil.
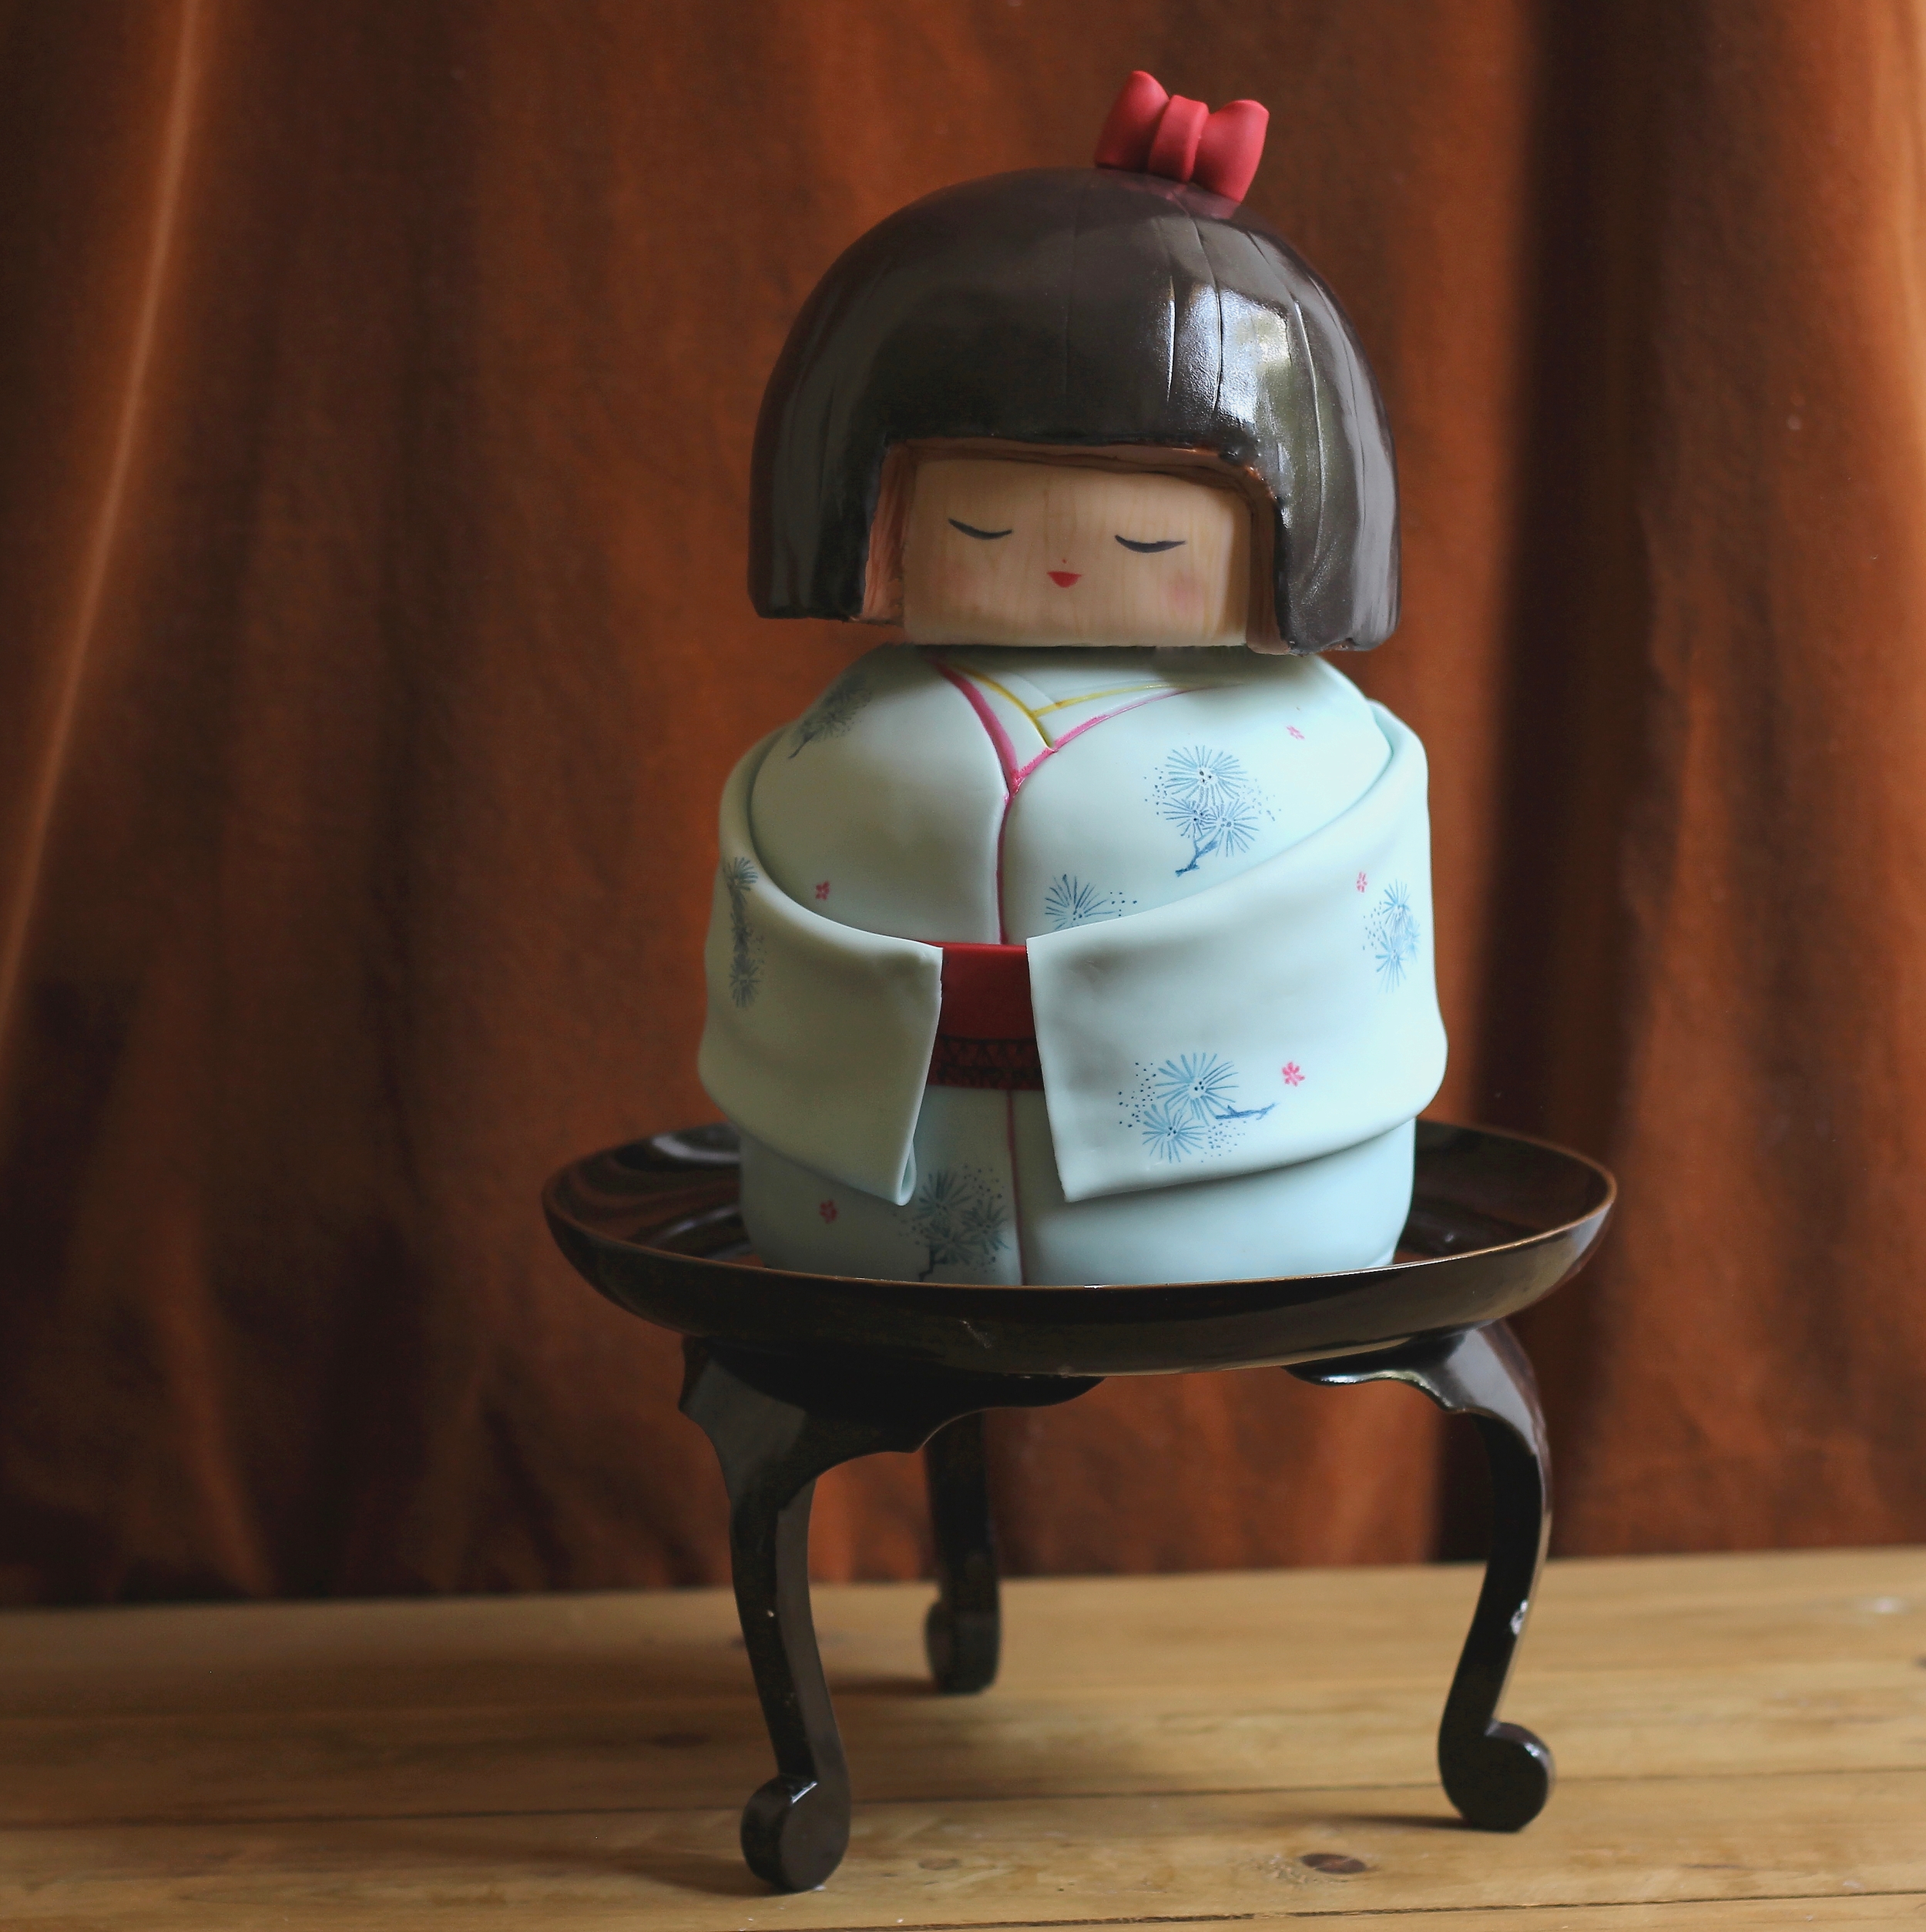
Since I was in middle school I have loved kokeshi, traditional wooden dolls carved from a single block of wood found primarily in Northern Japan with a legacy that dates back to the Edo period. I love their simplicity and tranquility. Other than carving the head and a little handpainting on the fondant, I knew this shape would be a pretty simple but interesting design for even a beginner to pull off.


I think it would make a fantastic birthday cake for a girl. Next time I'm going to try an even more minimal approach, keeping it all wood-grain toned with just a few accents of paint as the older style kokeshi are made.
the head was supported by a cardboard round cut to shape, and a bubble-tea straw through the body kept the head in place

head awaiting fondant
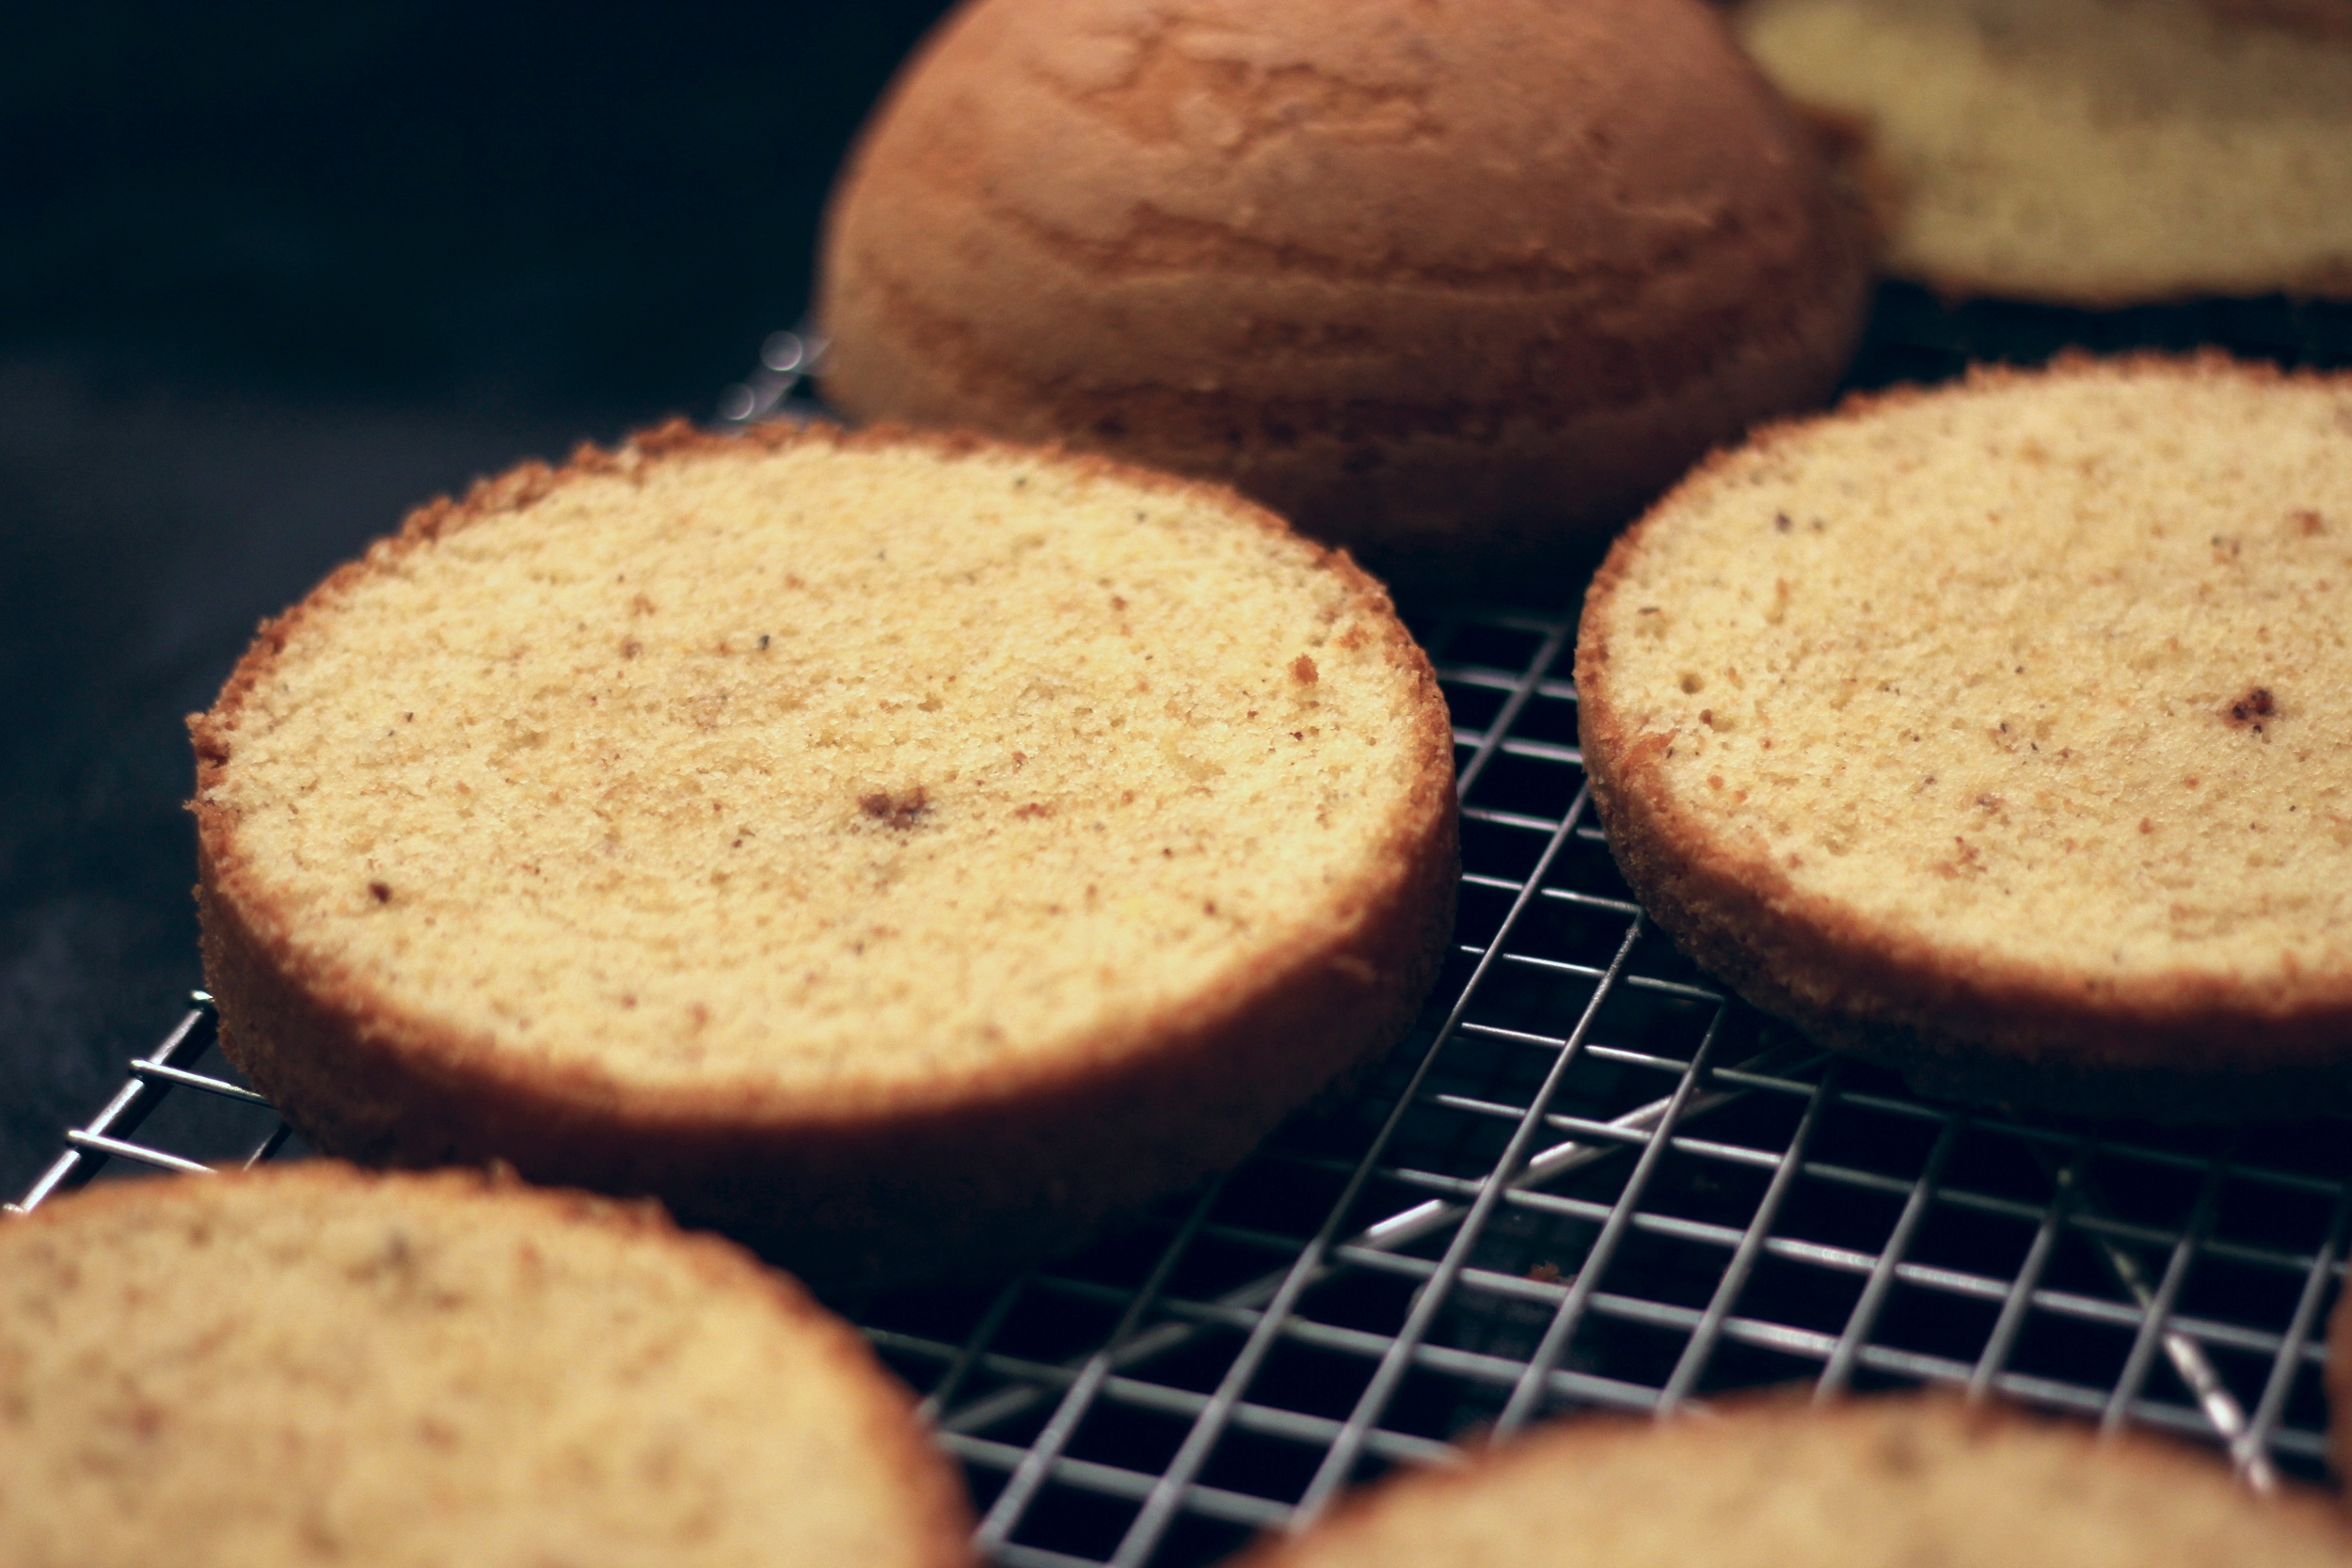
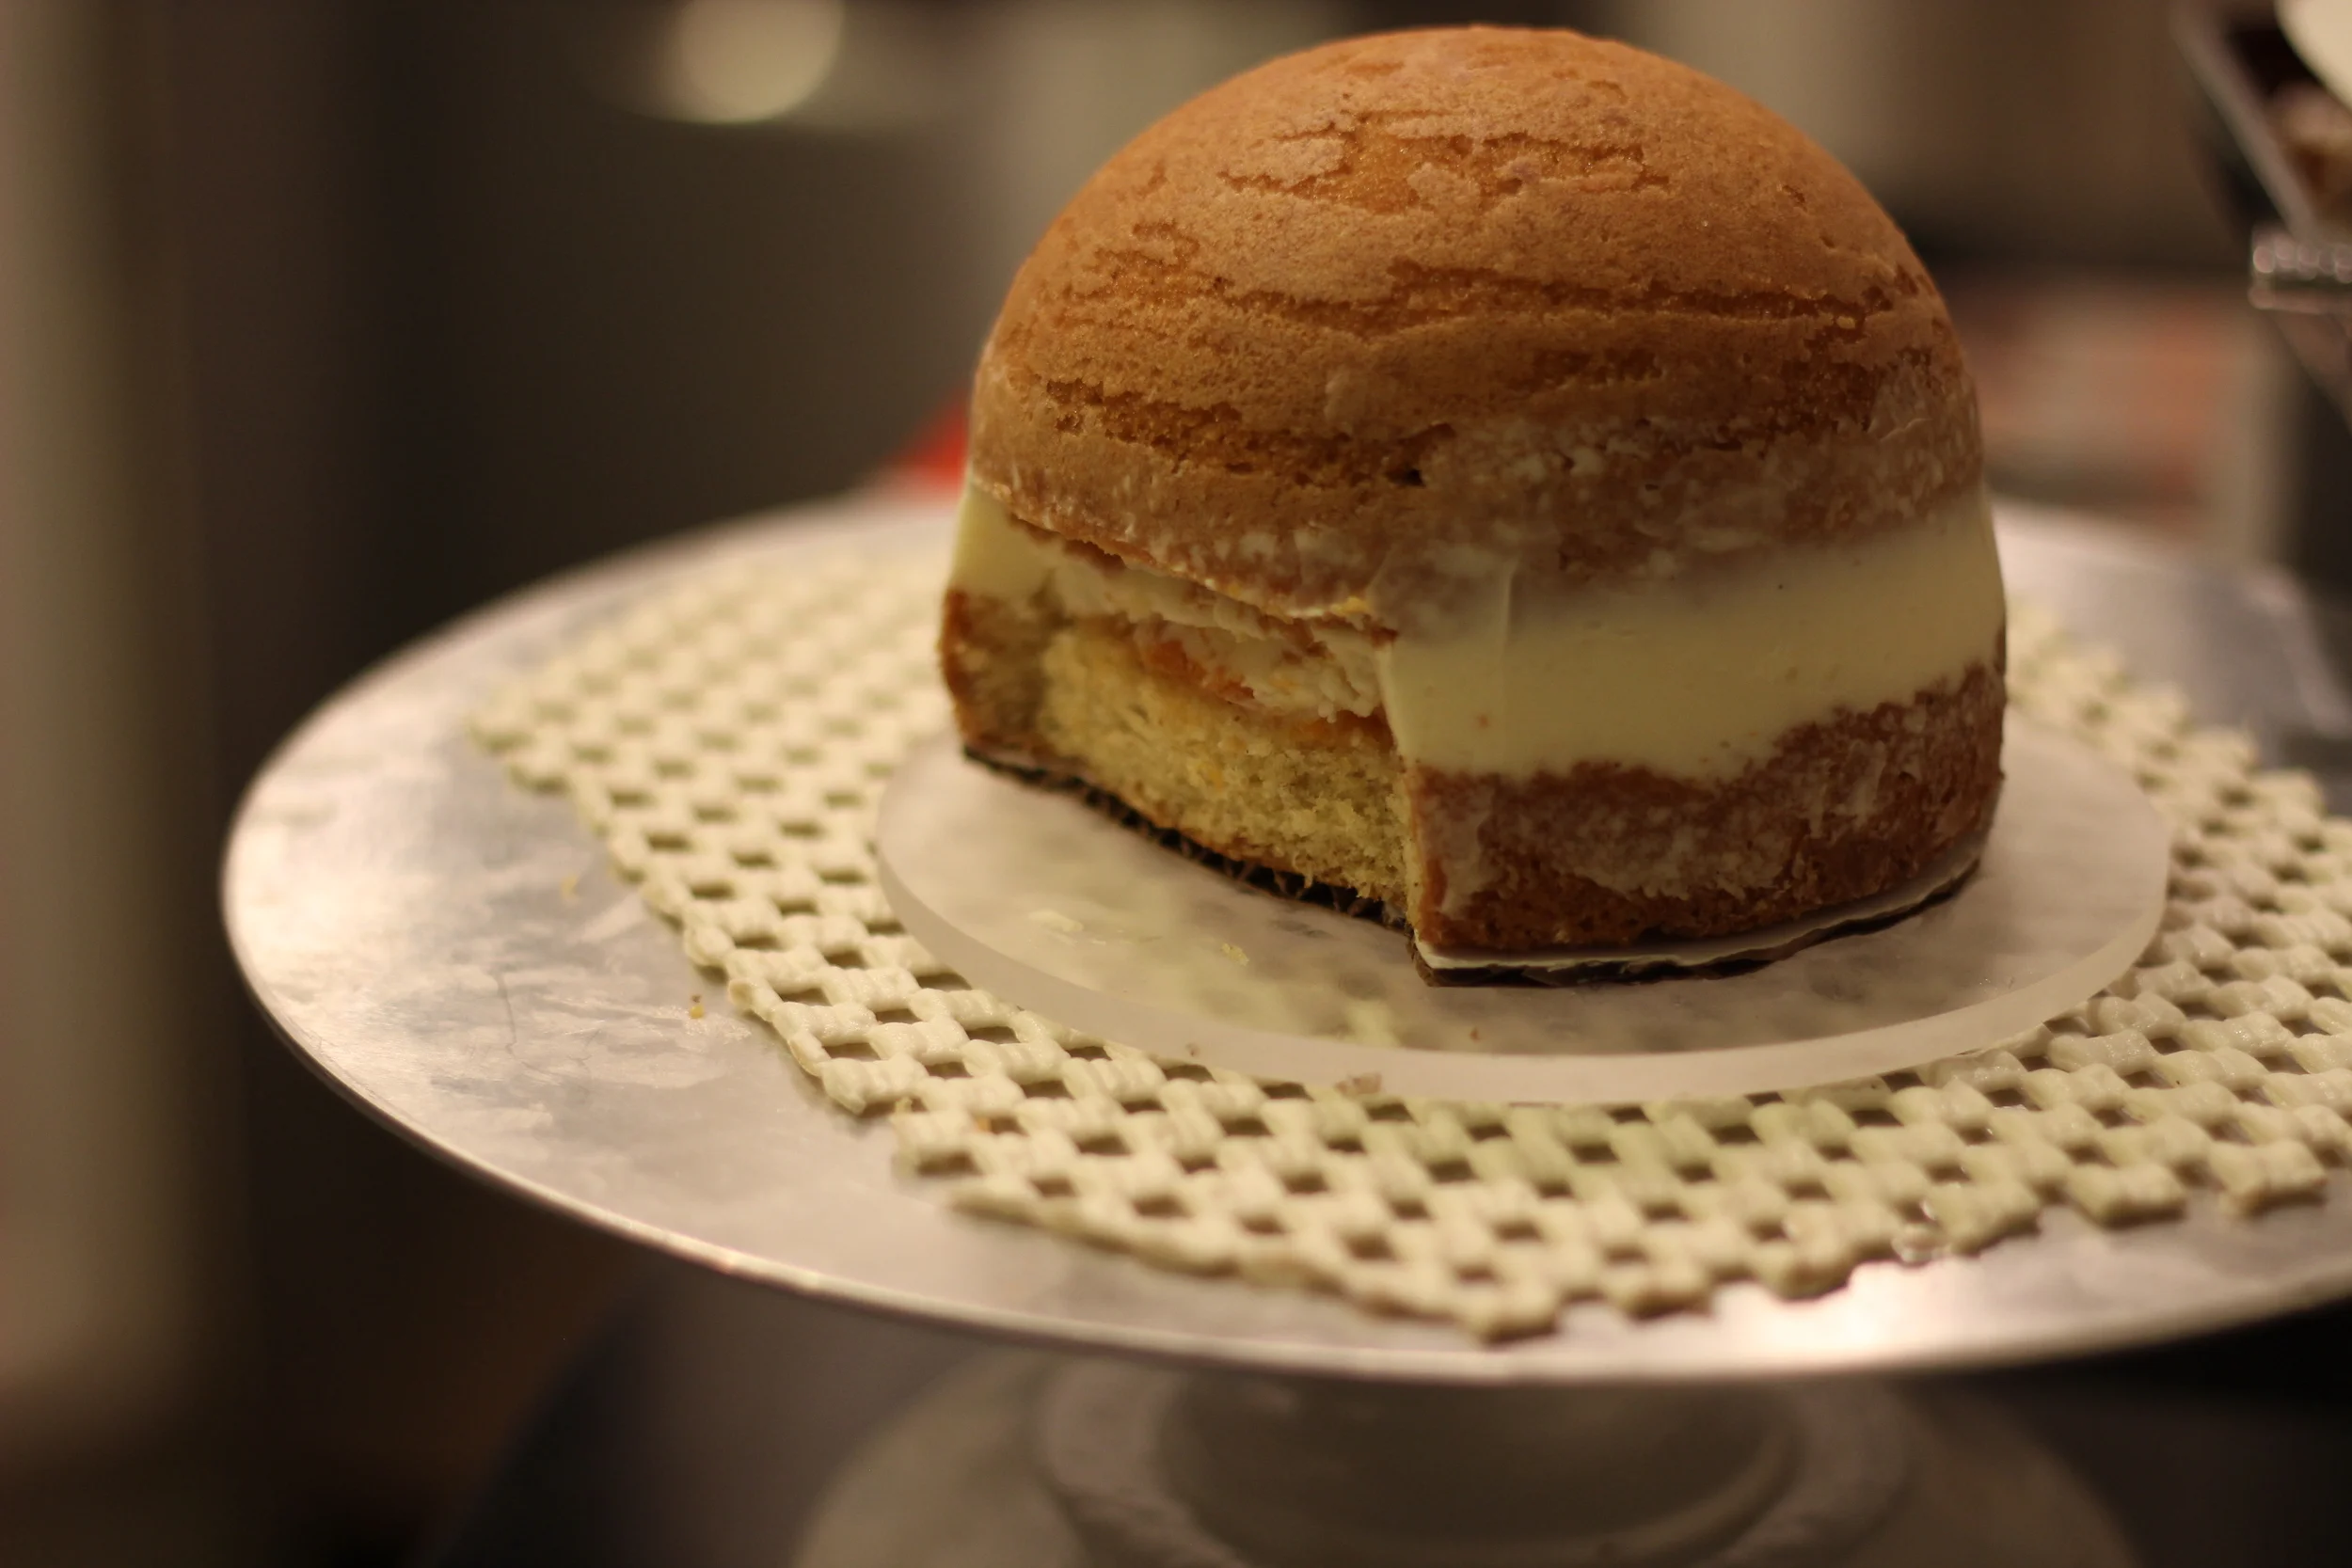
I used a 5" Fat Daddio's half-sphere pan and a stack of 6" rounds for the body, and buttercreamed and ganached it all together and handpainted a pine needle motif on her kimono.

awaiting paint. Her hair was shined up with a coat of confectioner's glaze.

such a sweet face! literally!

Hazelnut Apricot Cake
makes two 8" layers
4 ripe fresh apricots, peeled and diced finely
1 Tbsp. sugar
7.1 oz. cake flour (I use White Lily)
8 g. (about 2 tsp) aluminum-free baking powder
1/2 c. heavy cream
10.5 oz. (about 1.5 c.) granulated sugar
1/3 c. water
1/2 c. (4 oz) clarified butter
1/2 tsp. salt
1 tsp. vanilla extract
3 yolks, room temp
2 eggs, room temp
1 c. toasted and peeled hazelnuts (try to remove all of the skins, as the skins will add bitterness to your hazelnut butter)
Preheat oven to 350 degrees and prepare pans by greasing and flouring them. With a hand mixer, mix the flour and baking powder thoroughly in a small bowl until no lumps remain. Rinse beaters and use to whip cream in a cold bowl to firm peaks. Place whipped cream in the fridge.
Prepare apricot compote by placing finely-chopped apricots into a small saucepan with 1 tablespoon of sugar. Cook over low heat for about 15 minutes or until rendered down to half volume and mixture is thick and gelled. Allow to cool in the fridge.
Place hazelnuts in a food processor and grind until a paste forms (1 cup of hazelnuts will reduce down to about 1/2 cup of hazelnut butter). Continue grinding until mostly smooth. Spread hazelnut butter onto a piece of foil, and place into toaster oven (or under the broiler in a regular oven, but a toaster oven works really well for this purpose). Toast until golden brown, stirring and flipping the chunks of hazelnut butter around to evenly toast and prevent burning. Set aside to cool.
In a saucepan, heat sugar and water over medium heat until most of the sugar is dissolved. Stir frequently or use your hand mixer to speed up the process (be careful that the cord is kept away from the burner). Do not allow mix to boil. Once the sugar is mostly dissolved, pour into a large bowl and add clarified butter, salt, and vanilla, mixing until smooth. Sprinkle 1/3 of the flour mix into the wet ingredients and mix well on low, then gradually add the rest but do not overbeat. Set mixer aside and grab a spatula and whisk. At this point, the mixture should be warm but not too hot to touch--If your sugar mixture is still very hot, allow it to cool--you don't want to cook your eggs.
Add the yolks next, one at a time, mixing in by hand with whisk, then the eggs. Mix in the hazelnut butter for just a few seconds with your mixer. Then gently fold whip cream into the mixture with a spatula until completely combined. Pour into prepared pans and tap them hard several times on the counter to release large air bubbles. Bake anywhere from 20--40 minutes depending on your pan sizes and depth. Cakes are done when their centers spring back, they no longer jiggle when moved, and the edges just begin to pull away from the sides. I don't recommend poking anything into your cakes to test doneness--just a quick press with your finger in the center will tell you all you need to know. Cool, level, and split cakes if desired. Spread cooled cakes with apricot compote and frost if desired with buttercream, ganache, or both.